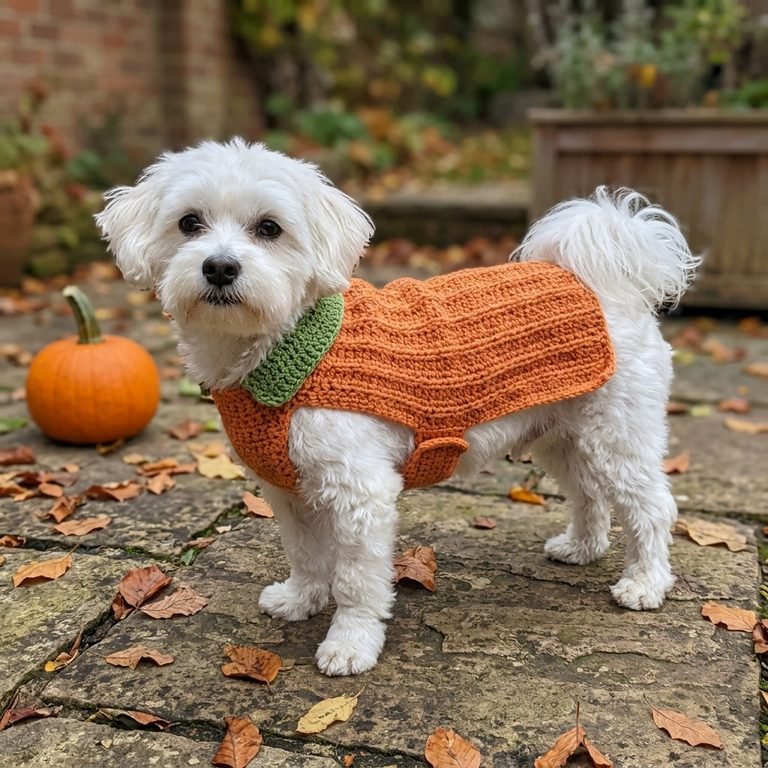
Free Crochet Witch Hat Pattern with a Floppy Point
This free crochet witch hat pattern turns simple stitches into a Halloween accessory with a tall, crooked point and a soft, wide brim. Make it in classic black for a witch costume, or choose a woodland shade for a whimsical autumn look.
The hat uses single crochet and easy increases, making it a good next project for beginners who have practiced working in rounds. A few small stitches hold the tip in its playful bent shape.
Wear it for a Halloween gathering, add it to a costume collection, or display it beside your favorite fall decorations.

Project Details
- Skill Level: Confident beginner
- Estimated Time: Approximately 6–9 hours
- Size: One adult size, intended for a head circumference of approximately 21–22 inches
- Finished Opening: Approximately 21 inches around, unstretched
- Finished Height: Approximately 9–9½ inches before bending the point
- Brim Width: Approximately 2–2¼ inches
- Crochet Terminology: US terms
- Construction: Worked from the tip down in continuous rounds, with the brim attached as you crochet
Measurements and yarn quantities are estimates. This original pattern has not been physically tested; check your gauge and try on the opening before starting the brim.
Materials
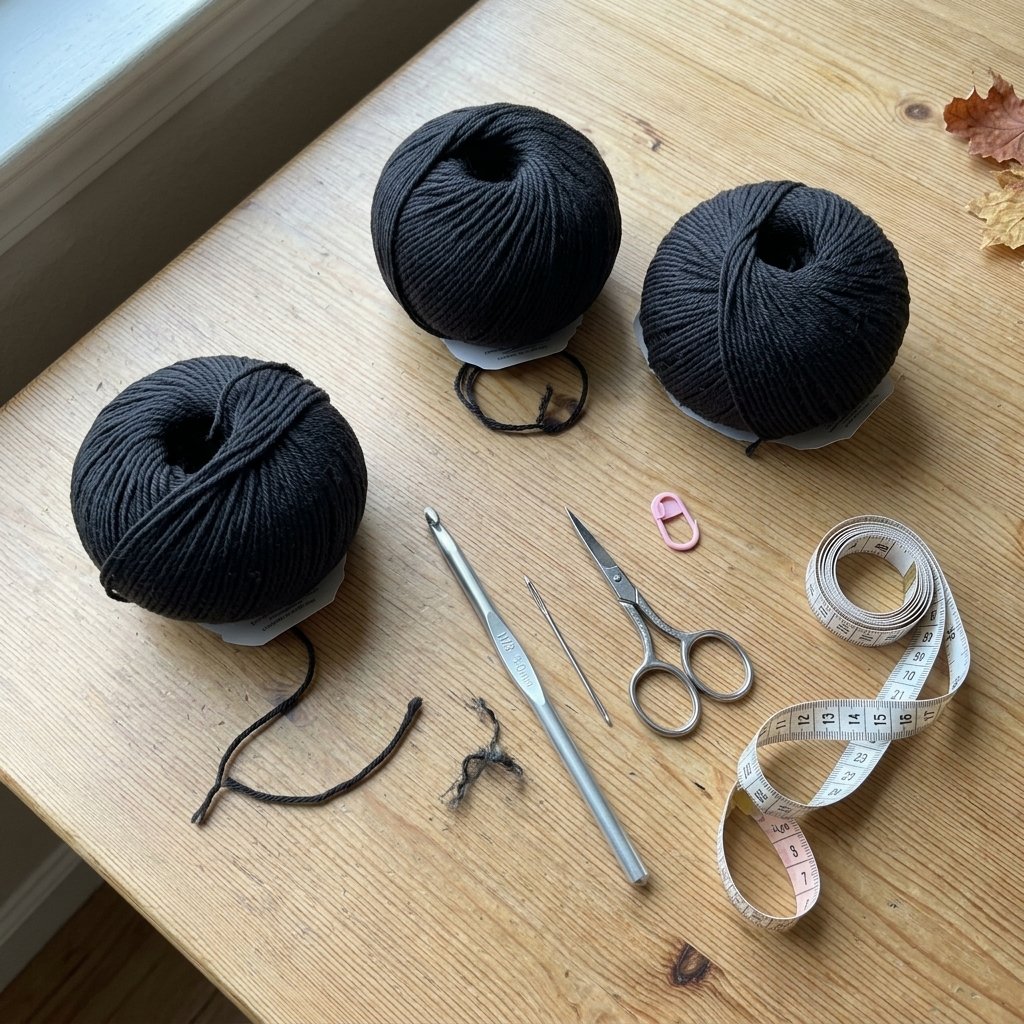
- Approximately 300–375 yards of medium-weight yarn
- 4 mm crochet hook, or the size needed to achieve gauge
- Yarn needle
- Scissors
- One removable stitch marker
- Measuring tape
Use yarn from the same ball to secure the bent point. No wire, stuffing, or stiffener is needed.
Hook Size
Start with a 4 mm crochet hook.
Your stitches should form a reasonably firm fabric while remaining flexible enough to fold. Adjust your hook size to match the gauge below.
Yarn
Use medium-weight yarn, category 4, in a smooth wool blend or acrylic.
A smooth yarn makes the stitches easier to see and gives the hat a clearly defined shape. Very soft, loosely spun yarn may produce a more collapsed crown.
Approximate quantity: 300–375 yards. Actual use will depend on your yarn, tension, and any adjustments.
Suggested colors:
- Black for a classic witch hat
- Charcoal for a slightly softer look
- Deep plum for a playful Halloween accessory
- Moss green or rusty brown for a woodland costume
For your first hat, charcoal may be easier to work with than very dark black.
Abbreviations
- ch: chain
- sc: single crochet
- inc: increase; work 2 single crochet stitches in the same stitch
- sl st: slip stitch
- st(s): stitch(es)
Before You Start
Gauge
Target gauge: 16 single crochet stitches and 18 rounds = approximately 4 inches.
Make a swatch using your chosen yarn and hook. Measure across the middle without stretching, after washing and drying it as you intend to care for the hat.
If you have more than 16 stitches across 4 inches, try a larger hook. If you have fewer, try a smaller hook.
Stitch gauge determines the opening size. Round gauge affects the height and brim depth.
Working in Continuous Rounds
Do not join or turn at the end of each round unless instructed.
Place your marker in the first stitch of the round and move it up as you work. Count your stitches after every increase round.
The starting chain does not count as a stitch.
Understanding the Repeats
For an instruction such as “repeat (sc in the next 3 sts, inc) 6 times,” work one single crochet in each of the next three stitches, then two single crochet stitches in the following stitch. Repeat that sequence six times.
Fit and Shape
This hat has a soft crown and a flexible brim. It will not stand as rigidly as a hat made with wire or heavy stiffener.
At the stated gauge, 84 stitches create an opening approximately 21 inches around. Try it on before working the brim; the opening should feel comfortable without needing to stretch tightly.
Crochet Witch Hat Pattern: Step-by-Step Instructions
Part 1 — Make the Point and Crown
With your main yarn, ch 2.
Round 1: Work 6 sc in the second chain from the hook. Place your marker in the first sc. (6 sts)
Rounds 2–3: Sc in each st around. (6 sts per round)
Round 4: Inc in each st around. (12 sts)
Rounds 5–6: Sc in each st around. (12 sts per round)
Round 7: Repeat (sc in the next st, inc) 6 times. (18 sts)
Rounds 8–9: Sc in each st around. (18 sts per round)
Round 10: Repeat (sc in the next 2 sts, inc) 6 times. (24 sts)
Rounds 11–12: Sc in each st around. (24 sts per round)
Round 13: Repeat (sc in the next 3 sts, inc) 6 times. (30 sts)
Rounds 14–15: Sc in each st around. (30 sts per round)
Round 16: Repeat (sc in the next 4 sts, inc) 6 times. (36 sts)
Rounds 17–18: Sc in each st around. (36 sts per round)
Round 19: Repeat (sc in the next 5 sts, inc) 6 times. (42 sts)
Rounds 20–21: Sc in each st around. (42 sts per round)
Round 22: Repeat (sc in the next 6 sts, inc) 6 times. (48 sts)
Rounds 23–24: Sc in each st around. (48 sts per round)
Round 25: Repeat (sc in the next 7 sts, inc) 6 times. (54 sts)
Rounds 26–27: Sc in each st around. (54 sts per round)
Round 28: Repeat (sc in the next 8 sts, inc) 6 times. (60 sts)
Rounds 29–30: Sc in each st around. (60 sts per round)
Round 31: Repeat (sc in the next 9 sts, inc) 6 times. (66 sts)
Rounds 32–33: Sc in each st around. (66 sts per round)
Round 34: Repeat (sc in the next 10 sts, inc) 6 times. (72 sts)
Rounds 35–36: Sc in each st around. (72 sts per round)
Round 37: Repeat (sc in the next 11 sts, inc) 6 times. (78 sts)
Rounds 38–39: Sc in each st around. (78 sts per round)
Round 40: Repeat (sc in the next 12 sts, inc) 6 times. (84 sts)
Rounds 41–42: Sc in each st around. (84 sts per round)
Do not fasten off.
Part 2 — Check the Opening

Try on the crown with the working loop secured by your stitch marker.
The lower edge should sit where you want the hat to rest. Check that it feels comfortable around your forehead and the back of your head.
If the fit is wrong, recheck your stitch gauge before continuing. The brim instructions below require an opening of 84 stitches.
If the circumference is comfortable but you want the hat to sit slightly lower, add one or two rounds of sc, keeping 84 stitches in each round. This adds height without widening the opening.
Part 3 — Crochet the Brim
Continue from the crown. Restart the round numbering here for clarity.
Brim Round 1: Working through the front loops only, repeat (sc in the next 6 sts, inc) 12 times. (96 sts)
The front loop is the loop closest to you along the top of each stitch. Working into this loop helps the brim turn outward.
Work through both loops again for all remaining rounds.
Brim Round 2: Sc in each st around. (96 sts)
Brim Round 3: Repeat (sc in the next 7 sts, inc) 12 times. (108 sts)
Brim Round 4: Sc in each st around. (108 sts)
Brim Round 5: Repeat (sc in the next 8 sts, inc) 12 times. (120 sts)
Brim Round 6: Sc in each st around. (120 sts)
Brim Round 7: Repeat (sc in the next 9 sts, inc) 12 times. (132 sts)
Brim Round 8: Sc in each st around. (132 sts)
Brim Round 9: Repeat (sc in the next 10 sts, inc) 12 times. (144 sts)
Brim Round 10: Sc in each st around. (144 sts)
Sl st in the next st to soften the step at the end of the spiral. Fasten off, leaving a 6-inch tail.
Part 4 — Shape the Crooked Point
The point is shaped after crocheting, so you can choose the direction of the bend.
- Turn the crown so your preferred side faces forward.
- Bend the upper 2–3 inches of the point gently to one side.
- Pinch a small fold on the inside of the bend, around Crown Rounds 10–16.
- Thread a yarn needle with approximately 18 inches of matching yarn.
- Make two or three small stitches joining the adjacent surfaces of the pinched fold. Catch a few strands of fabric on each side without sewing across the entire hollow crown.
- Adjust the bend before securing the yarn.
The stitches should hold a soft kink rather than pull the point into a tight knot.
For a more relaxed shape, leave the point untacked and arrange it by hand whenever you wear the hat.
Finishing

Weave in the Ends
Close any small gap at the starting tip with the original yarn tail.
Weave all tails through several stitches on the inside of the hat, changing direction before trimming. Keep the ends loose enough that they do not pucker the fabric.
Shape the Brim
Follow the care instructions on your yarn label.
If the yarn allows it, lightly dampen the brim and lay it flat on a towel. Gently arrange the outer edge into a soft circle without stretching the head opening.
Let it dry completely before wearing. Avoid pressing the crown flat while shaping the brim.
Make Final Adjustments
Try on the finished hat and check the direction of the point.
The brim should sit outside your line of sight. You can turn the front edge up gently if you prefer a more open view.
Finished Size
At the stated gauge, the hat should measure approximately:
- Opening circumference: 21 inches (53 cm), unstretched
- Crown height: 9–9½ inches (23–24 cm), before bending
- Brim width: 2–2¼ inches (5–6 cm)
- Overall brim diameter: 10½–11½ inches (27–29 cm), laid flat
The intended fit is an adult head circumference of approximately 21–22 inches, depending on the stretch of your fabric and your preferred fit.
The bent point will reduce the hat’s displayed height.
Tips & Customization
Make Dark Stitches Easier to See
Use a bright task light and place a pale cloth on your lap. The contrast can help you spot the loops of black yarn.
Choose a Different Mood
Black suits a classic Halloween outfit. Plum, moss, and brown work well for fantasy costumes and autumn displays.
Add a Simple Crochet Accent
Sew a small handmade decoration near the base of the crown. Our easy crochet heart pattern would make a sweet accent in plum or orange.
Keep the Brim Soft
This design is intended to drape gently. A little movement around the edge adds character; strong rippling or cupping is a reason to check your stitch counts and gauge.
Adjust the Height Carefully
Extra plain rounds at the end of the crown make the hat taller without changing the opening.
Changing the opening stitch count requires recalculating the brim increases. For this version, keep the 84-stitch opening and use gauge to check whether the listed adult size suits you.
Pack It for a Costume Party
Fold the hat loosely and reshape the point when you arrive. Avoid placing heavy items on top of the brim for long periods.
Looking for Your Next Crochet Project?
Love making a little Halloween magic? Explore Cute Stitch Studio’s premium crochet patterns for more cute, cozy, and gift-worthy handmade ideas.