

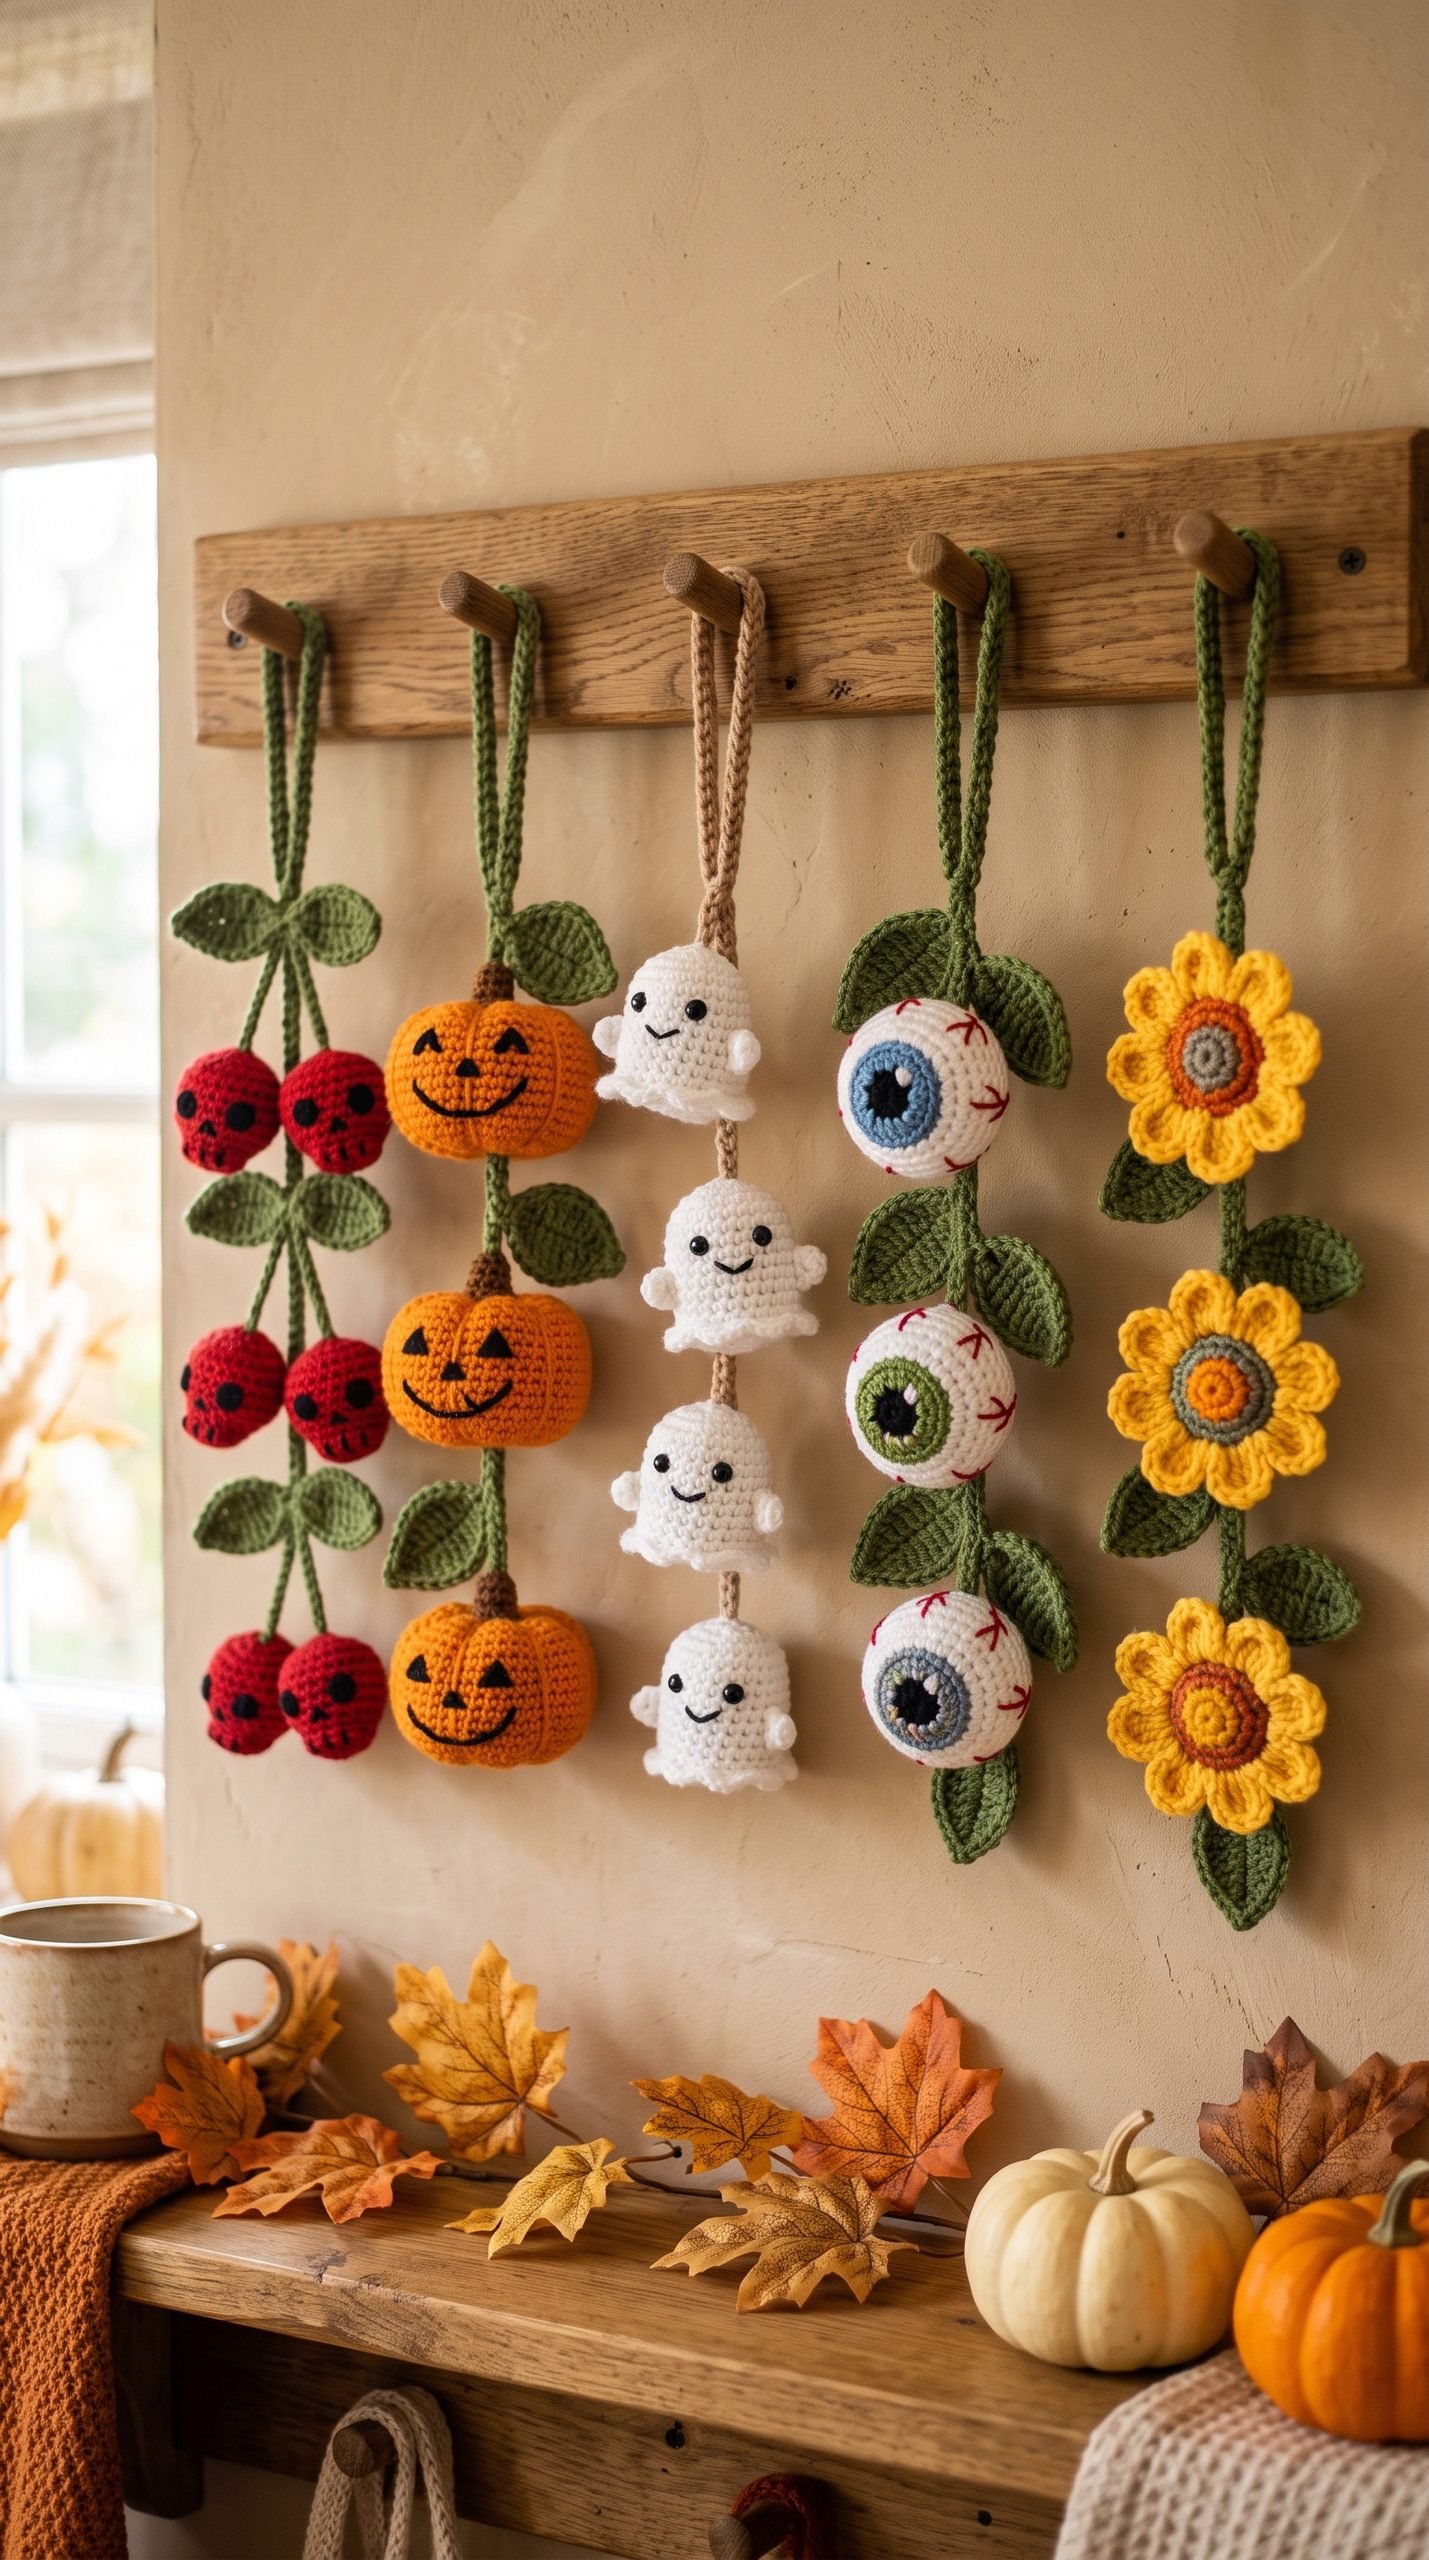
Free Crochet Haunted Harvest Pattern Set for Halloween
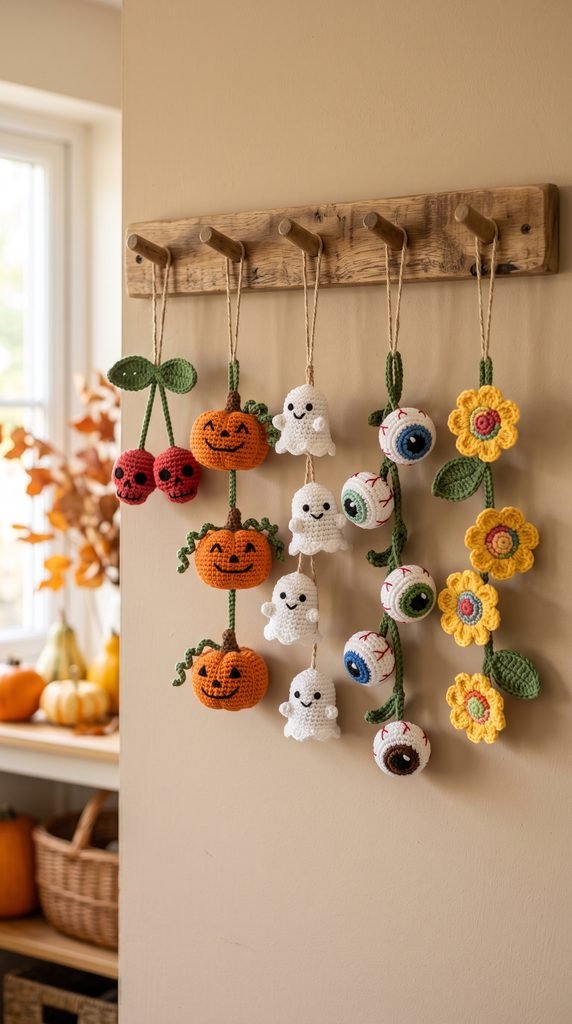
If you love cute Halloween decor, this crochet haunted harvest pattern is a fun and creative project to make for the season. This spooky-cute set includes hanging stems with mini pumpkins, little ghosts, eyeballs, skull cherries, and playful flowers.
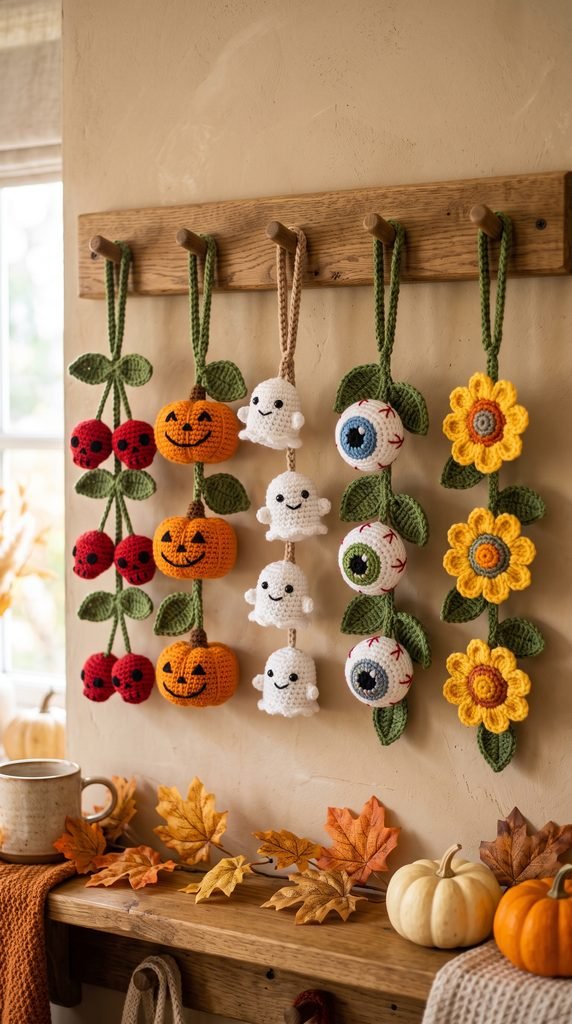
Each motif is small, lightweight, and beginner-friendly, and the finished stems look adorable displayed on a wall hook, peg rail, shelf, or seasonal display stand. You can make the full set or choose just one or two designs to match your Halloween style.
Project Details
- Skill Level: Advanced Beginner
- Estimated Time: 4–6 hours for one full set
- Finished Size: Each hanging stem is about 8–10 inches long
- Crochet Terminology: US terms
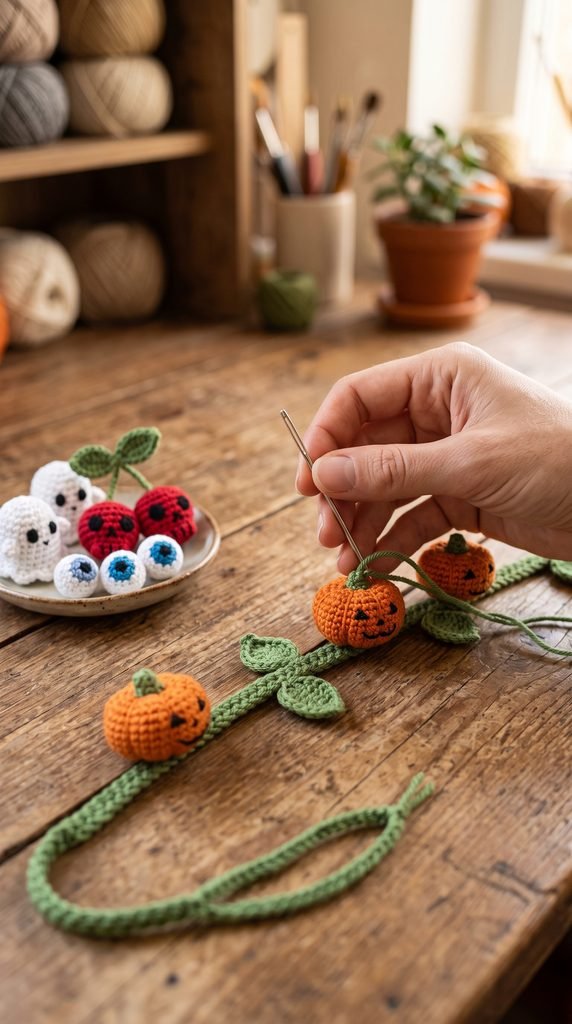
- Construction: Small crochet motifs are worked separately, lightly stuffed if needed, and sewn onto hanging stems.
Materials
- DK weight #3 yarn in green
- DK weight #3 yarn in orange
- DK weight #3 yarn in white
- DK weight #3 yarn in black
- DK weight #3 yarn in red
- DK weight #3 yarn in yellow
- Small amounts of blue, pink, purple, and brown yarn for details
- 2.75 mm crochet hook
- Polyester fiberfill stuffing
- Yarn needle
- Scissors
- Stitch marker
- Black embroidery floss or yarn for faces and details
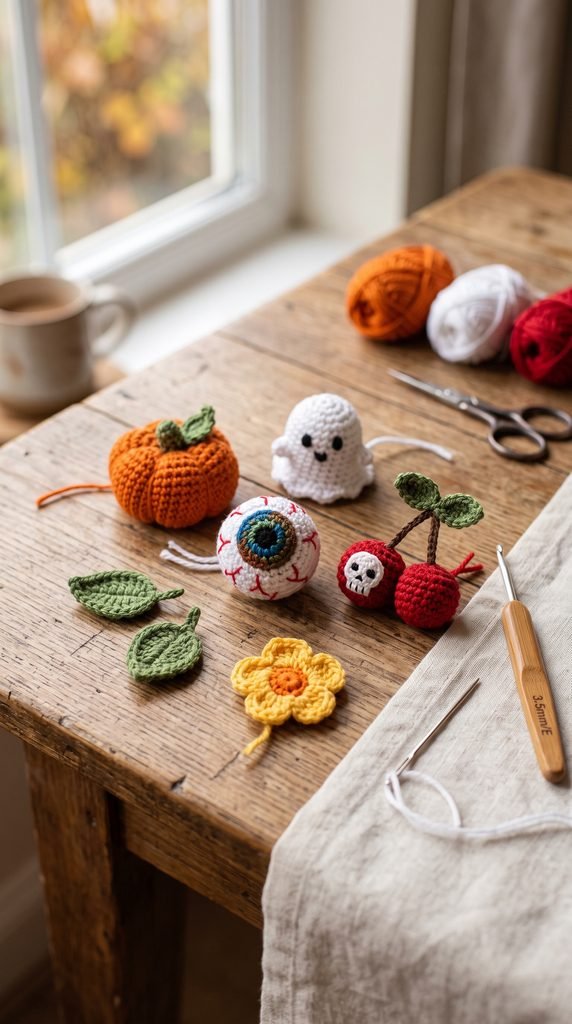
Recommended Hook Size
Use a 2.75 mm crochet hook for tight, neat stitches that help the mini shapes hold their form.
If your stitches are loose, go down one hook size.
Yarn
This project works best with DK weight #3 yarn. Cotton or cotton-blend yarn helps the shapes stay crisp, especially for the mini motifs.
Approximate yarn amounts for one full set:
- Green: 40–50 yards
- Orange: 25–35 yards
- White: 20–30 yards
- Black: 10–15 yards
- Red: 15–20 yards
- Yellow: 10–15 yards
- Accent colors: Small scraps only
Suggested colors: leaf green, pumpkin orange, bright white, charcoal black, cherry red, sunflower yellow, sky blue, dusty pink, and soft purple.
Abbreviations
- MR = magic ring
- ch = chain
- sc = single crochet
- hdc = half double crochet
- dc = double crochet
- sl st = slip stitch
- st(s) = stitch(es)
- inc = increase, work 2 sc in the same stitch
- dec = invisible single crochet decrease
- FLO = front loop only
Before You Start
Most of the mini motifs are worked in continuous rounds. Use a stitch marker to keep track of the first stitch of each round.
Stuff only the round motifs that need a little shape, such as the pumpkins, eyeballs, and skull cherries. The flowers and leaves do not need stuffing.
For a longer hanging stem, simply add more chains before assembling your pieces. You can also mix and match motifs to make your own custom spooky harvest collection.
Free Crochet Haunted Harvest Pattern
Part 1 — Universal Hanging Stem
Make 1 stem for each hanging design.
Using green yarn:
Step 1: Ch 24.
Step 2: Sl st into the 6th chain from the hook to create a hanging loop.
Step 3: Sl st in each remaining chain down the stem.
Fasten off, leaving a tail for sewing if needed.
This creates a slim hanging stem with a loop at the top.
Simple Crochet Leaf
Make 2 leaves for each stem, or more if you want a fuller look.
Using green yarn, ch 6.
Starting in the 2nd chain from the hook, work:
Sl st, sc, hdc, sc, sl st.
Fasten off, leaving a tail for sewing.
You will sew the leaves near the top of each stem or beside the motifs during assembly.
Part 2 — Skull Cherries Stem
This version includes 2 tiny skull cherries hanging together.
Mini Skull Cherry (Make 2)
Using red yarn:
Round 1: 6 sc into MR. (6 sts)
Round 2: Inc around. (12 sts)
Round 3: Sc in each st around. (12 sts)
Round 4: *Sc in next st, dec.* Repeat around. (8 sts)
Lightly stuff.
Round 5: Dec around. (4 sts)
Fasten off and close.
Use black embroidery yarn to create two small eye sockets and a tiny nose shape on the front of each cherry. Keep the details simple and cute.
Assembly for Skull Cherries Stem
Sew both skull cherries near the bottom of one hanging stem, placing them at slightly different heights.
Sew 2 small crochet leaves near the top or middle of the stem.
Part 3 — Mini Pumpkin Stem
This version includes 3 tiny jack-o’-lantern pumpkins.
Mini Pumpkin (Make 3)
Using orange yarn:
Round 1: 6 sc into MR. (6 sts)
Round 2: Inc around. (12 sts)
Round 3: *Sc in next st, inc.* Repeat around. (18 sts)
Round 4: Sc in each st around. (18 sts)
Round 5: *Sc in next st, dec.* Repeat around. (12 sts)
Lightly stuff.
Round 6: Dec around. (6 sts)
Fasten off and close.
To shape the pumpkin, wrap a long piece of orange yarn around the outside of the piece 4 times to create soft sections. Pull gently and knot securely.
Use black yarn to embroider simple jack-o’-lantern faces.
Pumpkin Stem Detail
Using brown yarn, make a tiny stem by chaining 3. Sew one small stem to the top of each pumpkin.
Assembly for Pumpkin Stem
Sew the 3 pumpkins to one hanging stem, spacing them at slightly different heights. Add 2–3 leaves around the pumpkins.
Part 4 — Ghost Bell Stem
This version includes 4 tiny ghost bells.
Mini Ghost (Make 4)
Using white yarn:
Round 1: 6 sc into MR. (6 sts)
Round 2: Inc around. (12 sts)
Rounds 3–4: Sc in each st around. (12 sts)
Lightly stuff.
Round 5: *Sc in next st, hdc in next st, sc in next st, sl st in next st.* Repeat 3 times around.
Fasten off and close gently.
This creates a tiny rounded ghost with a soft scalloped bottom.
Embroider two tiny eyes and a small mouth or smile.
Assembly for Ghost Bell Stem
Use a hanging stem made in black yarn for extra contrast, or green yarn if you prefer a softer look.
Sew the 4 ghosts along the lower half of the stem, placing them slightly apart so they look like hanging ghost bells.
Part 5 — Eyeball Stem
This version includes 4 hanging eyeballs.
Mini Eyeball (Make 4)
Using white yarn:
Round 1: 6 sc into MR. (6 sts)
Round 2: Inc around. (12 sts)
Round 3: Sc in each st around. (12 sts)
Round 4: *Sc in next st, dec.* Repeat around. (8 sts)
Lightly stuff.
Round 5: Dec around. (4 sts)
Fasten off and close.
Use blue, purple, or green yarn to embroider the iris. Add a small black pupil in the center. Use thin red stitches to create little veins around the eyeball.
Assembly for Eyeball Stem
Sew the 4 eyeballs to one green hanging stem at slightly different heights. Add 2 leaves beside the upper area of the stem.
Part 6 — Spooky Flower Stem
This version includes 3 bright flowers with colorful centers.
Flower Center (Make 3)
Using pink, purple, or orange yarn:
Round 1: 6 sc into MR. (6 sts)
Join with a sl st and fasten off.
Flower Petals
Join yellow yarn to any stitch of the flower center.
In each stitch around, work:
(Sl st, ch 2, 2 dc, ch 2, sl st) all in the same stitch.
Repeat in each of the 6 stitches around to create 6 petals.
Fasten off and weave in the end.
Make 3 flowers.
Assembly for Spooky Flower Stem
Sew the 3 flowers along the hanging stem, spacing them out vertically. Add 3–4 green leaves around the flowers for a fuller look.
How to Assemble the Haunted Harvest Set
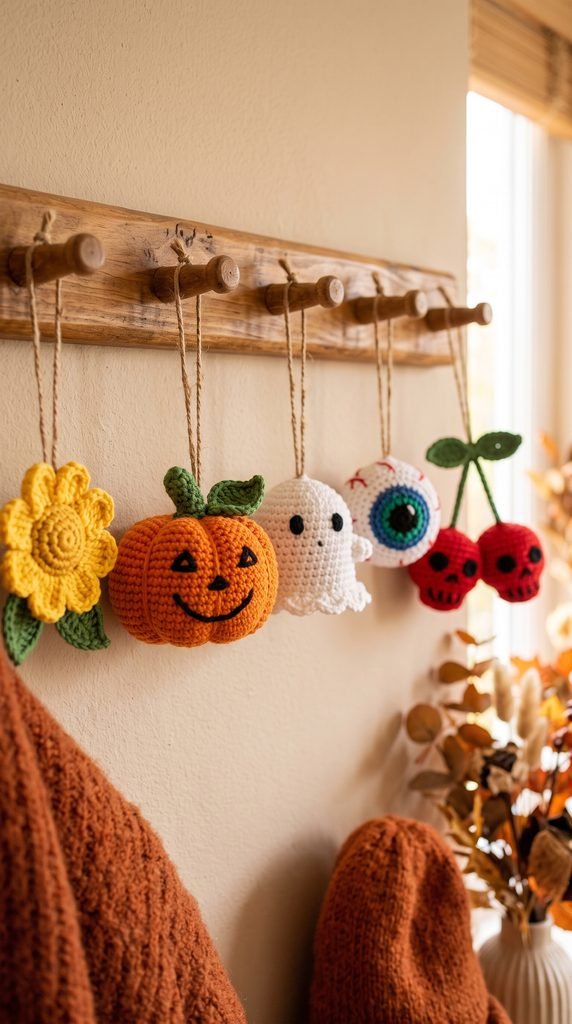
Once all pieces are finished, lay out each stem before sewing so you can choose the placement you like best.
You can make:
- 1 skull cherries stem
- 1 pumpkin stem
- 1 ghost bell stem
- 1 eyeball stem
- 1 spooky flower stem
Sew each motif securely to its stem using matching yarn.
Attach leaves near the top, side, or around the middle of the stem. The final result should look whimsical rather than perfectly symmetrical.
If you want the pieces to hang flatter against the wall, keep the motifs lightly stuffed.
Finishing
Weave in all yarn ends securely.
Trim any loose fibers.
Adjust the leaves and motifs so the stems hang neatly.
If any motif twists too much, reshape it gently with your fingers. Because these are small decorative pieces, blocking is usually not necessary.
If you want a more polished display, hang all the finished stems together from a peg rail, wooden hook rack, or wall branch.
Finished Size
Each finished stem measures approximately 8–10 inches long (20–25 cm), depending on how long you make the hanging chain and how many motifs you attach.
Each small motif measures about 1–2 inches wide (2.5–5 cm).
Tips and Customization
Choose Your Favorite Motifs
You do not have to make the whole set. Try just the pumpkins and ghosts for a softer Halloween look, or make skull cherries and eyeballs for something more playful.
Change the Colors
Use pastel yarns for a cute spooky style, or deeper colors like burgundy, moss, rust, and charcoal for a moodier autumn feel.
Turn Them Into Garland Pieces
Instead of making separate hanging stems, sew the finished motifs onto a long crochet chain and turn them into a Halloween garland.
Use Them as Gift Toppers
These tiny crochet shapes are also cute as package decorations, bag charms, or seasonal ornaments.
Make a Bigger Version
Use worsted weight yarn and a 3.5 mm hook for slightly larger motifs.
Where to Display Your Crochet Haunted Harvest Set
This set looks adorable on a peg rail, wall hook, tiered tray backdrop, shelf ladder, or seasonal craft corner. It also works well as a cute decoration for a Halloween party, classroom, or fall photo setup.
Looking for Your Next Crochet Project?
Love this project? Explore Cute Stitch Studio’s premium crochet patterns for more cute, cozy, seasonal, and gift-worthy handmade ideas.


