Crochet Toilet Paper Holder Pattern: A Hanging Bathroom Organizer
This crochet toilet paper holder pattern creates a cream cotton organizer with two open-front pockets. Each pocket is designed to hold two suitably sized spare rolls, keeping them together without taking up shelf space.
The airy mesh, deeper side panels, and long hanging straps give it a relaxed, handmade look. Solid crochet pocket floors provide support beneath the rolls.
The main instructions make the two-tier version. You will also find adjustments for a single pocket or three-tier organizer, so you can choose the layout that suits your bathroom.
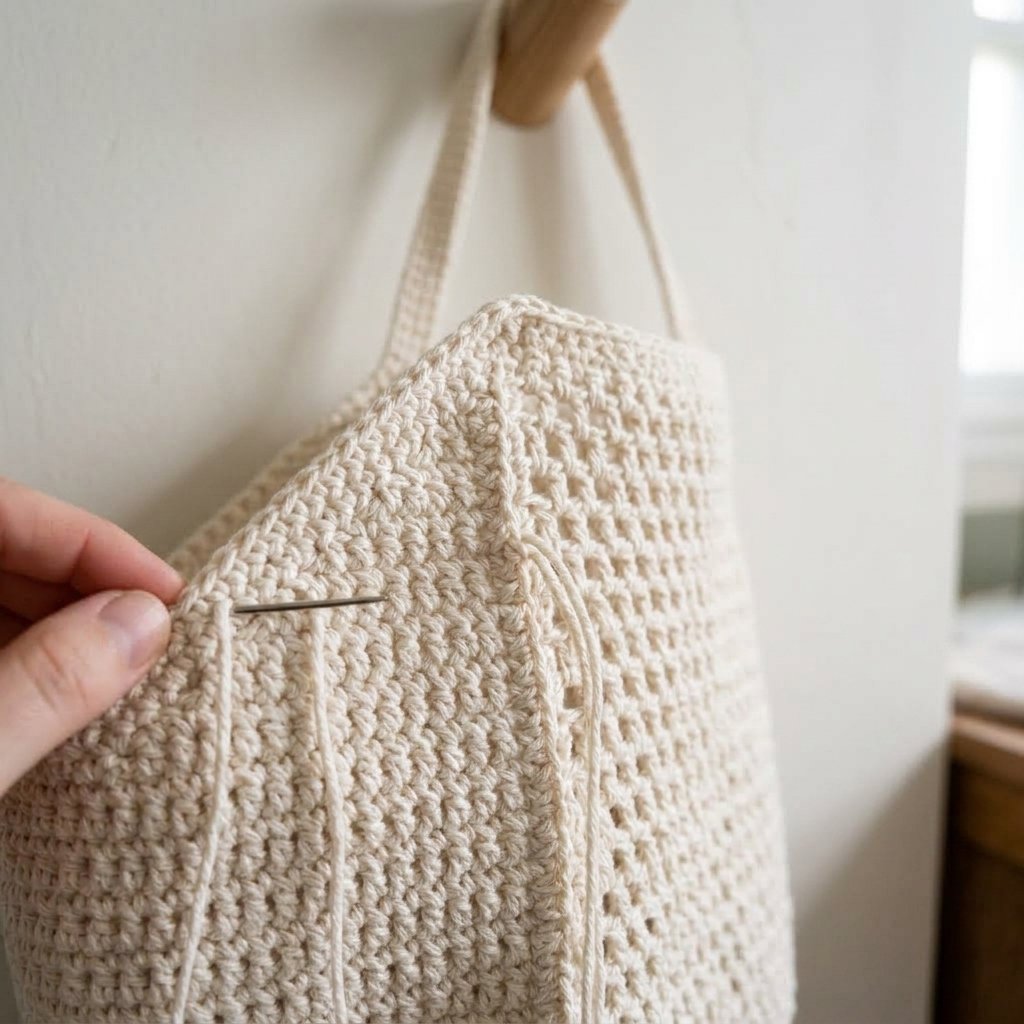
Table of Contents
Crochet Toilet Paper Holder Pattern: A Hanging Bathroom Organizer Instructions
Project Details
- Skill level: Confident beginner to intermediate.
- Estimated time: Approximately 10–15 hours for the two-tier version.
- Finished body: Approximately 10–10.5 inches wide and 14 inches tall.
- Pocket depth: Approximately 4.5 inches.
- Pocket front height: Approximately 3 inches.
- Pocket back height: Approximately 5.5 inches.
- Terminology: US crochet terms.
- Construction: Mesh backing, separate pocket floors, front panels, shaped sides, and two hanging straps.
This original Cute Stitch Studio pattern has not been physically tested. Stitch counts have been reviewed, but fit, gauge, seams, and hanging performance require a sample check.
Check Your Toilet Paper Rolls First
Measure the diameter of one roll and its width from one flat end to the other. Roll dimensions vary, especially between standard and larger rolls.
The sample is intended for rolls approximately 4.5 inches or less in diameter and approximately 4 inches wide. Place two together with their circular ends facing you to check the total width.
Two rolls should fit side by side without stretching the pocket firmly. Larger rolls need wider pockets, deeper floors, or both.
This organizer stores spare rolls. It does not include a spindle for dispensing paper.
Materials
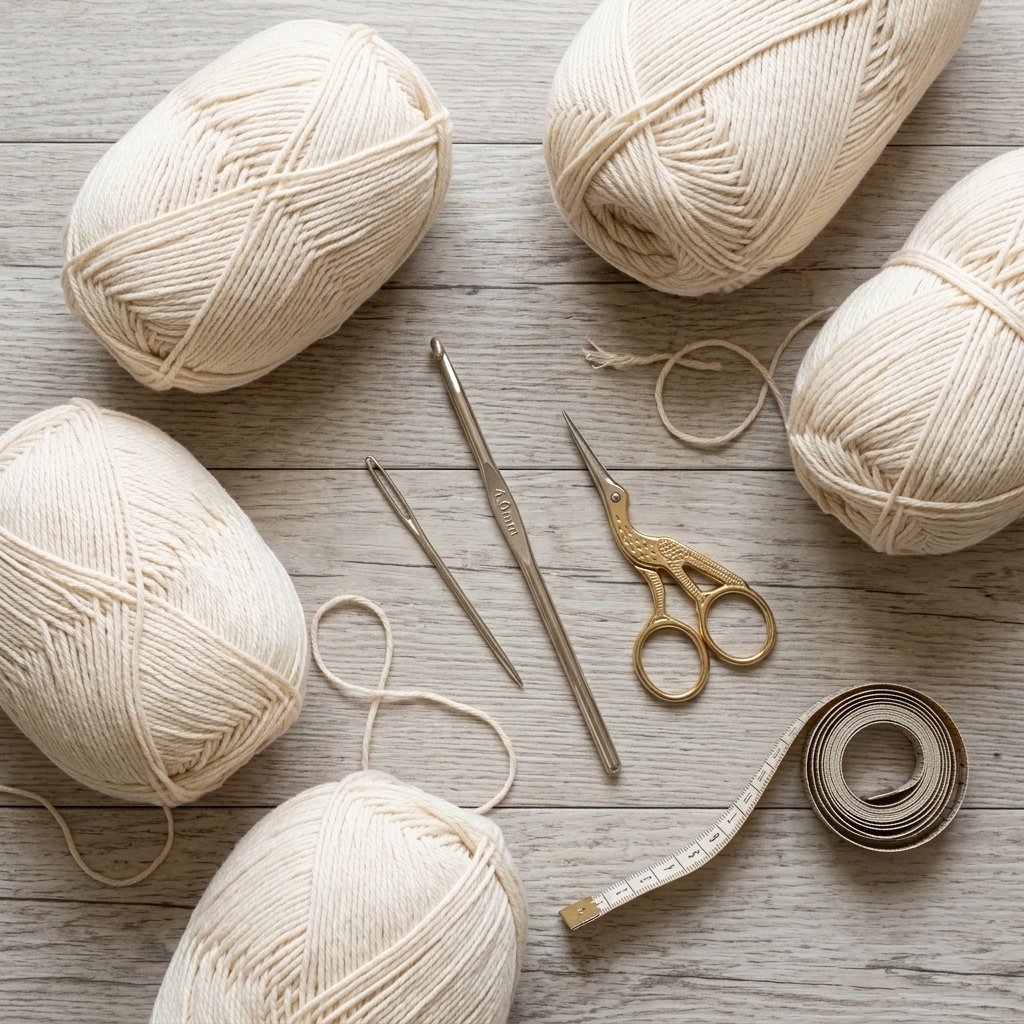
- Smooth 2 mm cotton crochet cord: approximately 400–550 yards for the two-tier version.
- 4.5 mm crochet hook, or size needed for gauge.
- Large-eye tapestry needle.
- Scissors.
- Measuring tape.
- Removable stitch markers.
- A smooth wall hook or peg with a fixing suitable for the wall and loaded organizer.
Use a hook wide enough to hold both hanging straps without cutting into the cotton.
Hook Size
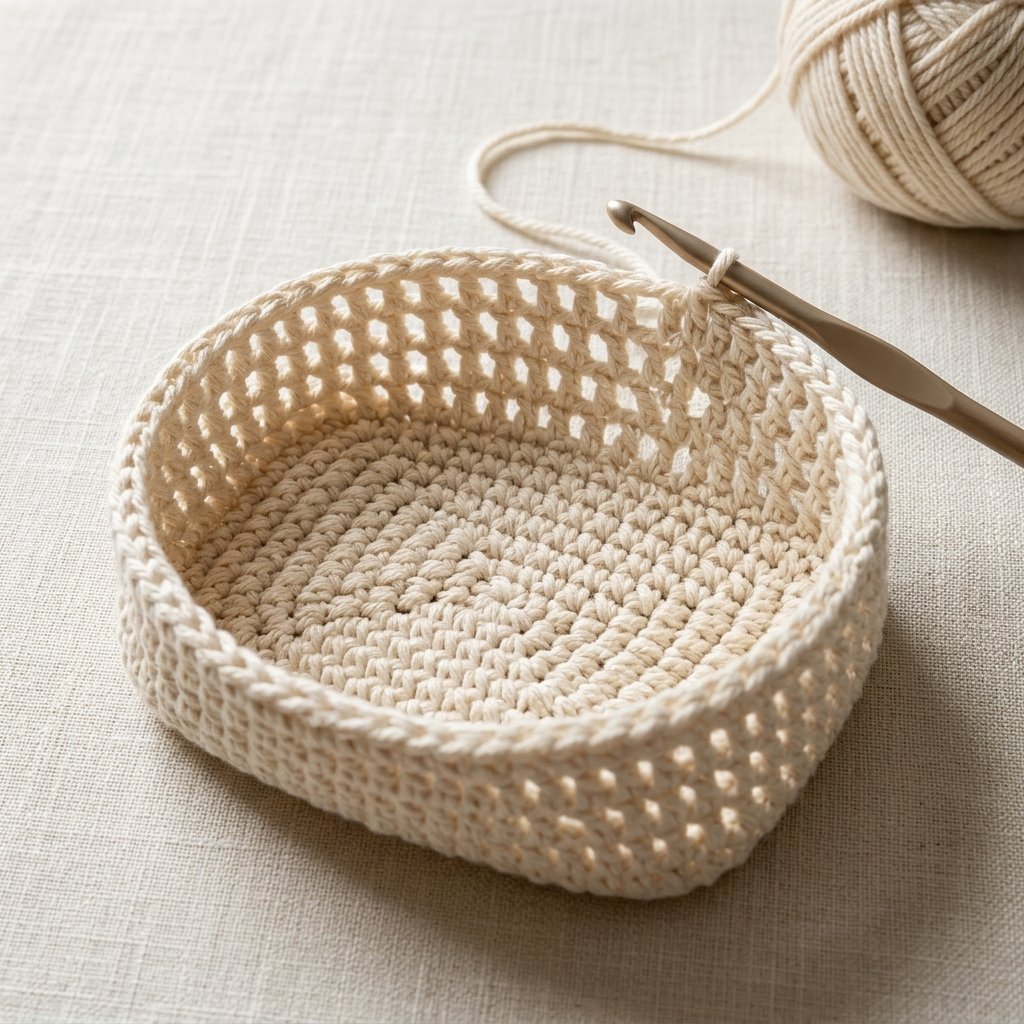
Start with a 4.5 mm hook.
The mesh should have clear openings, while the single crochet floors should feel firm. Change hook size if needed to match the measurements.
A loosely crocheted floor may sag considerably once the rolls are added.
Yarn and Cord
Use approximately 2 mm cotton crochet cord with a smooth finish. Cream gives the organizer the soft, neutral appearance of the inspiration design.
Cord thickness and density vary between manufacturers. Choose by swatch rather than assuming every 2 mm cord behaves identically.
Oatmeal, light gray, or pale sage are simple alternatives. Use the same cord throughout so the separate panels fit together consistently.
Gauge
- Mesh: 12 stitch positions and 8 rows = approximately 4 inches.
- Single crochet: 12 sc and 16 rows = approximately 4 inches.
In the mesh, one double crochet counts as one position, and one chain space counts as one position.
Wash and dry your swatches according to the cord label before measuring. Check both stitch patterns because the pocket floors and mesh panels must align.
Abbreviations
- ch: chain
- sc: single crochet
- dc: double crochet
- sl st: slip stitch
- st(s): stitch(es)
Before You Start
- Work all pieces flat in rows.
- The ch 1 on single crochet rows does not count as a stitch.
- On mesh rows, beginning ch 3 counts as one dc plus one ch-1 space.
- Every full mesh row begins and ends with a dc position.
- Work the final dc into the second chain of the previous row’s beginning ch 3.
- The side panels taper from a taller back edge to a lower front edge.
- Make all matching pieces the same size before assembly.
Crochet Toilet Paper Holder Pattern Instructions
Part 1 — Mesh Backing
Foundation: Ch 34.
Row 1: Dc in the sixth chain from the hook. The five skipped chains form the beginning dc and first chain space.
Repeat [ch 1, skip the next chain, dc in the next chain] across. Turn. (16 dc and 15 ch-1 spaces; 31 positions)
Row 2: Ch 3. Skip the first dc and first chain space, then dc in the next dc.
Repeat [ch 1, skip the next chain space, dc in the next dc] across. Work the final dc into the dc portion of the beginning chain at the opposite edge. Turn. (16 dc and 15 spaces)
For Row 2 only, that final stitch goes into the fourth chain above the foundation edge in the starting chain column. From Row 3 onward, use the second chain of the previous row’s beginning ch 3.
Rows 3–28: Repeat the established mesh row. (31 positions each row)
Fasten off. The backing should measure approximately 10.3 inches wide by 14 inches tall.
Mark the top of Row 16 across the backing. This is the attachment level for the upper pocket floor.
Part 2 — Solid Pocket Floors
Make two.
Foundation: Ch 32.
Row 1: Sc in the second chain from the hook and each remaining chain. Turn. (31 sc)
Rows 2–18: Ch 1. Sc in each stitch across. Turn. (31 sc)
Fasten off with a long sewing tail.
Each floor should measure approximately 10.3 inches wide by 4.5 inches deep.
The foundation and final-row edges are the wide edges. The row-end edges form the pocket’s left and right sides.
Part 3 — Mesh Pocket Fronts
Make two.
Follow the Mesh Backing instructions through Row 6, then fasten off.
Each front has 16 dc and 15 chain spaces across and should measure approximately 10.3 inches wide by 3 inches tall.
Leave a generous sewing tail on each panel.
Part 4 — Shaped Side Panels
Make four. Each side has a full-width lower section and a sloping upper edge.
Foundation: Ch 16.
Row 1: Dc in the sixth chain from the hook. Repeat [ch 1, skip the next chain, dc in the next chain] across. Turn. (7 dc and 6 spaces; 13 positions)
Mark the starting edge of Row 1 as the back edge. The opposite edge is the front edge.
Rows 2–6: Work the same plain mesh row used for the backing. (13 positions)
At this point, the panel is approximately 4.3 inches wide and 3 inches tall. The following rows shorten only the front edge.
Row 7: Begin the mesh row normally. Stop after working the second-to-last dc of the previous row, leaving its final chain space and final dc unworked. Turn. (6 dc and 5 spaces; 11 positions)
Row 8: Sl st into the next chain space and then into the next dc. Ch 3, skip the next chain space, and dc in the next dc. Continue the mesh to the back edge. Turn. (5 dc and 4 spaces; 9 positions)
Row 9: Work mesh from the back edge, again leaving the final chain space and final dc unworked at the front. Turn. (4 dc and 3 spaces; 7 positions)
Row 10: Sl st into the next chain space and next dc. Ch 3, skip the next chain space, and dc in the next dc. Continue to the back edge. Turn. (3 dc and 2 spaces; 5 positions)
Row 11: Ch 3, skip the next chain space, and dc in the next dc. Leave the remaining chain space and final dc unworked. (2 dc and 1 space; 3 positions)
Fasten off.
The back edge is approximately 5.5 inches tall, and the front edge is approximately 3 inches tall. The stepped upper edge will be smoothed with crochet edging.
The mesh is reversible, so turn two panels over to create matching left and right sides.
Part 5 — Assemble Each Pocket
Lay one solid floor flat. Position one mesh front along a wide edge of the floor.
Sew the front’s foundation edge to that floor edge, matching its 31 mesh positions to the 31 floor stitches. Catch both dc bases and chain-space positions evenly.
Attach one shaped side to each short floor edge. The side panel’s foundation edge runs along the floor depth.
The side mesh edge is slightly shorter than the floor at the target gauge. Distribute the small difference evenly without pulling hard on either piece.
Sew each side panel’s lower front edge to the corresponding edge of the pocket front, matching the first six mesh rows.
The taller side edges remain at the back. The sloping upper edges stay open.
Repeat for the second pocket.
Part 6 — Attach the Pockets to the Backing
Lay the backing flat with its bottom edge nearest you.
Lower pocket: Sew the remaining wide floor edge along the backing’s bottom foundation edge. Match the widths evenly.
Sew the tall rear edge of each side panel to the backing’s outer edge, working upward beside Backing Rows 1–11.
Upper pocket: Sew its remaining wide floor edge horizontally along the marked top of Backing Row 16.
Use small stitches that catch the actual crochet posts and stitch tops across the row. Do not bridge the entire line with long loose strands.
Sew the upper pocket’s side-back edges to the backing beside Rows 17–27.
Make a second pass along both floor-to-backing seams. These seams support the back of each pocket.
Part 7 — Edge the Openings
Join cord at the upper back corner of one pocket side.
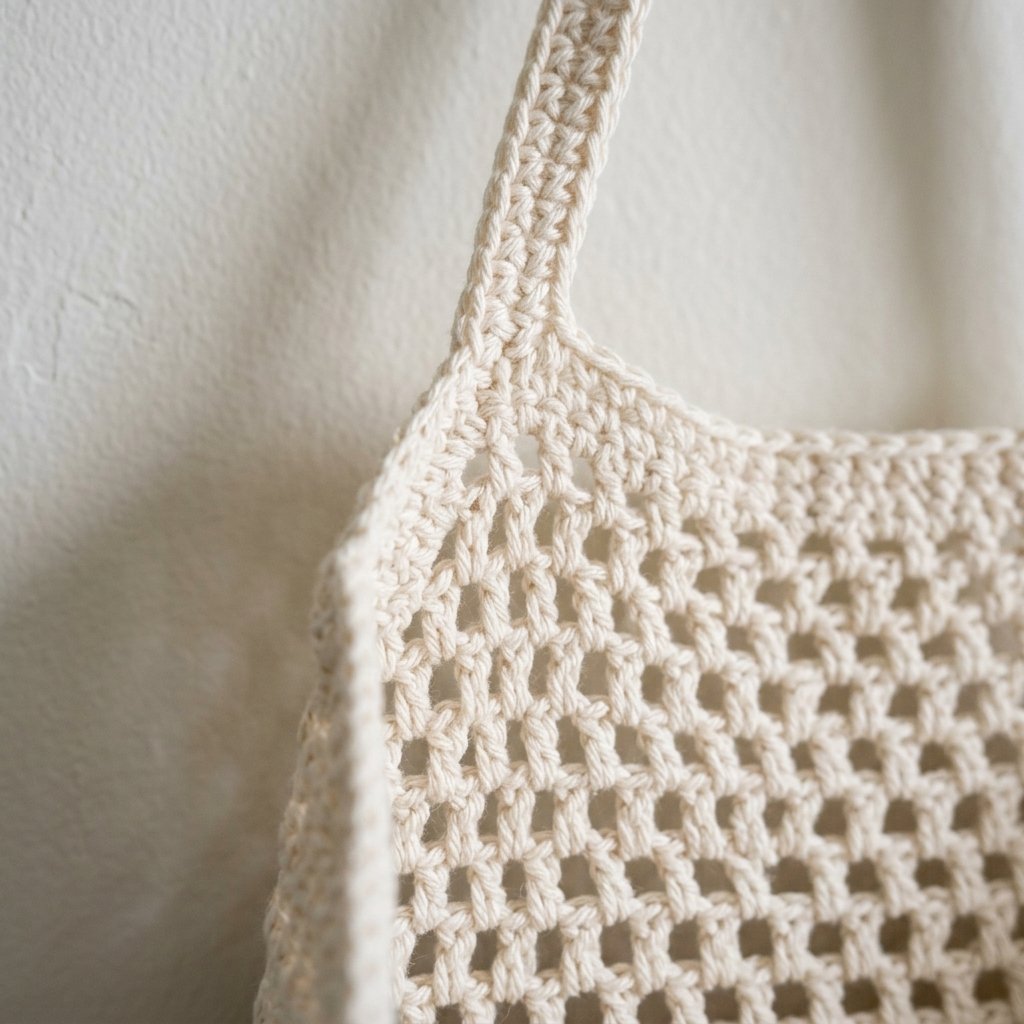
Ch 1. Work sc evenly down the sloping side edge, across the pocket’s front rim, and up the opposite sloping side edge.
Across the front rim, work one sc in each dc and one sc in each chain space. Along the side slopes, place stitches evenly around the row ends and steps.
Fasten off. Repeat around the second pocket opening.
Work one row of sc across the backing’s upper edge. Weave in all remaining tails.
The edging should smooth the openings without tightening them. Undo and adjust any section that curls inward or forms a pronounced ruffle.
Part 8 — Hanging Straps
Make two narrow straps.
Foundation: Ch 3.
Row 1: Sc in the second chain from the hook and the remaining chain. Turn. (2 sc)
Following rows: Ch 1. Sc in both stitches. Turn.
Continue until each strap measures approximately 24 inches without stretching. Fasten off with a long sewing tail.
Each strap runs from an upper front pocket corner, over the wall hook, and down to the backing corner on the same side.
Overlap one strap end approximately 1.5 inches down the upper pocket’s front-side seam. Sew along both edges of the overlap and across its end, catching several sturdy crochet posts.
Sew the other end to the upper backing corner on the same side, again using a 1.5-inch overlap.
Repeat on the opposite side. Check that neither strap is twisted.
Place both strap loops over the wall hook. Adjust the attachment lengths if the upper pocket tilts forward or the backing bunches.
Finishing and Hanging
Inspect all four side seams, both floor-to-backing seams, and the four strap attachments.
Follow the cotton cord’s care instructions for washing or damp shaping. Lay the organizer flat to dry, shaping the pocket floors and openings gently.
Hang the empty organizer first. Then add the dry rolls one at a time while checking the seams and straps.
Use a hook and wall fixing suitable for the loaded organizer. This untested design has no established load rating and is intended for lightweight spare toilet rolls.
Position it outside direct shower spray and away from surfaces that stay damp.

Finished Size
The two-tier body measures approximately 10–10.5 inches wide by 14 inches tall (25–27 cm by 36 cm).
Each pocket is approximately 4.5 inches deep (11 cm), with a 3-inch front (7.5 cm) and a 5.5-inch back edge (14 cm).
The total hanging height is approximately 23–26 inches (58–66 cm), depending on the hook and final strap adjustment.
Three Layout Options
Option 1 — Single Pocket
Work a backing with 12 mesh rows. Make one floor, one front, and two side panels.
Attach the floor to the backing’s bottom edge and the side backs beside Rows 1–11. Attach the straps to the pocket’s front corners and the backing’s top corners.
Allow approximately 225–300 yards of cord as a starting estimate.
Option 2 — Two-Tier Organizer
Follow the main pattern: 28 backing rows, two complete pockets, and two straps.
This is the version shown in the image plan.
Option 3 — Three-Tier Organizer
Work 44 backing rows. Make three floors, three fronts, and six shaped sides.
Attach the pocket floors at the backing’s foundation edge, the top of Row 16, and the top of Row 32.
Attach the side backs beside Rows 1–11, 17–27, and 33–43. Attach the straps to the highest pocket and backing corners.
Allow approximately 600–800 yards as a starting estimate. This version has a body approximately 22 inches tall and needs its own hanging and seam checks.
Tips and Customization
Make Wider Pockets
Add an even number of positions to the backing, front panels, and floor width. This preserves the mesh repeat.
For example, increasing from 31 to 35 positions requires ch 38 for the mesh panels and ch 36 for the single crochet floors.
The side panels remain unchanged if the pocket depth stays the same.
Change the Pocket Depth
For larger roll widths, increase the floor row count and the side-panel foundation width together. Make a sample side before repeating all the pieces, because its slope will also need adjustment.
Keep the Floors Firm
If the floors sag noticeably, check their gauge and consider a smaller hook for those pieces. Match their final width to the mesh panels before sewing.
Choose a Bathroom Color
Cream works with wood and warm tile. Pale sage, oatmeal, and soft gray create equally simple alternatives without changing the construction.
Frequently Asked Questions
How many rolls does the organizer hold?
The two-tier sample is intended to hold four suitably sized rolls: two in each pocket. Confirm the fit using your actual rolls.
Will large rolls fit?
Not automatically. Check both roll diameter and roll width. Larger rolls may need wider fronts and deeper floors.
Is this a dispenser?
No. It stores spare rolls with their circular ends facing outward.
Why is a pocket tipping forward?
Check that its floor is level, the side-back seams are secure, and the upper straps are balanced. Oversized rolls can also push the pocket out of shape.
Can I use it for toiletries?
This version is designed for lightweight toilet rolls. Bottles and other heavier contents need a separately assessed support system.
Can I wash it?
Follow the cord label. Remove all contents, wash gently if permitted, reshape the pockets, and dry completely before hanging again.
Save This Pattern for Later
Save this crochet toilet paper holder pattern to your crochet home decor or handmade organization board on Pinterest. Measure your rolls first, then choose the number of pockets you need.
Looking for Your Next Crochet Project?
Love this project? Explore Cute Stitch Studio’s premium crochet patterns for more cute, cozy, gift-worthy, and beginner-friendly handmade ideas.