

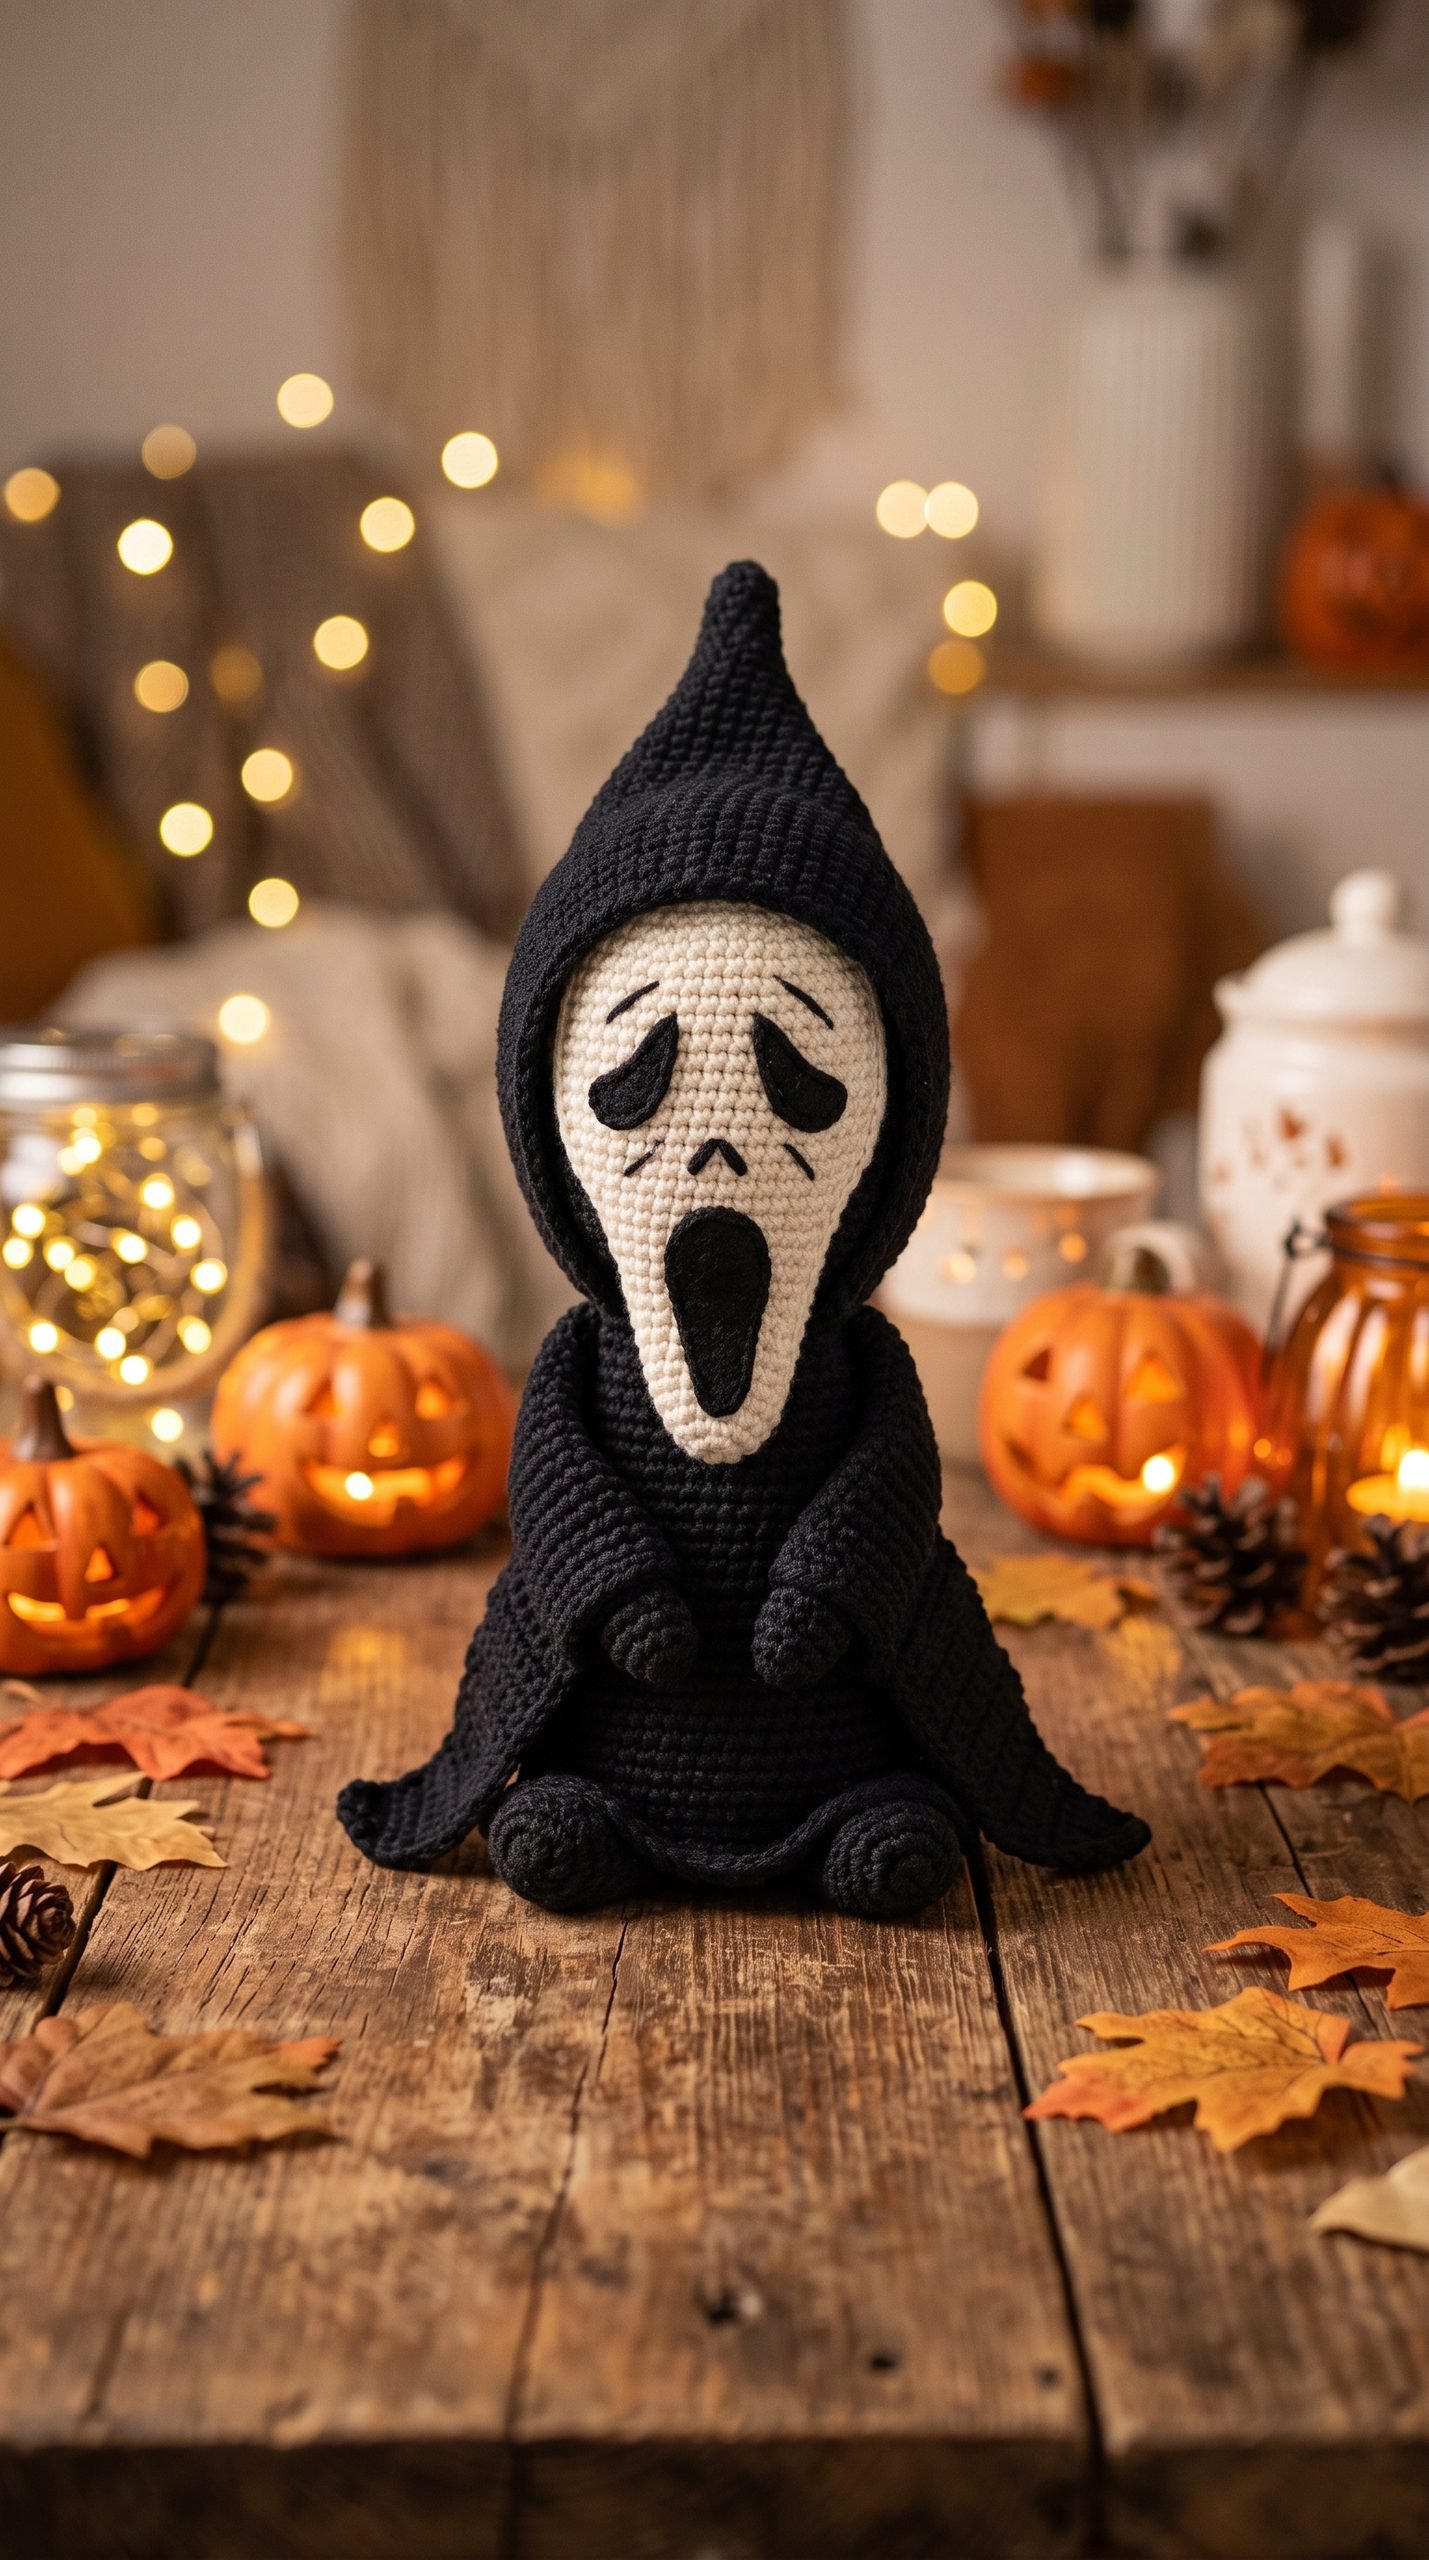
Free Crochet Ghostface Pattern for Halloween
If you are looking for a spooky project for the Halloween season, this crochet ghostface pattern is a fun one to make. This eerie little doll features a black hooded robe, a long ghost-style face, and a classic horror-inspired look that stands out beautifully in seasonal decor.
This project is great for advanced beginners who already know basic amigurumi methods such as working in rounds, shaping with increases and decreases, stuffing, and sewing pieces together. The result is a spooky crochet doll that looks dramatic but is still soft, handmade, and fun to display.
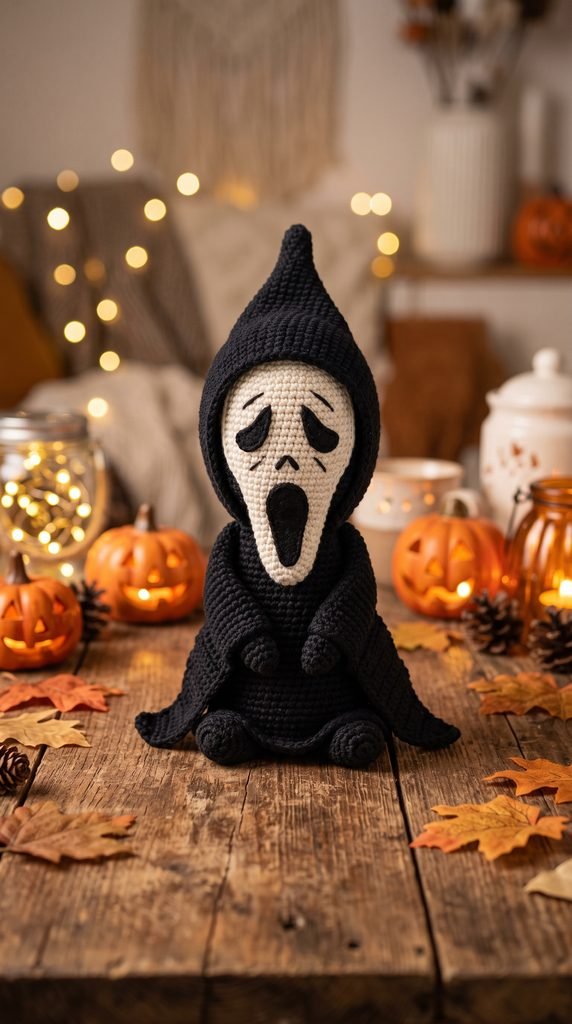
Project Details
- Skill Level: Advanced Beginner
- Estimated Time: 4–6 hours
- Finished Size: Approximately 9–11 inches tall
- Crochet Terminology: US terms
- Construction: The head, body, arms, hood, and facial appliqué pieces are crocheted separately, then assembled.
Materials
- Worsted weight #4 yarn in black
- Worsted weight #4 yarn in white or cream
- Small amount of black yarn for facial appliqué details
- 3.5 mm crochet hook
- Polyester fiberfill stuffing
- Yarn needle
- Scissors
- Stitch marker
- Straight pins for assembly, optional

Hook Size
Use a 3.5 mm (E/4) crochet hook.
Your stitches should be tight enough for amigurumi so the stuffing does not show through the fabric.
Yarn
This pattern uses worsted weight #4 yarn. Acrylic, cotton, or cotton-blend yarn can all work well.
Approximate yarn quantities:
- Black: 110–140 yards
- White or cream: 25–35 yards
Use bright white for a stronger contrast, or use soft cream if you want a slightly aged or vintage horror look.
Abbreviations
- MR = magic ring
- ch = chain
- sc = single crochet
- hdc = half double crochet
- dc = double crochet
- sl st = slip stitch
- st(s) = stitch(es)
- inc = increase, work 2 sc in the same stitch
- dec = invisible single crochet decrease
- FLO = front loop only
- BLO = back loop only
Before You Start / Pattern Notes
This project is worked mostly in continuous rounds unless otherwise stated. Use a stitch marker to keep track of the first stitch of each round.
The facial features are made separately and sewn onto the front of the white face panel. You can slightly adjust the placement of the eyes and mouth to create your preferred expression.
Stuff the head and body firmly, but avoid overstuffing the arms and hood.
Step-by-Step Crochet Instructions
Part 1 — Head
Using white yarn:
Round 1: 6 sc into MR. (6 sts)
Round 2: Inc around. (12 sts)
Round 3: *Sc in next st, inc.* Repeat around. (18 sts)
Round 4: *Sc in next 2 sts, inc.* Repeat around. (24 sts)
Round 5: *Sc in next 3 sts, inc.* Repeat around. (30 sts)
Round 6: *Sc in next 4 sts, inc.* Repeat around. (36 sts)
Rounds 7–13: Sc in each st around. (36 sts)
Round 14: *Sc in next 4 sts, dec.* Repeat around. (30 sts)
Round 15: *Sc in next 3 sts, dec.* Repeat around. (24 sts)
Begin stuffing the head.
Round 16: *Sc in next 2 sts, dec.* Repeat around. (18 sts)
Round 17: *Sc in next st, dec.* Repeat around. (12 sts)
Finish stuffing.
Round 18: Dec around. (6 sts)
Fasten off and close the opening. Leave a tail for sewing if needed.
Part 2 — Body and Robe Base
Using black yarn:
Round 1: 6 sc into MR. (6 sts)
Round 2: Inc around. (12 sts)
Round 3: *Sc in next st, inc.* Repeat around. (18 sts)
Round 4: *Sc in next 2 sts, inc.* Repeat around. (24 sts)
Round 5: *Sc in next 3 sts, inc.* Repeat around. (30 sts)
Round 6: *Sc in next 4 sts, inc.* Repeat around. (36 sts)
Rounds 7–14: Sc in each st around. (36 sts)
Round 15: *Sc in next 4 sts, dec.* Repeat around. (30 sts)
Round 16: Sc around. (30 sts)
Round 17: *Sc in next 3 sts, dec.* Repeat around. (24 sts)
Begin stuffing the body.
Round 18: Sc around. (24 sts)
Round 19: *Sc in next 2 sts, dec.* Repeat around. (18 sts)
Finish stuffing the lower half so the doll can sit upright.
Round 20: Sc around. (18 sts)
Fasten off, leaving a long tail for sewing the head to the body.
Part 3 — Legs (Make 2)
Using black yarn:
Round 1: 6 sc into MR. (6 sts)
Round 2: Inc around. (12 sts)
Rounds 3–5: Sc around. (12 sts)
Round 6: *Sc in next st, dec.* Repeat around. (8 sts)
Lightly stuff the lower portion.
Round 7: Sc around. (8 sts)
Fasten off, leaving a tail for sewing.
Part 4 — Arms (Make 2)
Using black yarn:
Round 1: 6 sc into MR. (6 sts)
Rounds 2–6: Sc around. (6 sts)
Do not overstuff. A tiny bit of stuffing can be added if desired.
Flatten the top opening and sew closed.
Fasten off, leaving a tail for sewing.
Part 5 — Hood
Using black yarn, ch 18.
Row 1: Starting in the 2nd chain from the hook, sc across. Turn. (17 sts)
Row 2: Ch 1, sc across. Turn. (17 sts)
Row 3: Ch 1, sc across. Turn. (17 sts)
Row 4: Ch 1, dec, sc 13, dec. Turn. (15 sts)
Row 5: Ch 1, sc across. Turn. (15 sts)
Row 6: Ch 1, dec, sc 11, dec. Turn. (13 sts)
Row 7: Ch 1, sc across. Turn. (13 sts)
Row 8: Ch 1, dec, sc 9, dec. Turn. (11 sts)
Row 9: Ch 1, sc across. Turn. (11 sts)
Fasten off, leaving a long tail.
Fold the hood piece slightly around the back of the head during assembly. It should frame the face and drape slightly onto the shoulders.
Part 6 — Side Hood Panels (Optional, Make 2)
These help create a fuller hood shape.
Using black yarn, ch 8.
Row 1: Starting in the 2nd chain from hook, sc across. Turn. (7 sts)
Rows 2–4: Ch 1, sc across. Turn. (7 sts)
Fasten off and leave tails for sewing.
Part 7 — Face Panel
Using white yarn, ch 9.
Round 1: Starting in the 2nd chain from hook, sc 7, 3 sc in last chain. Continue along opposite side of the chain: sc 6, inc in last chain. (18 sts)
Round 2: Inc, sc 6, inc 3 times, sc 6, inc 2 times. (24 sts)
Round 3: Sc around. (24 sts)
Round 4: Sc around, but work a slightly tighter tension so the shape stays neat and flat.
Fasten off, leaving a long tail for sewing.
This piece should resemble an elongated oval.
Part 8 — Eye Appliqués (Make 2)
Using black yarn, ch 6.
Row 1: Starting in the 2nd chain from hook, sc 5. Turn.
Row 2: Ch 1, dec, sc, dec. Turn.
Row 3: Ch 1, sc 3.
Fasten off, then gently stretch and shape into an almond-like drooping eye.
Part 9 — Nose Appliqué
Using black yarn, ch 3.
Row 1: Starting in the 2nd chain from hook, sc 2.
Fasten off and shape into a tiny pointed oval or triangle.
Part 10 — Mouth Appliqué
Using black yarn, ch 8.
Round 1: Starting in the 2nd chain from hook, sc 6, 3 sc in last chain. Continue on opposite side: sc 5, inc in last chain. (16 sts)
Round 2: Sc around.
Fasten off, leaving a tail.
This piece should create a long open mouth shape. Gently pull it longer if needed.
Part 11 — Sleeve Drapes (Make 2)
Using black yarn, ch 10.
Row 1: Starting in the 2nd chain from hook, sc across. Turn. (9 sts)
Row 2: Ch 1, sc across. Turn. (9 sts)
Fasten off, leaving a tail.
These small strips can be sewn under each arm to create a draped robe effect.

Assembly
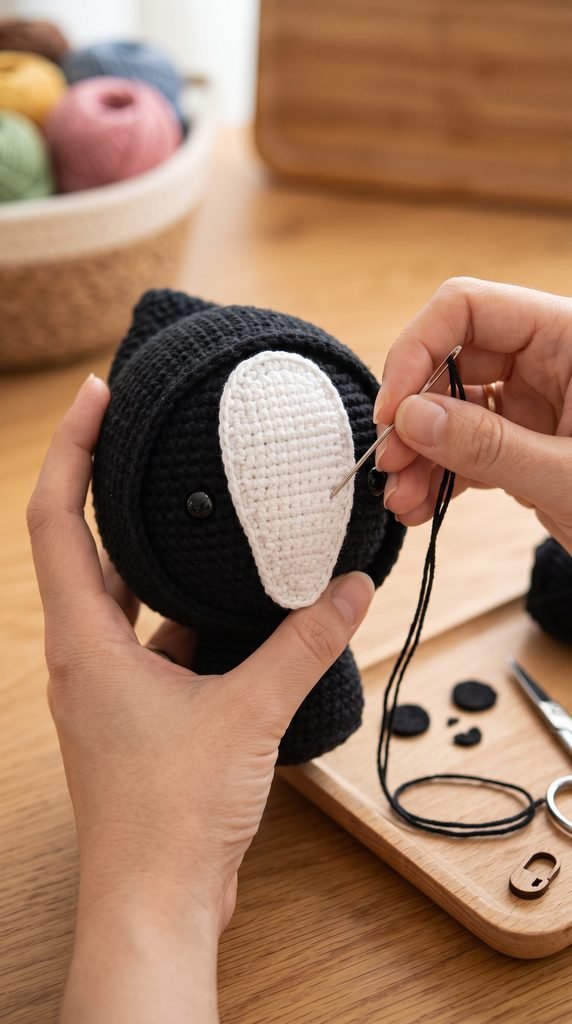
Pin the white face panel to the front of the crocheted head and sew it neatly into place.
Sew the two black eye appliqués onto the face panel, angling them slightly downward toward the center for a dramatic expression.
Sew the nose appliqué between the eyes.
Attach the mouth appliqué below the nose, centered on the lower half of the face panel.
Sew the head securely to the body.
Attach the legs to the lower front of the body so the doll can sit upright.
Sew the arms to each side of the upper body.
Attach the sleeve drapes under the arms so they hang downward like robe sleeves.
Wrap the hood around the back and sides of the head and sew it in place. Add the optional side hood panels if you want a fuller hood shape.
Finishing
Weave in all remaining yarn ends carefully.
Reshape the face panel with your fingers so it sits smoothly against the head.
Adjust the hood until it frames the face evenly.
If the doll leans too much, add a little more stuffing to the base of the body before fully closing.
Blocking is not usually necessary for this project.
Finished Size
Your finished doll should measure approximately 9–11 inches tall (23–28 cm), depending on your yarn, hook size, and tension.
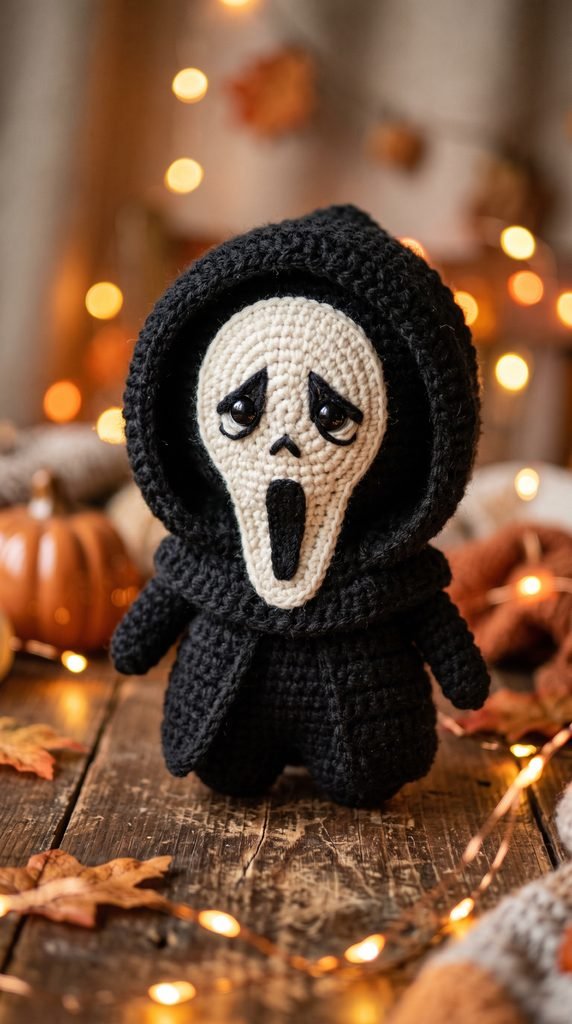
Tips and Customization
Make It Smaller
Use DK weight yarn and a smaller hook for a more compact doll.
Add Rosy or Gray Shading
You can lightly embroider subtle gray contour lines around the mask for extra expression.
Display Idea
This doll looks great on a shelf, Halloween tiered tray, mantel, or spooky movie-night display.
Turn It Into a Gift
This pattern makes a fun handmade gift for horror fans and Halloween lovers.
Looking for Your Next Crochet Project?
Love this project? Explore Cute Stitch Studio’s premium crochet patterns for more cute, cozy, spooky, and gift-worthy handmade ideas.


