

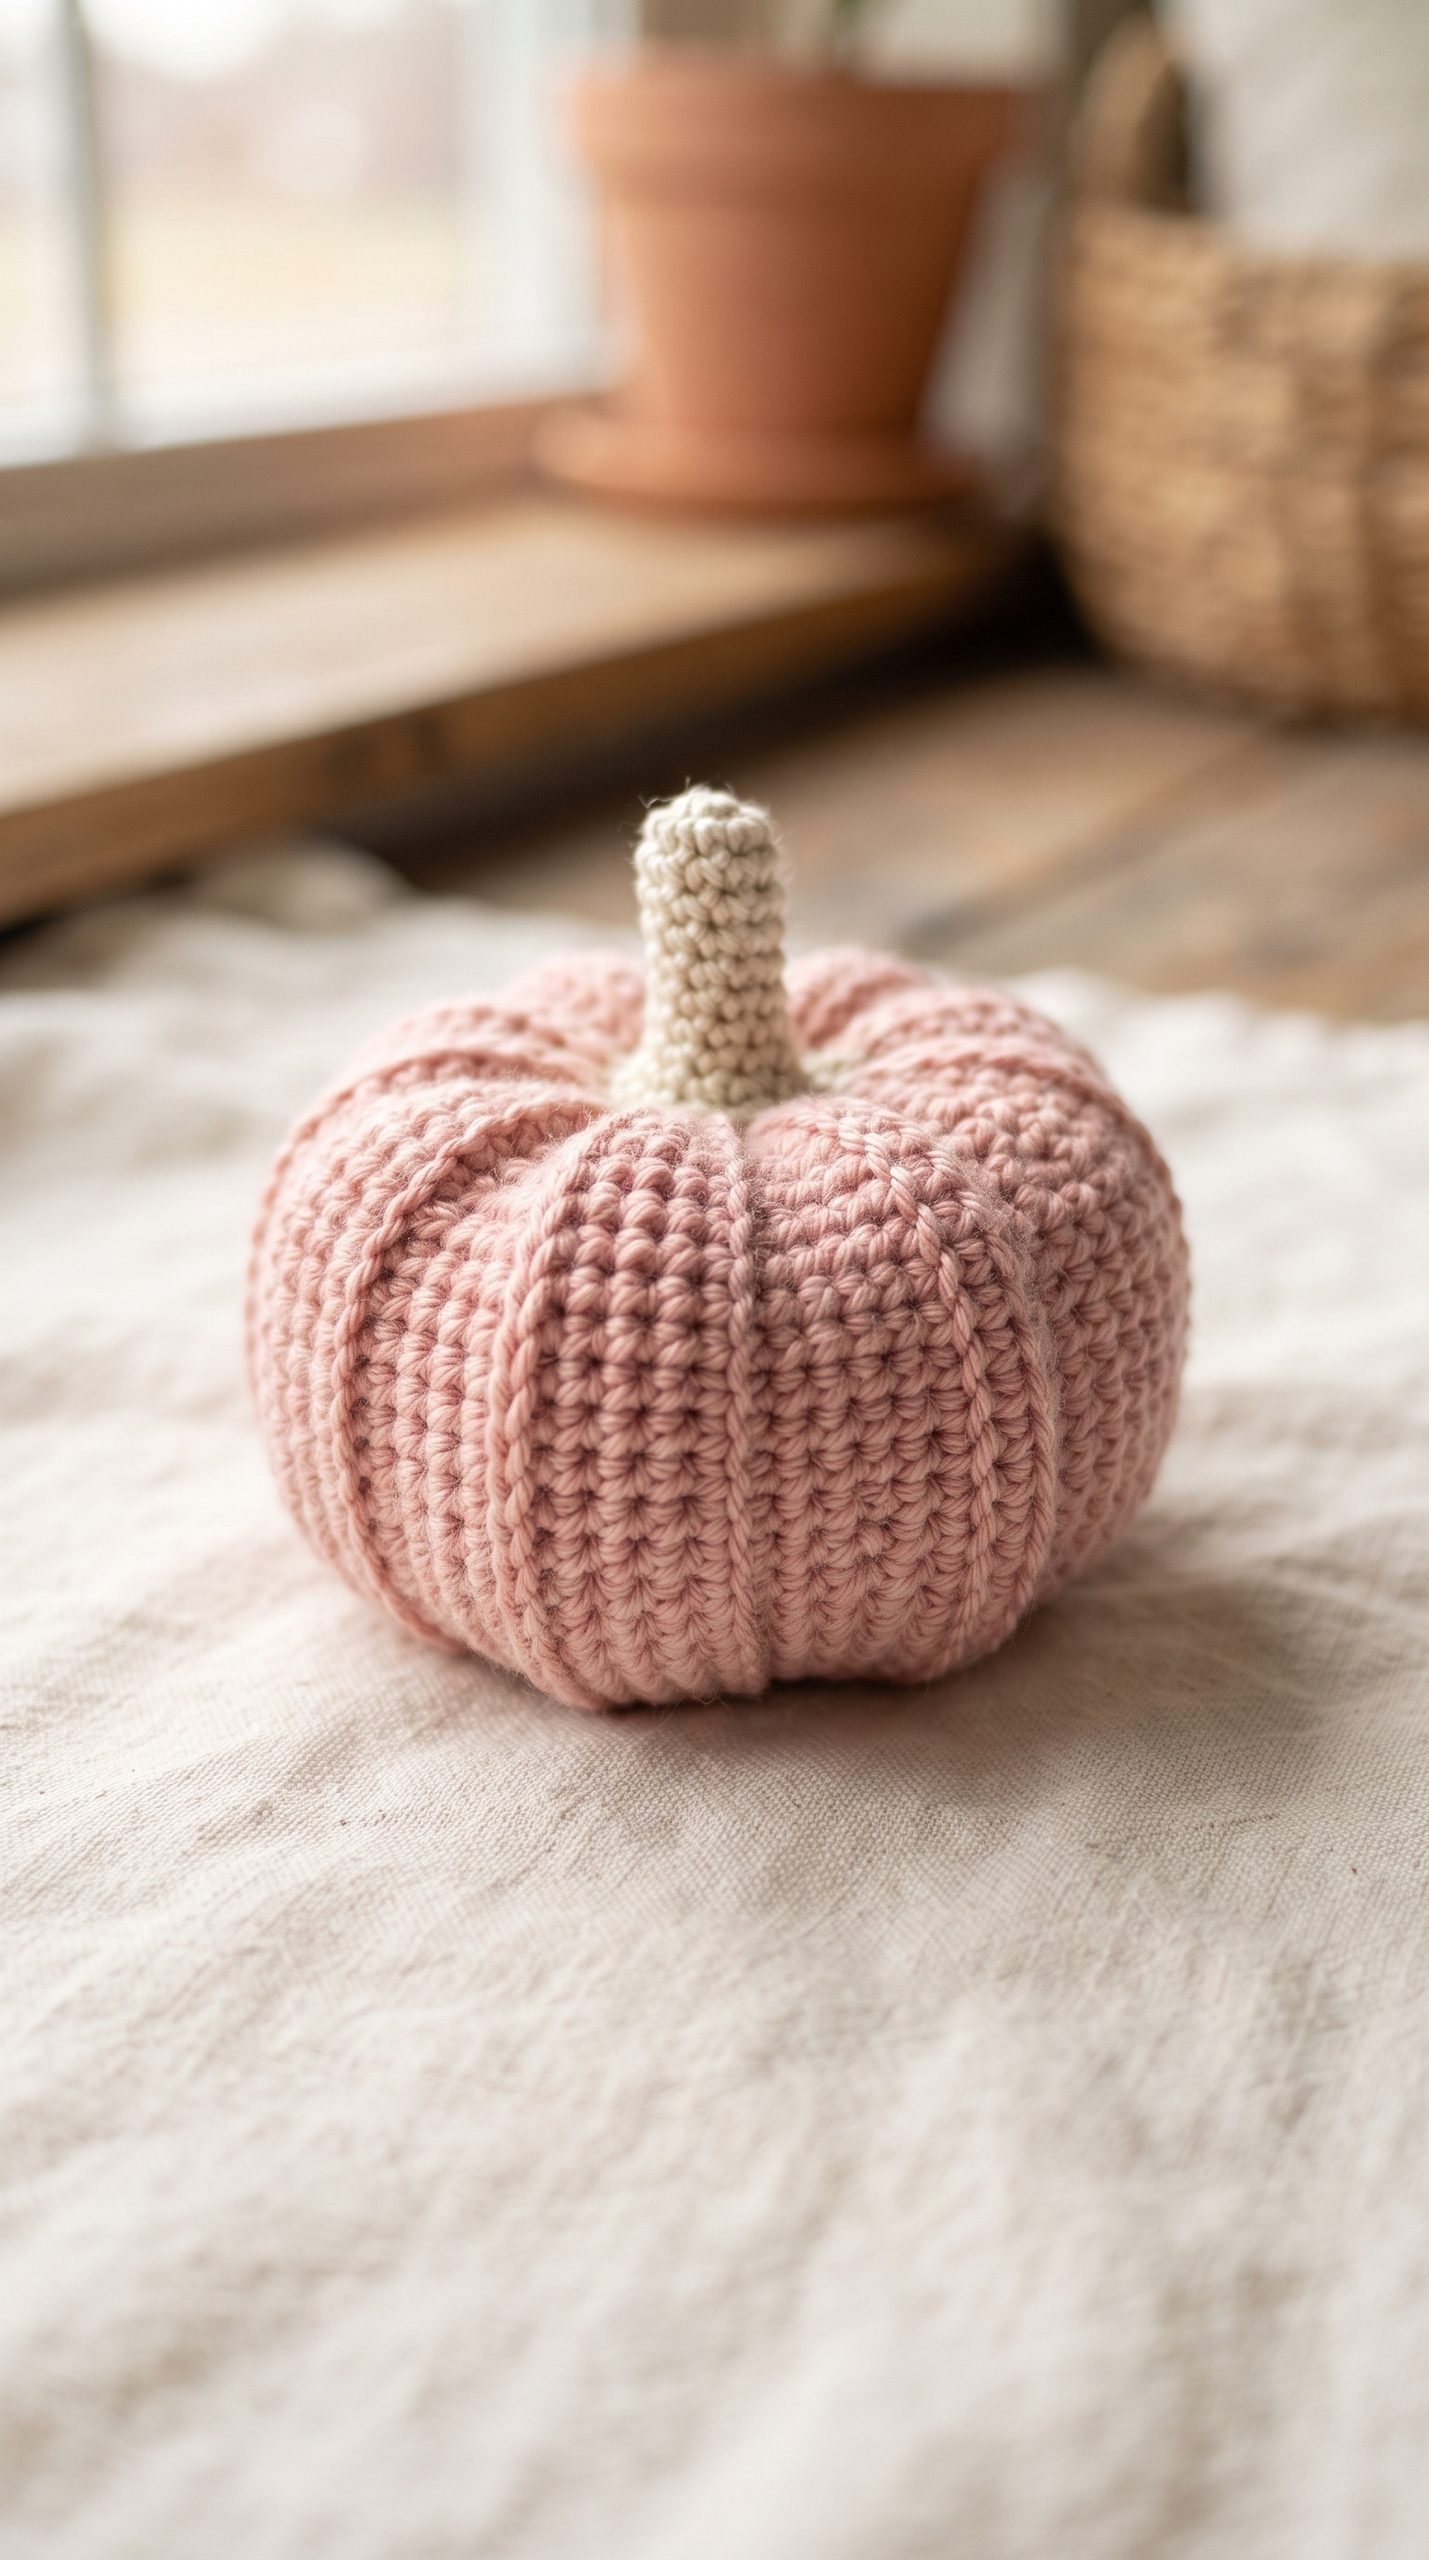
Mini Crochet Pumpkin Pattern for Beginners
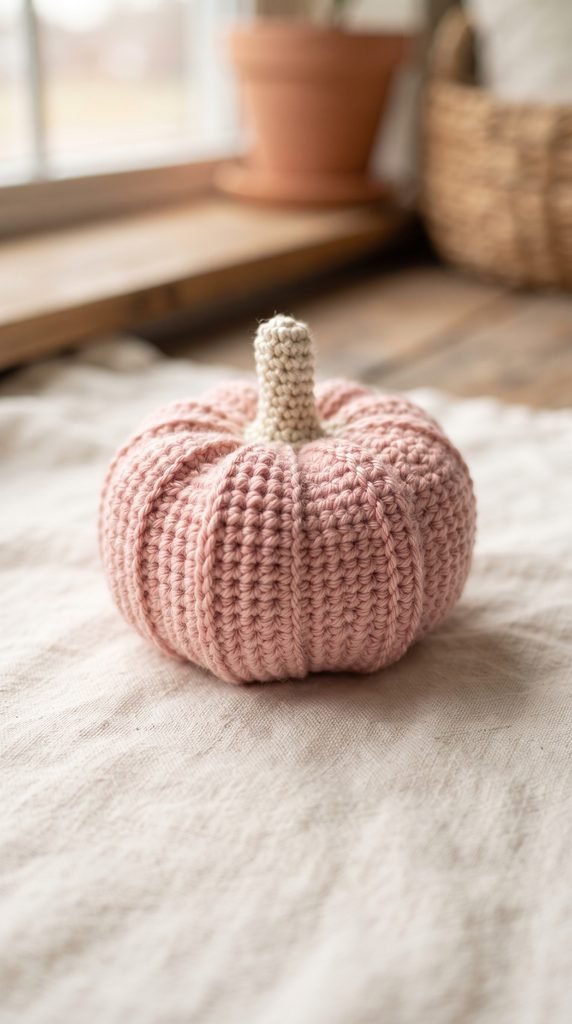
This mini crochet pumpkin pattern turns a simple rectangle into a cute Halloween decoration. With soft pink yarn, textured ribs, and a little cream stem, it adds a cozy touch to your fall decorating.
Make one for your desk, arrange a few on a shelf, or give one as a small handmade gift. This project is beginner-friendly if you know how to chain and single crochet. There is no magic ring, and the assembly is explained step by step.
Project Details
- Skill Level: Beginner, with basic hand sewing
- Estimated Time: 1–2 hours; your first pumpkin may take longer
- Finished Size: Approximately 2½–3 inches wide and 2–2½ inches tall, excluding the stem
- Crochet Terminology: US terms
- Construction Method: A flat rectangle sewn into a tube, gathered, stuffed, and shaped
- Gauge: Exact gauge is not essential for this decorative project
Materials
You will need:
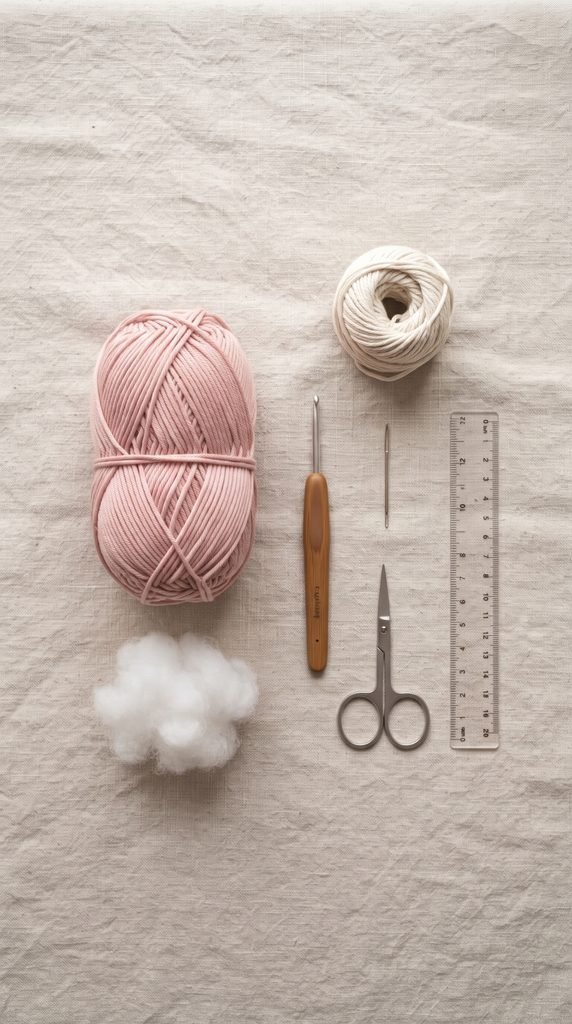
- Medium-weight yarn in pink and cream
- 4 mm (G-6) crochet hook
- Blunt yarn needle
- Scissors
- Polyester fiberfill
- Measuring tape or ruler
Hook Size
Use a 4 mm (G-6) crochet hook.
Your stitches should be close enough to keep the stuffing inside. If the fabric has large gaps, try a smaller hook. This will also make the finished pumpkin slightly smaller.
Yarn
Use medium-weight category 4 yarn.
Allow approximately:
- 35–45 yards of pink yarn for the body, sewing, and shaping
- 3–5 yards of cream yarn for the stem
Smooth cotton or acrylic yarn works well. Choose a yarn with clearly visible stitches to make your first pumpkin easier to crochet.
The featured color combination is blush pink and cream. Orange and brown make a classic Halloween version, while lavender or ivory creates a softer seasonal look.
Yarn quantities are estimates, so keep a little extra available for assembly.
Abbreviations
This pattern uses US crochet terminology:
- ch = chain
- sc = single crochet
- BLO = back loop only
- st(s) = stitch(es)
Before You Start
The pumpkin body is worked back and forth in rows. Every row contains 16 stitches.
The turning chain does not count as a stitch. Work the first single crochet into the first stitch of the row, and do not crochet into the turning chain at the other end.
For back loop only, look at the two loops forming a V on top of each stitch. Insert your hook under the loop farther away from you, then complete a normal single crochet.
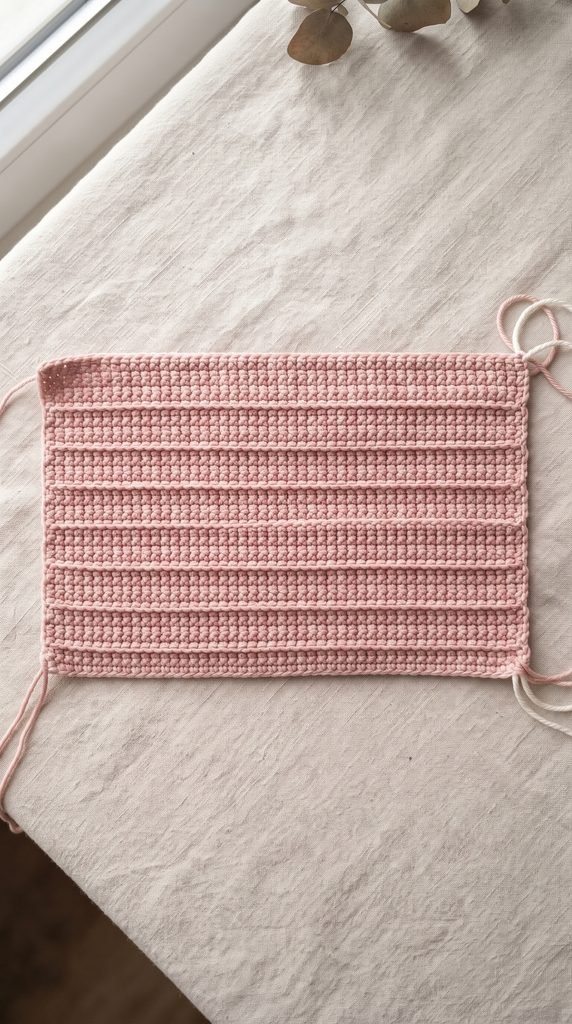
Your rectangle should measure roughly 4 inches by 8 inches, without stretching. This corresponds to a planning gauge of approximately 16 stitches and 20 rows per 4 inches in the ribbed pattern.
The first and last rows will be sewn together. The two edges made from row ends become the gathered top and bottom.
Finished measurements and gauge are estimates; this pattern has not been physically tested.
Mini Crochet Pumpkin Pattern Instructions
Part 1 — Crochet the Rectangle
Using pink yarn, leave a starting tail approximately 12 inches long.
Foundation: Ch 17.
Row 1: Sc into the second ch from the hook and each remaining ch. Turn. 16 sts.
Row 2: Ch 1. Work 1 sc in BLO of each stitch across. Turn. 16 sts.
Rows 3–40: Repeat Row 2. 16 sts in each row.
You should now have 40 rows total.
Fasten off, leaving an 18-inch tail for sewing.
Lay the rectangle flat and check that its edges are even. Count the stitches if one end looks wider than the other.
Part 2 — Sew the Side Seam
- Bring the final row to the foundation-chain edge, matching the 16 stitch positions.
- Thread the long finishing tail onto your yarn needle.
- Sew the edges together with a whipstitch: pass through an edge loop on each side, bring the needle over the joined edge, and repeat at the next pair.
- Continue across all 16 matched positions.
- Keep the seam secure without pulling it so tightly that it puckers.
- Secure the yarn with a small stitch through the seam and weave in the remaining tail.
Turn the tube so the seam sits on the inside.
You now have a short ribbed tube with two open ends.
Part 3 — Close the Bottom
- Thread the starting tail onto your yarn needle.
- Work around the adjacent opening, passing under a sturdy edge loop at each of the 40 row ends.
- Gently pull the yarn to gather the opening.
- Arrange the fabric with your fingers as you tighten it.
- Once closed, sew across the center a few times to secure it.
- Weave in the tail and trim the excess.
This gathered end forms the bottom of your pumpkin.
Part 4 — Add the Stuffing
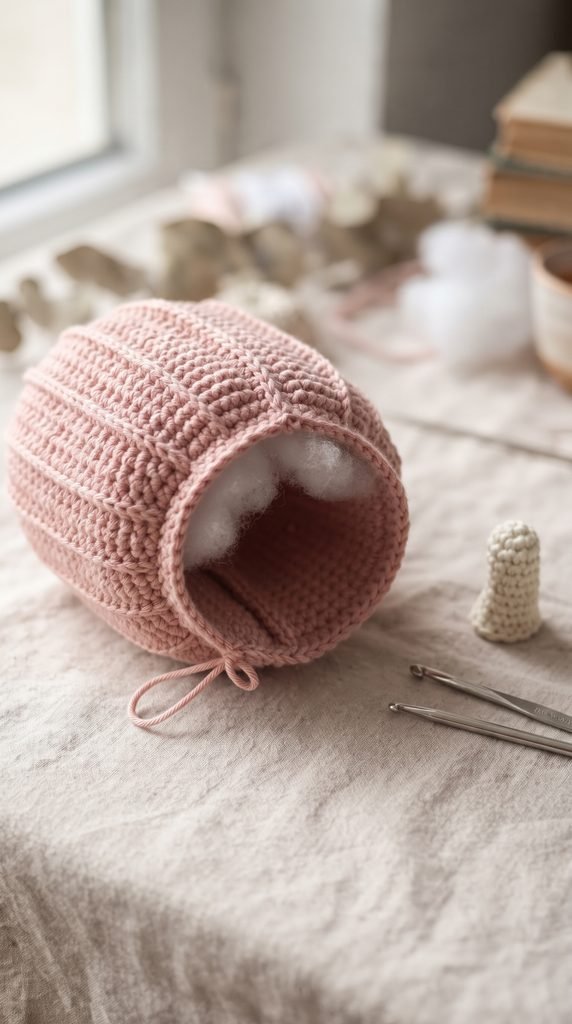
Add small pieces of fiberfill through the open top.
Spread the filling around the inside rather than pushing one large piece into the center.
The body should feel rounded but still soft enough to squeeze. Avoid overstuffing, which can stretch the stitches and make shaping difficult.
Part 5 — Close the Top
Cut an 18-inch length of pink yarn.
- Anchor the yarn near the top edge with several small stitches, leaving a short tail to weave in.
- Pass the needle under a sturdy edge loop at each of the 40 row ends.
- Pull gently to gather the opening.
- Tuck any loose stuffing inside before closing it completely.
- Sew across the center a few times to secure the closure.
- Weave in both yarn ends.
Your pumpkin should now look like a softly stuffed, ribbed ball.
Part 6 — Shape the Pumpkin
Cut approximately 60 inches of pink yarn. Use it as a single strand.
- Anchor the yarn at the bottom center, leaving a 6-inch tail.
- Push the needle through the center of the pumpkin and out at the top. Gently compress the pumpkin if needed to help the needle reach.
- Bring the yarn down the outside, following a valley between the ribs, to the bottom center.
- Push the needle through the pumpkin again, from bottom to top.
- Pull gently until the outside strand creates a shallow groove.
- Repeat this outside wrap and bottom-to-top pass five more times, spacing the wraps around the pumpkin.
You should have six shaping wraps total.
Keep the grooves as evenly spaced as possible. They do not need to follow every rib.
After the final wrap, pass the needle from the top center back down to the bottom. Tie the working yarn to the starting tail, then bury both ends inside the pumpkin.
Press the top and bottom gently inward to create a squat pumpkin shape.
Part 7 — Crochet the Stem
Using cream yarn, leave a 6-inch starting tail.
Foundation: Ch 5.
Row 1: Sc into the second ch from the hook and each remaining ch. Turn. 4 sts.
Row 2: Ch 1. Sc through both loops of each stitch across. Turn. 4 sts.
Row 3: Ch 1. Sc through both loops of each stitch across. 4 sts.
Fasten off, leaving a 12-inch tail.
Roll the small rectangle so the foundation edge meets Row 3. The four-stitch direction forms the stem’s length.
Sew the matching edges together to create a narrow tube. No stuffing is needed.
Use the starting tail to sew one end closed, then weave that tail inside the stem.
Part 8 — Attach the Stem
Place the open end of the stem over the pumpkin’s top center.
Using the remaining long tail, sew around the base of the stem. With each stitch, catch both the stem edge and the pumpkin fabric.
Continue until the stem is secure. Weave in the tail and trim the excess.
Finishing
Check the top and bottom closures for small gaps. If needed, use leftover pink yarn to close them with a few extra stitches.
Gently massage the pumpkin to distribute the stuffing evenly. Adjust the shaping strands, flatten the base slightly, and straighten the stem.
Weave in any remaining yarn ends.
Blocking is unnecessary for this stuffed project. Shape the pumpkin with your hands instead.
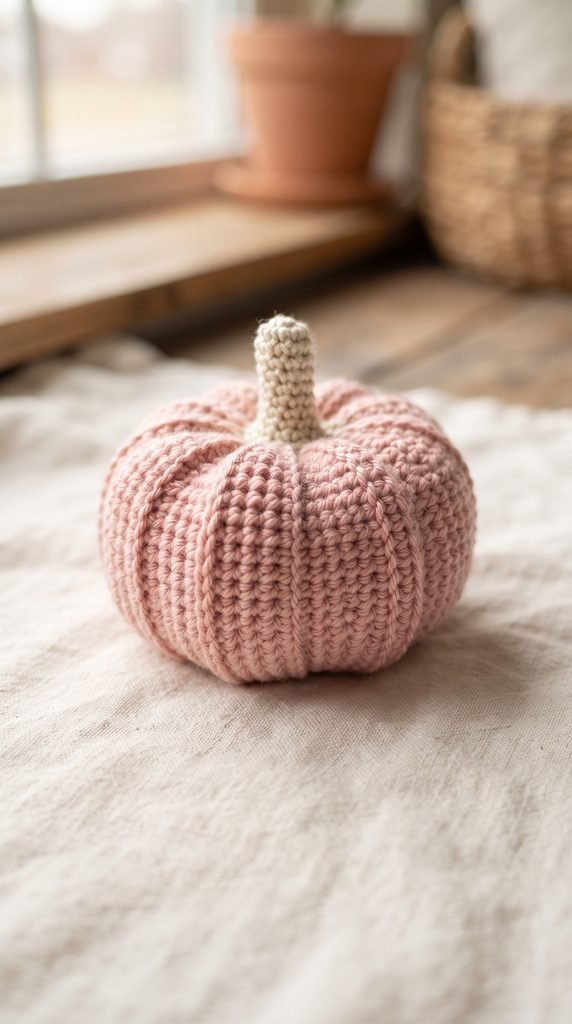
Finished Size
The finished pumpkin is estimated to measure approximately:
- Width: 2½–3 inches (6.5–7.5 cm)
- Body height: 2–2½ inches (5–6.5 cm)
- Stem height: An additional ¾–1 inch (2–2.5 cm)
Your measurements will vary depending on your yarn, crochet tension, stuffing, and shaping.
Tips and Customization
- Use orange yarn and a brown stem for a traditional Halloween pumpkin.
- Try blush pink, lavender, and cream for a soft seasonal display.
- Use the same yarn, hook, and stitch counts when making a matching set.
- Keep the filling soft enough that you can shape the pumpkin without pulling hard on the yarn.
- For a smaller version, use finer yarn and a matching smaller hook while keeping the same stitch counts. Check the finished dimensions as you work.
- Place a pumpkin beside a handwritten note for a simple handmade gift.
- Arrange several pumpkins in a shallow bowl or along a fall shelf.
This pumpkin is intended as a decoration, not as a baby toy or crib accessory.
Looking for Your Next Crochet Project?
Love this little pumpkin? Explore Cute Stitch Studio’s premium crochet patterns for more cute, cozy, and gift-worthy handmade ideas.
Related Articles
For another small project, try our easy crochet heart pattern for beginners.


