

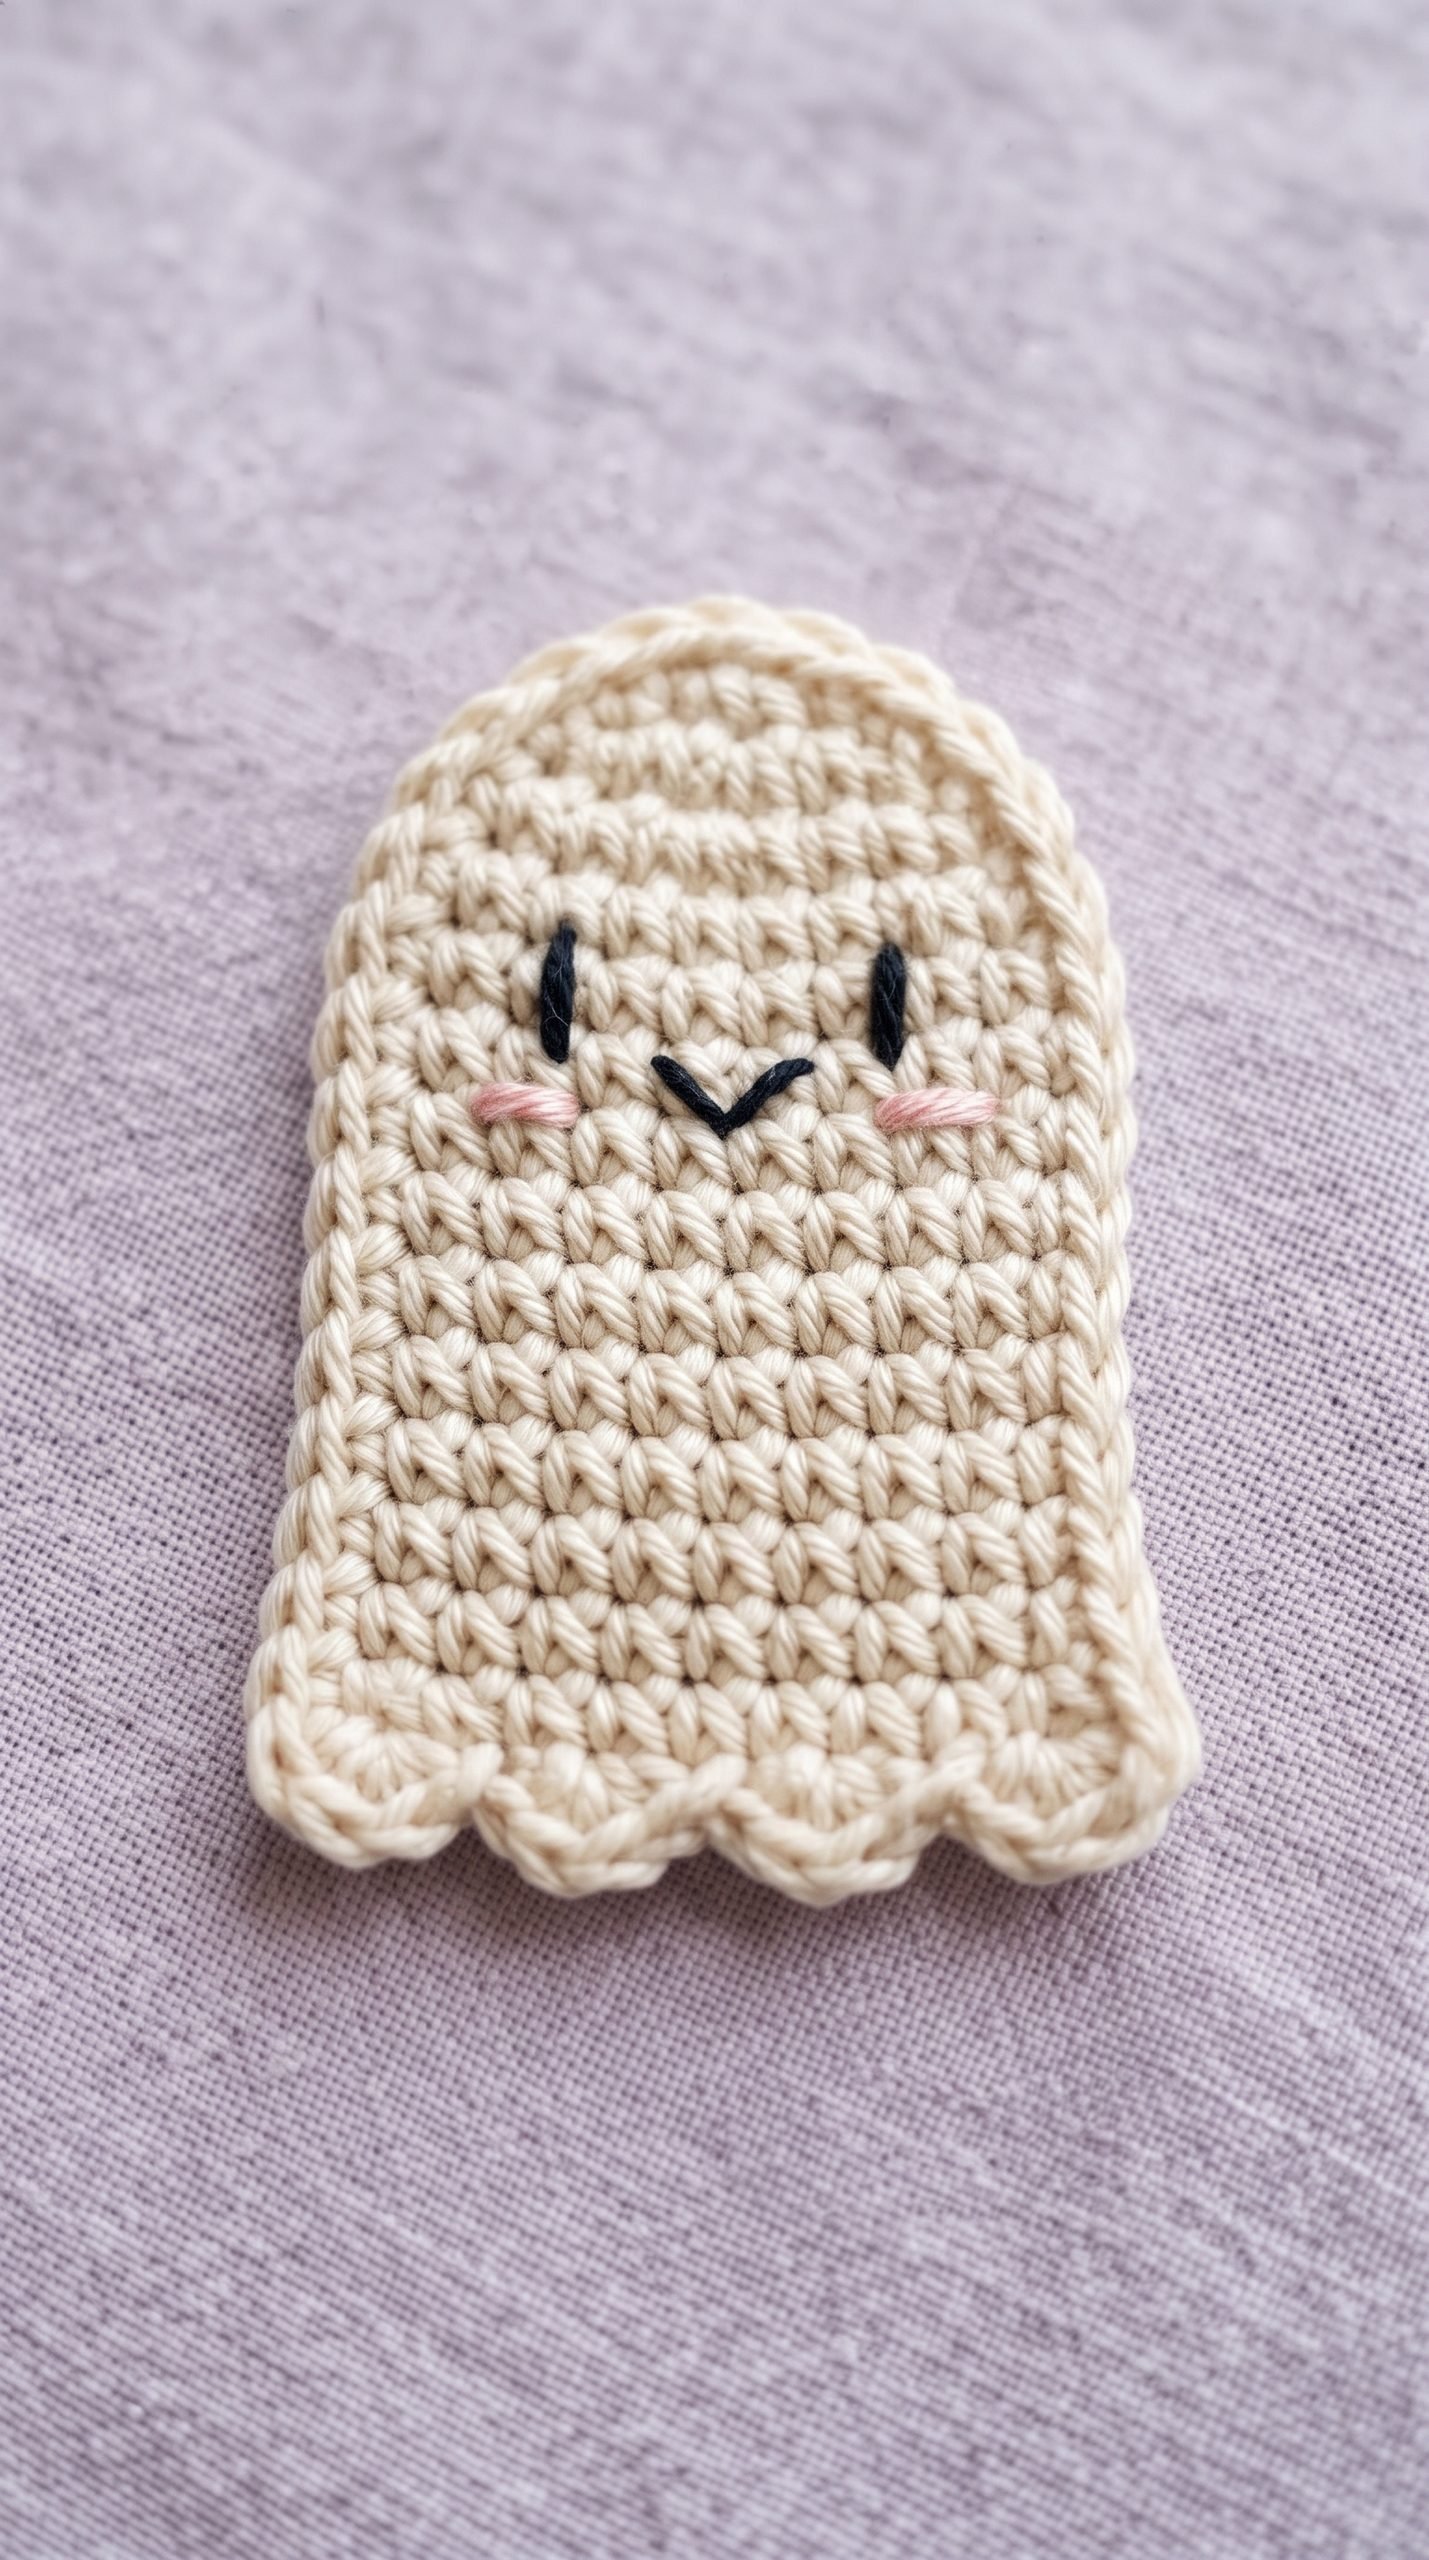
Crochet Ghost Appliqué Pattern for Beginners
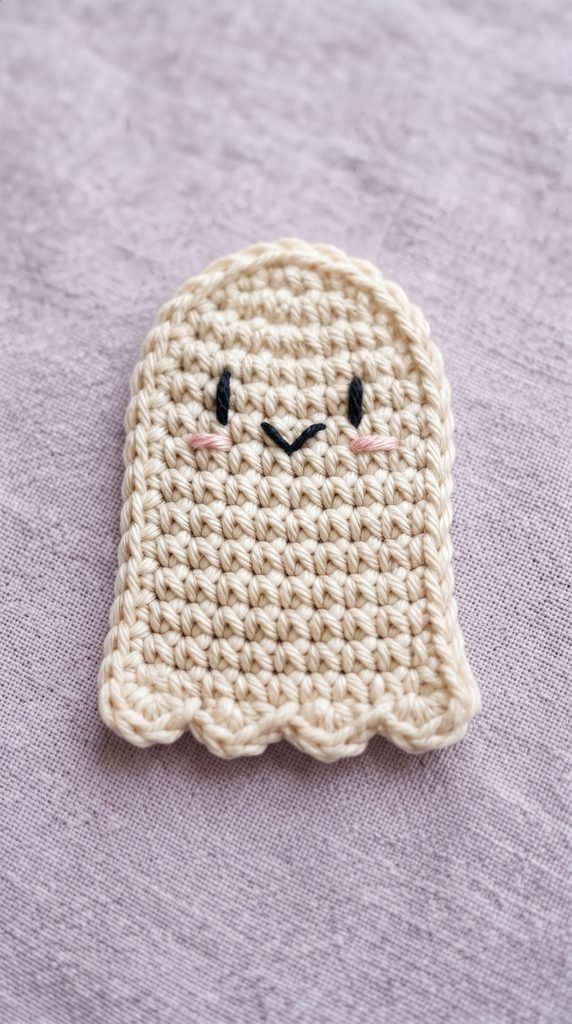
This crochet ghost appliqué pattern makes a sweet little Halloween decoration with a gently shaped head, a wavy bottom, and a simple embroidered face.
Sew it onto a tote bag, add it to handmade gift wrapping, or make several for a seasonal display. The ghost is crocheted flat in short rows, with no stuffing or magic ring required.
It is a beginner-friendly project for makers who know basic stitches and want to practice simple increases.
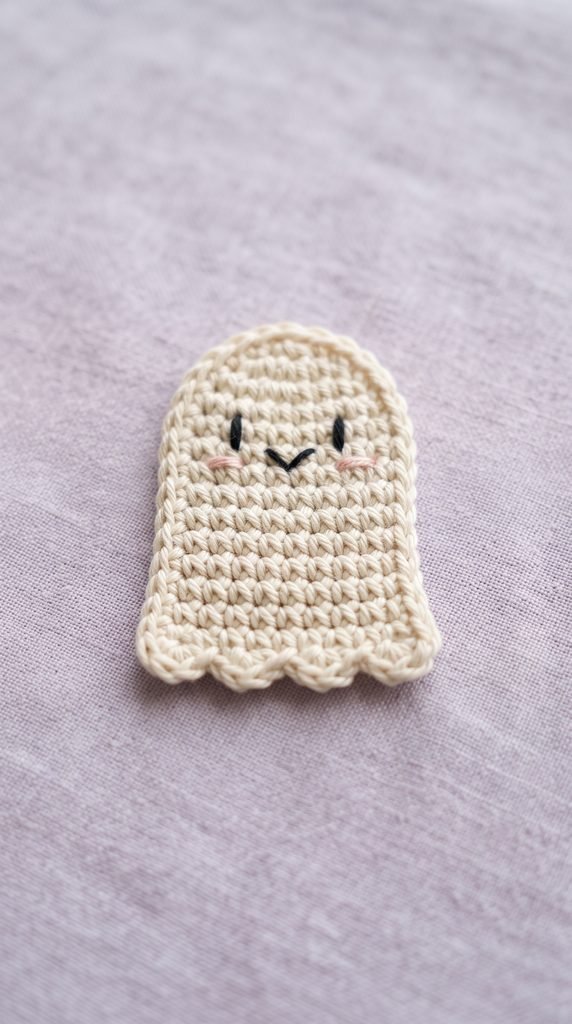
Project Details
- Skill Level: Beginner, with basic embroidery
- Estimated Time: 45–75 minutes; allow extra time for your first ghost
- Finished Size: Approximately 3 inches wide and 3½–4 inches tall
- Crochet Terminology: US terms
- Construction Method: Worked from the head downward in rows, with a scalloped bottom
- Gauge: Exact gauge is not essential for this appliqué
Materials
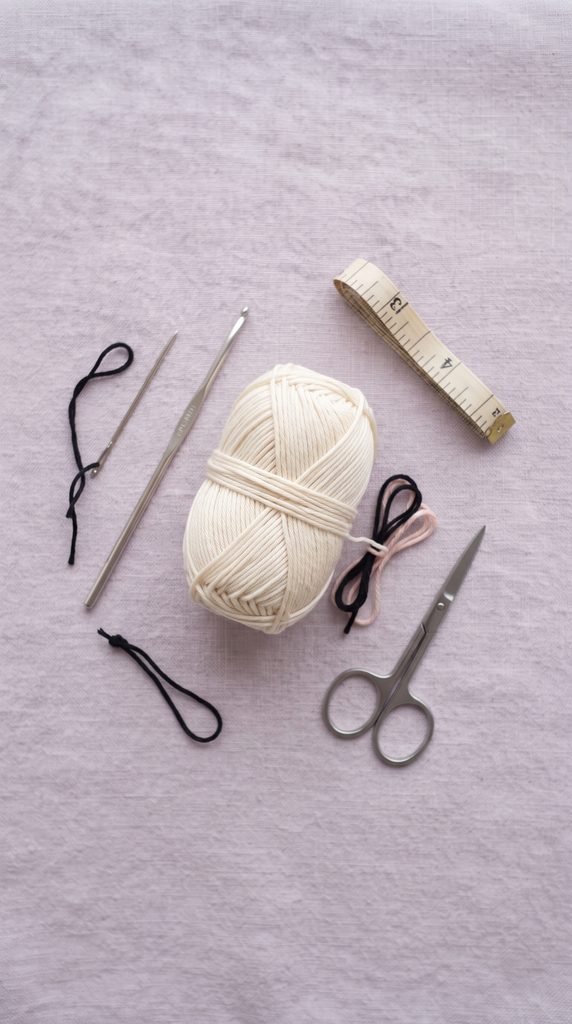
You will need:
- Medium-weight white or ivory yarn
- A small amount of black yarn for the face
- A small amount of pink yarn for optional cheeks
- 4 mm (G-6) crochet hook
- Blunt yarn needle
- Scissors
- Ruler or measuring tape
No stuffing, buttons, or safety eyes are needed.
Hook Size
Use a 4 mm (G-6) crochet hook.
Aim for neat, closely spaced stitches that hold their shape without feeling stiff.
If your stitches are difficult to work into, loosen your tension slightly before changing hook sizes.
Yarn
Use medium-weight category 4 yarn.
Allow approximately:
- 15–20 yards of white or ivory yarn
- 1 yard of black yarn
- ½ yard of pink yarn, optional
Smooth cotton is a good choice for a flat appliqué with clear stitch definition. Smooth acrylic also works well.
For the featured version, use an ivory body, black embroidered features, and soft pink cheeks.
These quantities are estimates and include yarn for finishing. Keep extra matching yarn if you plan to sew the ghost onto another project.
Abbreviations
This pattern uses US crochet terminology:
- ch = chain
- sc = single crochet
- dc = double crochet
- sl st = slip stitch
- inc = increase; work 2 sc into the same stitch
- st(s) = stitch(es)
Before You Start
The ghost begins at the top of the head and grows wider over the first five rows. The remaining body rows keep the same stitch count.
Work through both top loops of each stitch throughout the pattern.
The turning chain does not count as a stitch. After turning, work into the first stitch of the previous row, not into the turning chain.
Numbers at the end of each row show how many stitches you should have.
Gauge guide: A body width of approximately 3 inches across 12 sc corresponds to about 16 sc per 4 inches. Treat this as a sizing guide, not a measured test gauge.
This pattern has not been physically tested. Finished dimensions, yarn quantities, and completion time are estimates.
Crochet Ghost Appliqué Pattern Instructions
Part 1 — Shape the Head
Using white or ivory yarn, leave a starting tail approximately 6 inches long.
Foundation: Ch 5.
Row 1: Sc into the second ch from the hook and each remaining ch. Turn. 4 sts.
Row 2: Ch 1. Inc in the first stitch, sc in the next 2 stitches, inc in the last stitch. Turn. 6 sts.
Row 3: Ch 1. Inc in the first stitch, sc in the next 4 stitches, inc in the last stitch. Turn. 8 sts.
Row 4: Ch 1. Inc in the first stitch, sc in the next 6 stitches, inc in the last stitch. Turn. 10 sts.
Row 5: Ch 1. Inc in the first stitch, sc in the next 8 stitches, inc in the last stitch. Turn. 12 sts.
The top is narrow, with the sides gradually widening to form the ghost’s head and shoulders.
Part 2 — Crochet the Body
Row 6: Ch 1. Sc in each stitch across. Turn. 12 sts.
Rows 7–14: Repeat Row 6. 12 sts in every row.
You should now have 14 rows total.
Lay the piece flat. Keep the narrow starting edge at the top and the wider final row at the bottom.
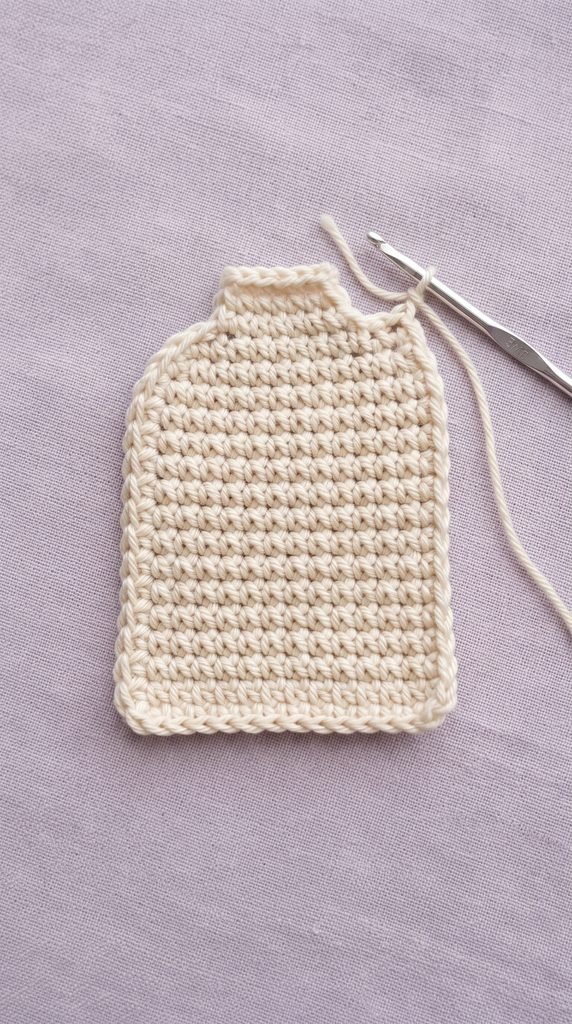
Part 3 — Add the Wavy Bottom
The bottom edge contains four small scallops. Each scallop uses three stitches from Row 14.
Row 15: Ch 1, then work:
- Sl st in the first stitch.
- Work 3 dc in the next stitch.
- Sl st in the next stitch.
Repeat these three steps three more times, using the remaining nine stitches.
You should have four scallops, with all 12 stitches from Row 14 used.
The edging contains 12 dc and 8 slip stitches. You will not work another row into this edge.
Fasten off, leaving a 6-inch tail for weaving in. If you plan to attach the ghost to another crochet project, leave a longer sewing tail instead.
Part 4 — Embroider the Eyes
Choose the side you prefer as the front.
Place the ghost with its narrow head at the top and the scallops at the bottom. The eyes sit in the upper half of the straight body section.
Cut approximately 18 inches of black yarn and thread your needle.
- On the back, secure the yarn with a few small stitches under nearby crochet loops, leaving a short tail.
- Bring the needle to the front near the fourth stitch from the left, between Rows 6 and 7.
- Insert it directly below, between Rows 7 and 8, to make a short vertical eye.
- Repeat along the same path once to make the eye slightly thicker.
- On the back, weave the yarn under several stitches toward the second eye position.
- Make a matching eye near the ninth stitch from the left, at the same height.
Keep the embroidery relaxed so it does not pull the fabric inward.
Secure the yarn on the back, weave in both ends, and trim.
Part 5 — Add the Little Smile
Cut a fresh 12-inch length of black yarn.
Use two small diagonal stitches to make a shallow V-shaped smile centered below the eyes.
- Anchor the yarn on the back.
- Bring the needle to the front between Rows 8 and 9, just left of the center.
- Insert it one row lower at the center.
- Bring it back to the front between Rows 8 and 9, just right of the center.
- Insert it at the same lower center point.
The two stitches form a small, friendly smile.
Secure the yarn and weave in the ends on the back.
Part 6 — Add Optional Pink Cheeks
Cut a 12-inch length of pink yarn.
Make one short horizontal stitch just below and slightly outside each eye. Work the stitch twice if you want the pink to show more clearly.
Keep each cheek about one crochet stitch wide.
Secure the yarn on the back and weave in the ends without pulling the cheeks tight.
Finishing
Thread the remaining white yarn ends onto your needle and weave them through several stitches on the back. Change direction before trimming to help keep them secure.
Gently spread the four scallops with your fingers.
If the ghost curls slightly, lightly dampen it, shape it flat on a towel, and let it dry completely. Follow the yarn label’s care instructions and avoid stretching the fabric.
To attach it to another crochet project, use matching yarn and small stitches around the perimeter. Keep your sewing tension even so the appliqué lies flat.
For fabric items such as tote bags, use a suitable sewing needle and matching sewing thread.
Finished Size
The finished ghost is estimated to measure approximately:
- Width: 3 inches (7.5 cm)
- Height: 3½–4 inches (9–10 cm), including the scalloped bottom
Your measurements will vary with yarn thickness, crochet tension, and shaping.
Tips and Customization
- Use ivory yarn for a soft, cozy look or bright white for a classic ghost.
- Skip the cheeks for a simpler face.
- Try lavender yarn with black embroidery for a colorful Halloween version.
- For a shorter ghost, stop the straight body section after Row 12 and then work the scalloped edging. Keep all 12 stitches across.
- Use finer yarn with a matching smaller hook for a miniature version. The finished size will need checking.
- Sew the ghost onto a handmade gift pouch or use it to decorate a Halloween card.
- Keep the same yarn, hook, and embroidery placement when making several matching ghosts.
For another small embellishment, try our easy crochet heart pattern for beginners.
Looking for Your Next Crochet Project?
Love this little ghost? Explore Cute Stitch Studio’s premium crochet patterns for more cute seasonal projects, handmade gifts, and cozy ideas for your next creative afternoon.


