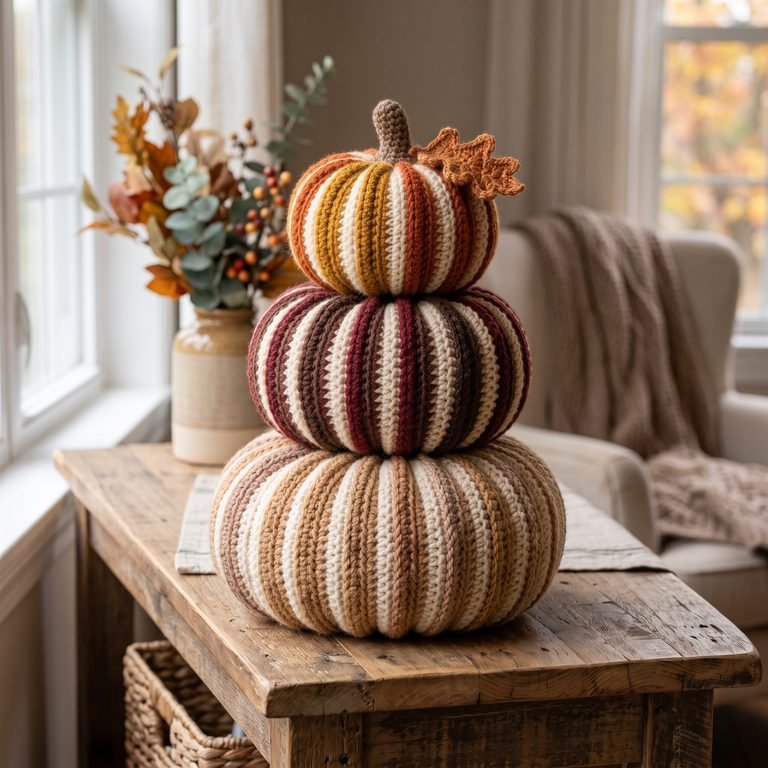
Free Crochet Pumpkin Coaster Pattern for Beginners
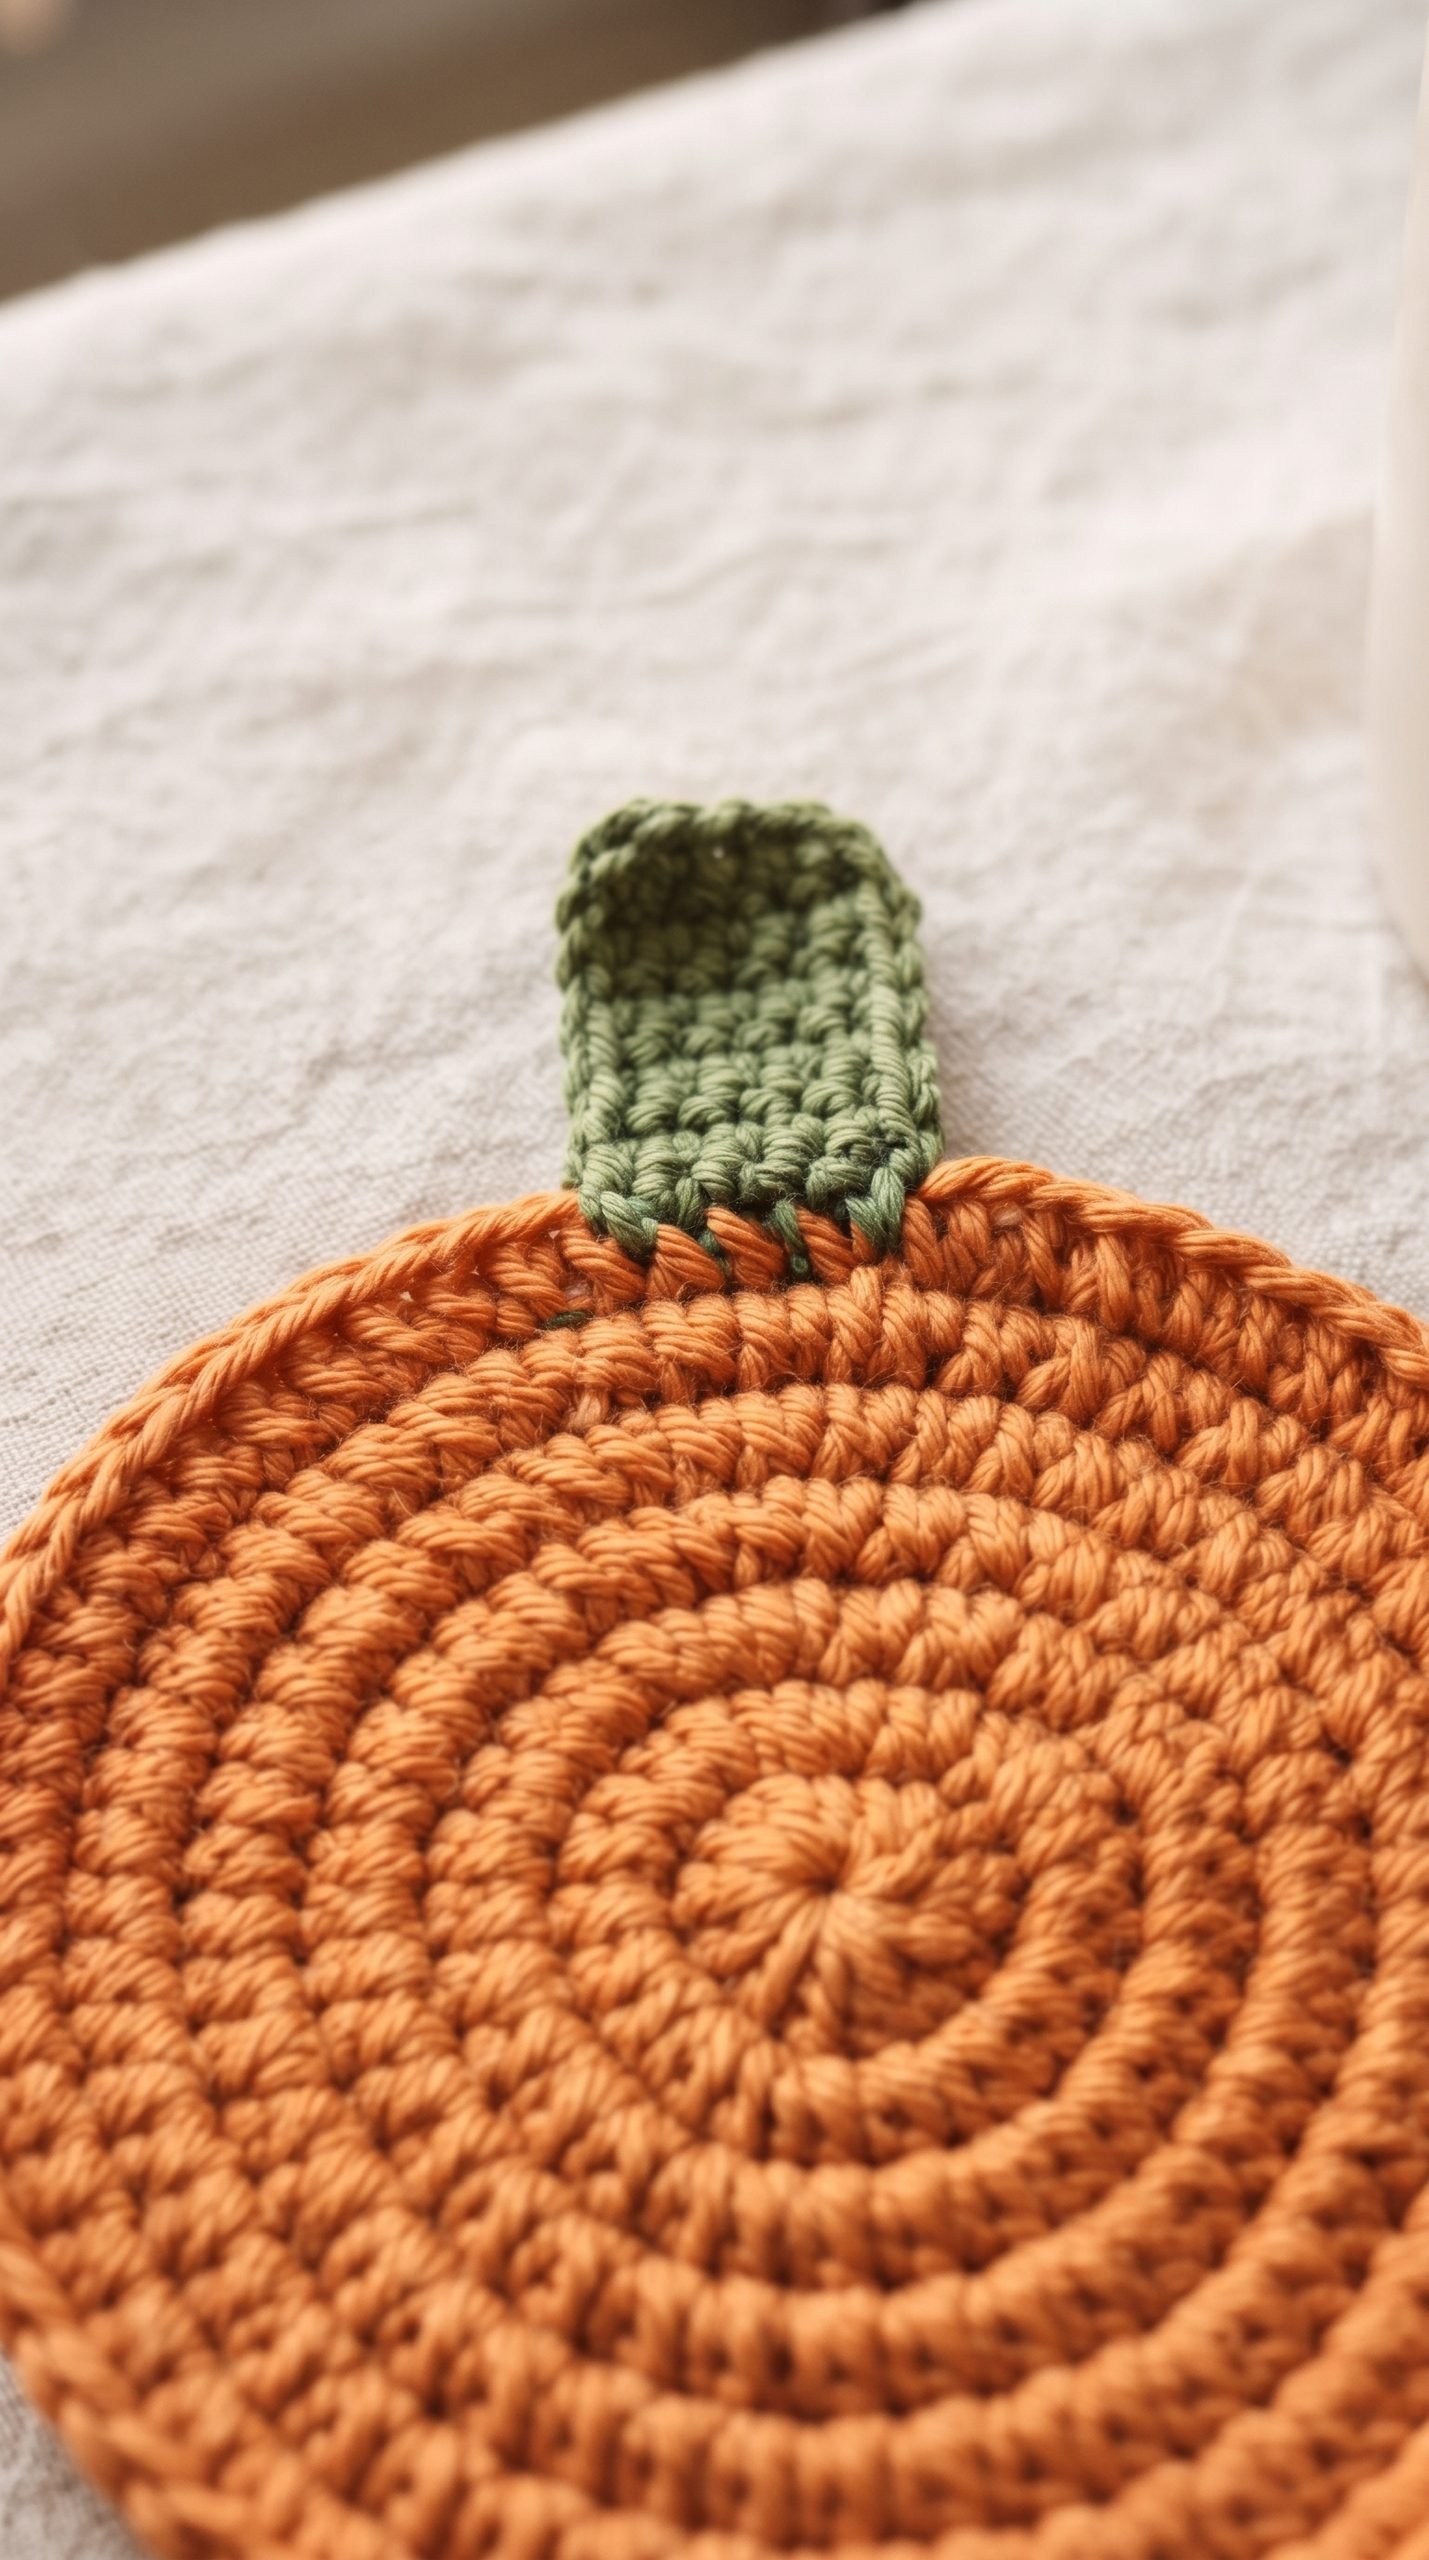
This crochet pumpkin coaster pattern adds a little Halloween charm to your coffee table. A simple orange circle and a small green stem create a cute pumpkin-inspired coaster without complicated shaping.
Make one for your favorite mug or crochet a matching set for a handmade fall gift. The body uses half double crochet stitches worked in joined rounds, making this a useful project for beginners learning to crochet a flat circle.

Project Details
- Skill Level: Beginner familiar with basic stitches
- Estimated Time: 45–75 minutes per coaster
- Finished Size: Approximately 4–4½ inches across the circular body
- Crochet Terminology: US terms
- Construction Method: Flat circle worked in joined rounds, with a separate stem sewn to the edge
- Gauge: Exact gauge is not essential; the coaster should lie flat and extend beyond the base of your mug
Materials
You will need:
- Medium-weight cotton yarn in orange and green
- 4 mm (G-6) crochet hook
- Yarn needle
- Scissors
- One removable stitch marker
- Ruler or measuring tape
Hook Size
Use a 4 mm (G-6) crochet hook.
Aim for a flexible fabric with small, even gaps between stitches. You should be able to insert your hook without forcing it.
The finished coaster needs to lie flat before you place a drink on it.
Yarn
Use medium-weight category 4 cotton yarn.
Allow approximately:
- 25–35 yards of orange yarn for the coaster body
- 2–3 yards of green yarn for the stem and sewing
Choose a smooth yarn so the stitches are easy to see. Cotton is absorbent and works well for washable drink coasters.
Classic orange and green make a cheerful Halloween combination. Rust, cream, and muted sage are lovely choices for a softer fall palette.
Yarn amounts are estimates. Follow the yarn label’s washing instructions.

Abbreviations
This pattern uses US crochet terminology:
- ch = chain
- sc = single crochet
- hdc = half double crochet
- sl st = slip stitch
- inc = increase; work 2 hdc into the same stitch
- st(s) = stitch(es)
Before You Start
The body is worked in joined rounds. Join each round with a slip stitch into the first half double crochet, then begin the next round.
The beginning ch 2 does not count as a stitch. Neither does the joining slip stitch.
Place your marker in the first hdc of each round. This helps you find the correct joining stitch and avoid accidentally crocheting into the chain or join.
Do not turn the coaster between rounds.
How to work a half double crochet: Yarn over, insert your hook into the indicated stitch, yarn over and pull up a loop. Yarn over again and pull through all three loops on your hook.
There is no fixed gauge requirement. Check the piece after each round: it should stay reasonably flat without being stretched.
This written pattern has not been physically tested. Finished measurements, time, and yarn quantities are estimates.
Crochet Pumpkin Coaster Pattern Instructions
Part 1 — Start the Center
Using orange yarn, leave a starting tail approximately 8 inches long.
Foundation: Ch 2.
Round 1: Work 10 hdc into the second ch from the hook. Join with a sl st into the first hdc. 10 sts.
All ten stitches go into the same chain.
The starting chain may feel crowded. Move the completed stitches gently around it to make room as you work.
Part 2 — Increase the Circle
Round 2: Ch 2. Work 2 hdc into each stitch around. Join with a sl st into the first hdc. 20 sts.
Round 3: Ch 2. Repeat [1 hdc in the next stitch, inc in the next stitch] 10 times. Join with a sl st into the first hdc. 30 sts.
Round 4: Ch 2. Repeat [1 hdc in each of the next 2 stitches, inc in the next stitch] 10 times. Join with a sl st into the first hdc. 40 sts.
Round 5: Ch 2. Repeat [1 hdc in each of the next 3 stitches, inc in the next stitch] 10 times. Join with a sl st into the first hdc. 50 sts.
Round 6: Ch 2. Repeat [1 hdc in each of the next 4 stitches, inc in the next stitch] 10 times. Join with a sl st into the first hdc. 60 sts.
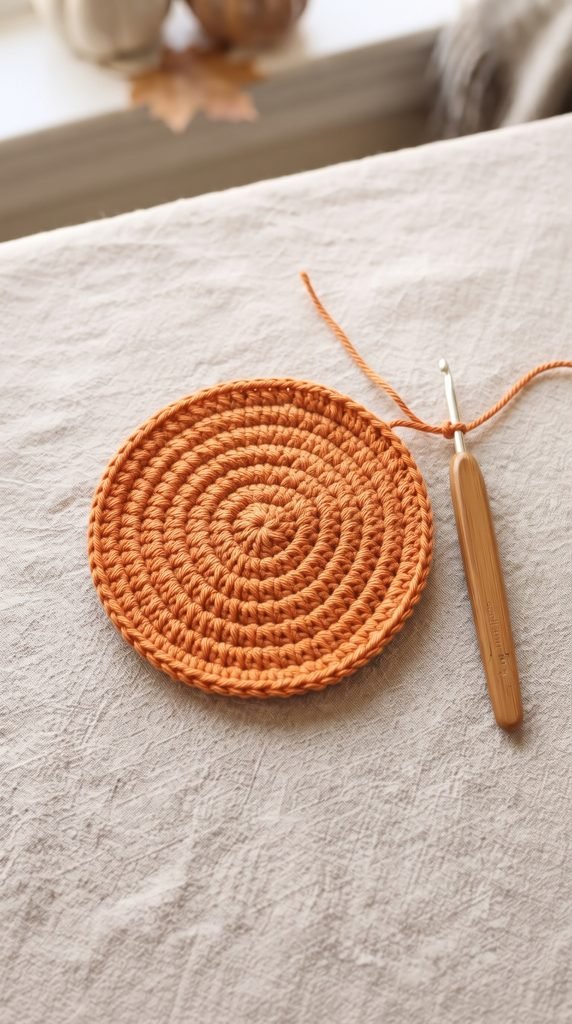
Fasten off, leaving a 6-inch tail.
Your coaster body is complete.
Part 3 — Check the Shape
Lay the circle on a flat surface without pulling on the edges.
A little unevenness can often be smoothed during finishing. Strong ruffles or a bowl shape should be checked before adding the stem.
Count the final round: you should have 60 hdc, excluding the starting chain and joining slip stitch.
If the counts are wrong, undo the affected round and work it again before continuing.
Part 4 — Crochet the Stem
Using green yarn, leave a starting tail approximately 6 inches long.
Foundation: Ch 5.
Row 1: Sc into the second ch from the hook and each remaining ch. Turn. 4 sts.
Row 2: Ch 1. Sc in each stitch across. 4 sts.
Fasten off, leaving a 12-inch sewing tail.
You now have a small rectangular strip. Keep it flat; do not roll or stuff it.
Part 5 — Attach the Stem
Choose a point on the circle’s edge as the top. Placing the stem near the round joins can help make that area less noticeable.
Position one short end of the stem against the outer edge so the rest of the strip extends outward.
- Thread the long green tail onto your yarn needle.
- Sew the short end of the stem to two neighboring edge stitches of the circle.
- Make several small stitches through both pieces until the connection feels secure.
- Keep the stem outside the circular area where your mug will sit.
- Weave the sewing tail into the green stitches on the back.
- Weave in the stem’s starting tail and trim the excess.

Finishing
Weave the orange finishing tail through several stitches on the back of the coaster. Change direction before trimming.
If a small opening remains at the center, use the starting tail to sew around it and draw it gently closed. Secure and weave in the tail without gathering the surrounding fabric.
Lightly dampen the coaster if the yarn’s care instructions allow. Lay it on a towel, smooth it into a circle, and arrange the stem.
Let it dry completely before use.
Place your mug on the circular body, with its base fully supported. This is a drink coaster, not a potholder or a trivet for hot cookware.
Finished Size
The finished coaster body is estimated to measure:
- Diameter: Approximately 4–4½ inches (10–11.5 cm)
- Stem: Approximately ¾–1 inch long (2–2.5 cm)
The overall height includes the circular body plus the projecting stem.
Your measurements will depend on yarn thickness and crochet tension. Check that the body extends beyond the base of the mug you plan to use.
Tips and Customization
- Use orange cotton and a green stem for a classic Halloween look.
- Try rust and sage for a warm autumn table setting.
- Make a cream version to coordinate with neutral home decor.
- Keep the same yarn and hook when making a matching set.
- Leave the drinking surface free of buttons, bows, or raised decorations so mugs can sit evenly.
- Let damp coasters dry fully between uses.
Make a Larger Coaster
If your mug needs more space, add one more round before fastening off the orange yarn.
Round 7: Ch 2. Repeat [1 hdc in each of the next 5 stitches, inc in the next stitch] 10 times. Join with a sl st into the first hdc. 70 sts.
Then finish and attach the stem as described above.
Allow extra yarn and measure the finished diameter rather than relying on a fixed size.
Why Is My Coaster Wavy?
First, check that you have the correct stitch count and have not worked into the joining slip stitch or beginning chain.
If the counts are correct, your tension and yarn may need a different increase rate. Gentle blocking can help slight unevenness, but it will not reliably fix strong ruffles.
Why Is My Coaster Cupping?
Check for missed increases and overly tight stitches.
If your count is correct, try remaking a small sample with more relaxed tension or a slightly larger hook. The goal is a flat fabric, not a tightly packed circle.
Can I Wash It?
Follow the care instructions on your cotton yarn label. Reshape the coaster while damp and dry it flat.
Avoid assuming that every cotton yarn can be washed or dried at the same temperature.
For another small handmade embellishment, try our easy crochet heart pattern for beginners.
Looking for Your Next Crochet Project?
Enjoy making little pieces for your home? Explore Cute Stitch Studio’s premium crochet patterns for more cute seasonal projects, cozy accessories, and thoughtful handmade gifts.