Free Crochet Pumpkin Stack Pattern for Cozy Fall Decor
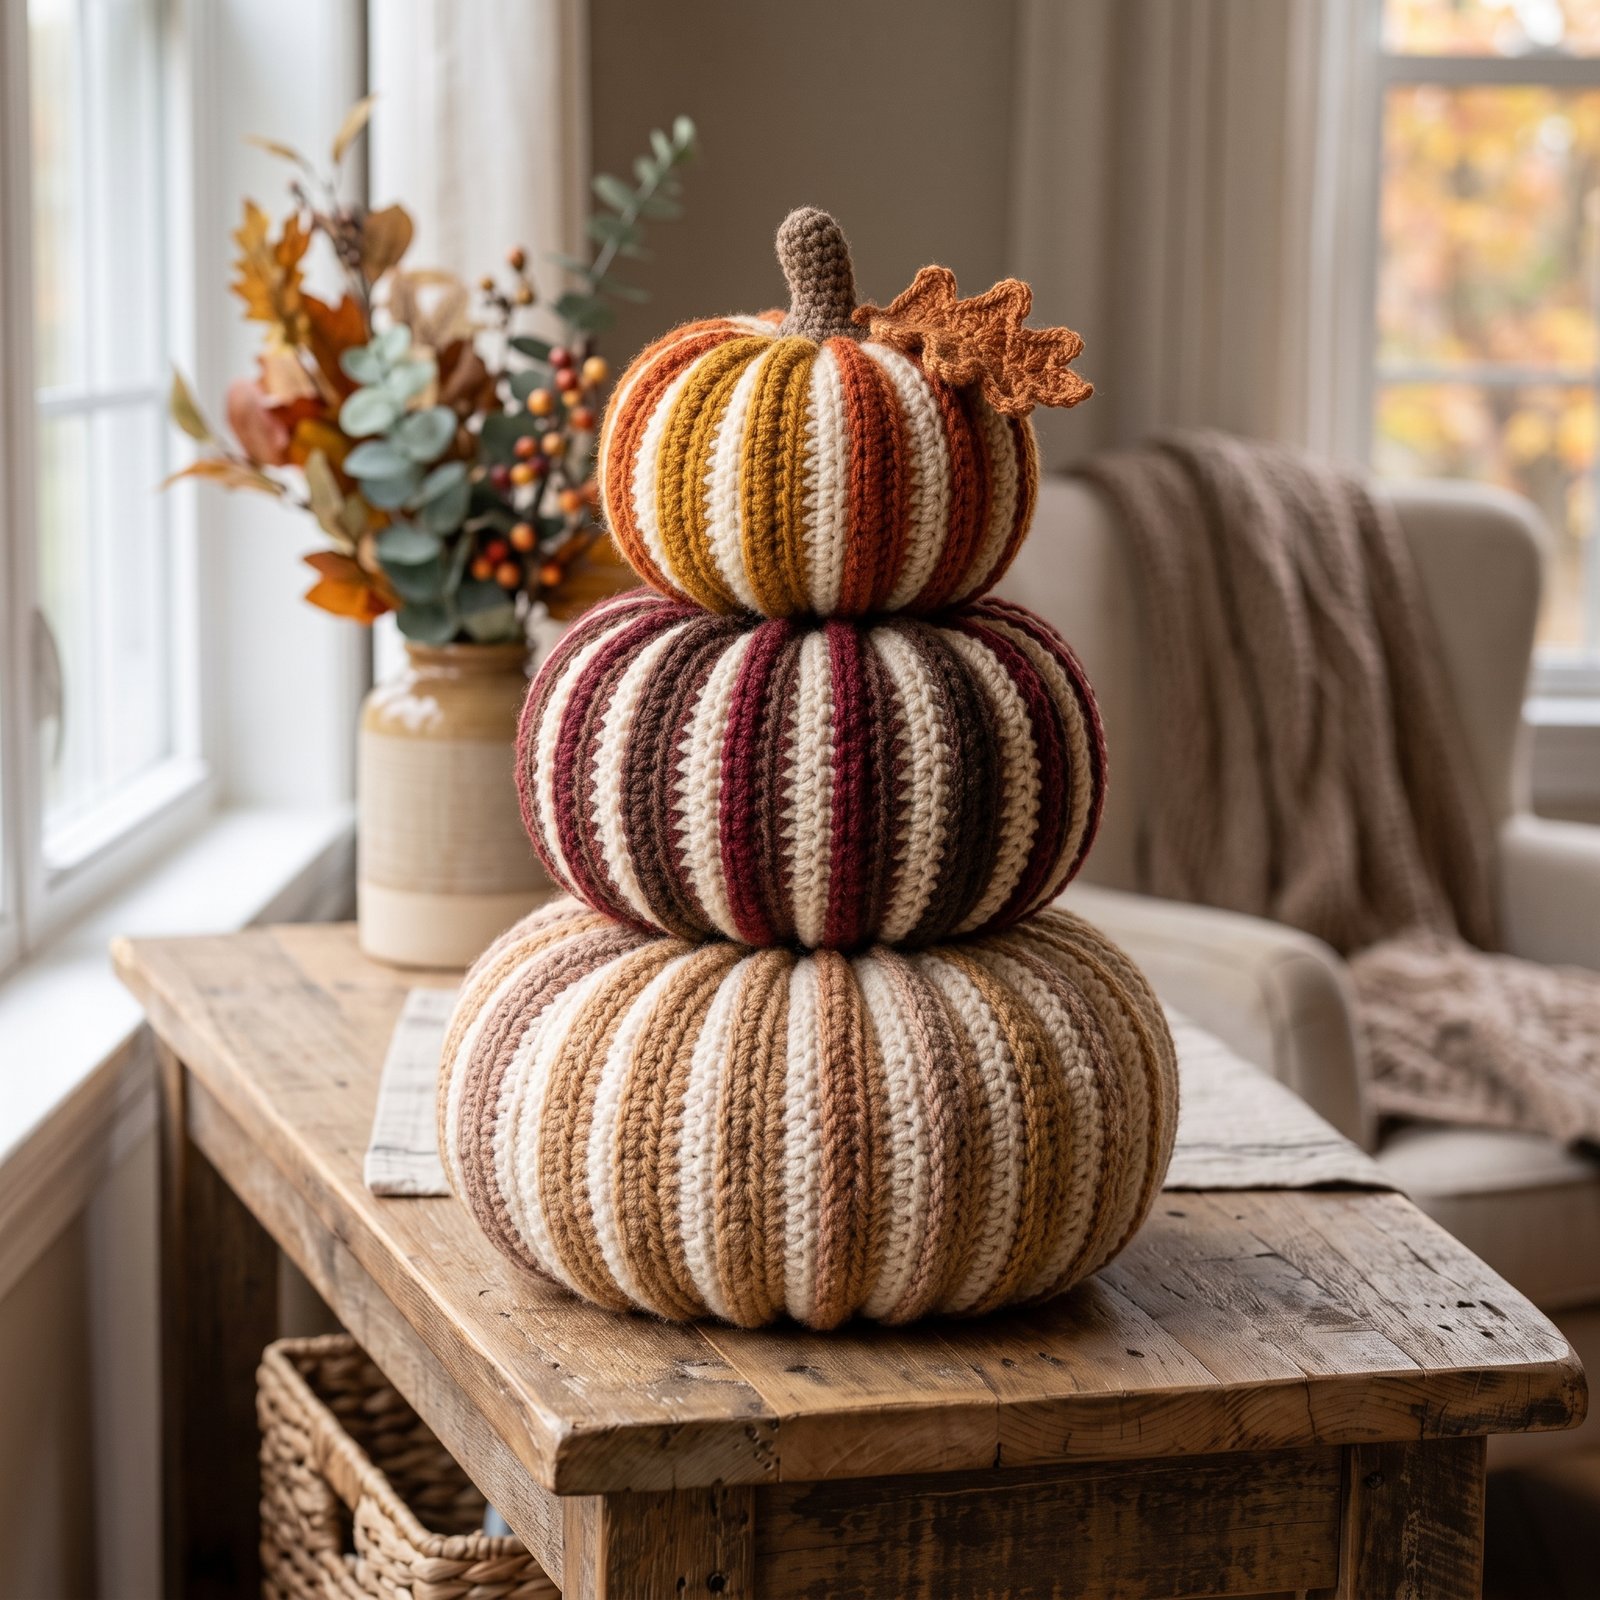
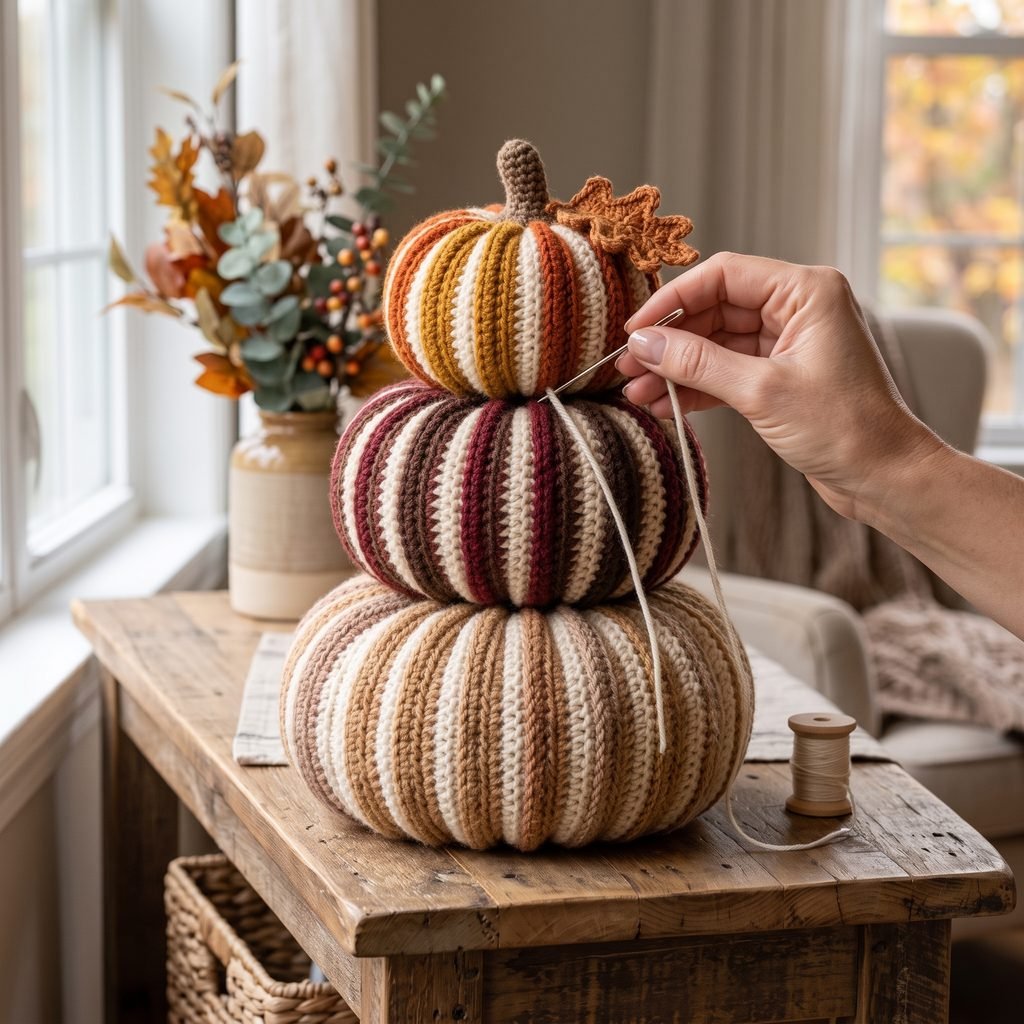
Bring cozy autumn texture into your home with this crochet pumpkin stack pattern. This decorative project combines three soft crochet pumpkins in different sizes, each featuring warm fall colors and contrasting cream stripes.
The pumpkins are crocheted separately, stuffed, shaped, and stacked into a charming fall centerpiece. The construction is beginner-friendly and uses simple rows worked through the back loop to create the ribbed pumpkin texture.
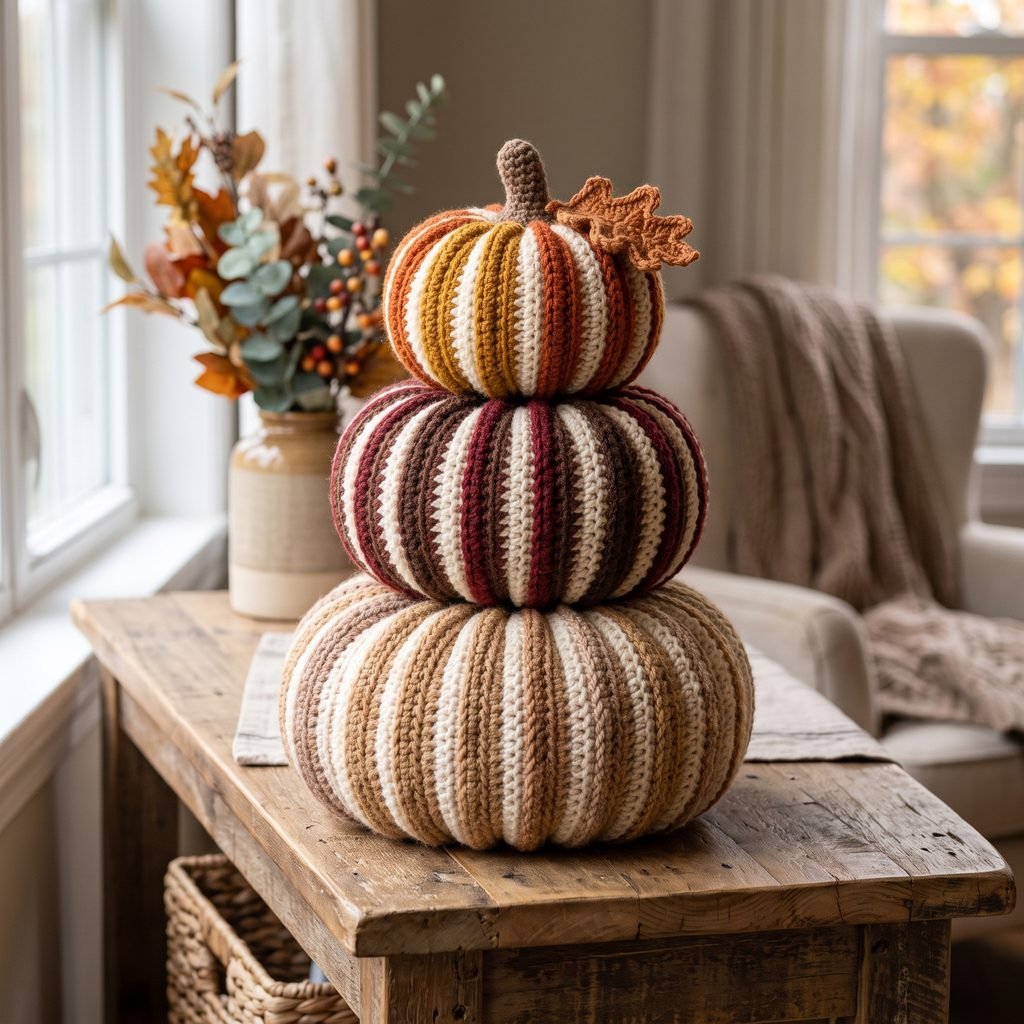
Make the full three-pumpkin stack for an entryway table, mantel, bookshelf, Thanksgiving centerpiece, or cozy seasonal display.
Project Details
- Skill Level: Confident Beginner
- Estimated Time: 5–7 hours for the full stack
- Finished Height: Approximately 15–17 inches
- Crochet Terminology: US terms
- Construction: Three ribbed rectangles are crocheted in rows, seamed into tubes, gathered, stuffed, and shaped into pumpkins.
Materials

- Worsted weight #4 yarn in cream
- Worsted weight #4 yarn in mustard gold
- Worsted weight #4 yarn in burnt orange
- Worsted weight #4 yarn in burgundy
- Worsted weight #4 yarn in deep brown
- Worsted weight #4 yarn in tan or camel
- 5 mm (H/8) crochet hook
- Polyester fiberfill stuffing
- Yarn needle
- Scissors
- Stitch markers, optional
- Small wooden stick or cinnamon stick for the stem
- Green or rust-colored yarn for an optional leaf or vine
Hook Size
Use a 5 mm (H/8) crochet hook.
This size creates a soft but structured fabric with worsted weight yarn. If your stitches are very loose, try a 4.5 mm hook.
Yarn
Use worsted weight #4 yarn.
Acrylic, wool-blend, or cotton-blend yarn all work well. Wool-blend yarn gives the pumpkins a warm textured look, while acrylic is lightweight and easy to shape.
Approximate total yarn needed:
- Cream: 120–150 yards
- Mustard / Orange: 70–90 yards
- Burgundy / Red: 70–90 yards
- Brown / Tan: 90–110 yards
Abbreviations
- ch = chain
- sc = single crochet
- hdc = half double crochet
- sl st = slip stitch
- st(s) = stitch(es)
- BLO = back loop only
Before You Start / Pattern Notes
Each pumpkin is made from a rectangle worked in rows.
All half double crochet stitches are worked through the back loop only to create the ribbed texture.
The short sides of the rectangle are joined to create a tube. One end is gathered closed, the pumpkin is stuffed, and the second end is gathered closed.
A long yarn strand is then wrapped around the outside of the pumpkin to create deeper pumpkin sections.
Gauge is not critical for this decorative project.
Color Stripe Pattern
To create the striped farmhouse look, alternate blocks of cream with fall colors.
A simple repeat is:
- 3 rows cream
- 5 rows fall color
- 3 rows cream
- 5 rows fall color
Continue repeating this sequence until the rectangle reaches the required width.
You can use one fall color per pumpkin or alternate several shades within the same pumpkin.
Free Crochet Pumpkin Stack Pattern
Part 1 — Large Bottom Pumpkin

Use cream, tan, camel, and warm brown yarn.
Row 1: Ch 31. Starting in the 2nd chain from the hook, hdc across. Turn. (30 sts)
Row 2: Ch 1, hdc BLO across. Turn. (30 sts)
Rows 3–54: Continue working hdc BLO across, changing colors according to the stripe pattern.
Fasten off, leaving a long sewing tail.
Your finished rectangle should measure approximately 10 inches tall and 20–22 inches wide.
Seam the Large Pumpkin
Bring the two short ends of the rectangle together.
Using the long yarn tail, whipstitch or slip stitch the edges together to create a tube.
Turn the tube so the seam sits inside.
Gather the Bottom
Thread a long piece of matching yarn through the yarn needle.
Weave the needle in and out around one open edge of the tube.
Pull tightly to gather the opening closed.
Make several secure stitches across the center and knot firmly.
Stuff the Large Pumpkin
Fill the pumpkin with polyester stuffing.
Keep the center full but soft enough that you can shape the pumpkin later.
Avoid overstuffing because this can flatten the ribbed texture.
Close the Top
Repeat the gathering method around the second open edge.
Pull tightly, secure, and leave a small indentation in the center.
Shape the Large Pumpkin
Cut a long strand of matching yarn.
Insert the needle through the center bottom of the pumpkin and bring it out through the center top.
Wrap the yarn around the outside along one ribbed section.
Insert the needle through the center again and pull gently.
Repeat 6–8 times around the pumpkin to create deep rounded sections.
Secure the yarn and hide the end inside.
Part 2 — Medium Pumpkin
Use cream, burgundy, dark red, and deep brown yarn.
Row 1: Ch 27. Starting in the 2nd chain from the hook, hdc across. Turn. (26 sts)
Row 2: Ch 1, hdc BLO across. Turn. (26 sts)
Rows 3–46: Continue working hdc BLO across while alternating cream and darker fall colors.
Fasten off, leaving a long sewing tail.
Seam the short ends together to create a tube.
Gather the bottom closed.
Stuff firmly but not tightly.
Gather the top and shape the pumpkin into 6–8 sections using a long strand of yarn.
The finished medium pumpkin should measure approximately 7–8 inches wide.
Part 3 — Small Top Pumpkin
Use cream, mustard gold, burnt orange, and rust yarn.
Row 1: Ch 23. Starting in the 2nd chain from the hook, hdc across. Turn. (22 sts)
Row 2: Ch 1, hdc BLO across. Turn. (22 sts)
Rows 3–38: Continue working hdc BLO across using the stripe pattern.
Fasten off, leaving a long sewing tail.
Seam the rectangle into a tube.
Gather one end closed.
Stuff.
Gather the second end.
Shape the pumpkin into 6–8 sections.
The finished small pumpkin should measure approximately 5–6 inches wide.
Part 4 — Pumpkin Stem
For a rustic look, use a small cinnamon stick, smooth twig, or wooden craft stem.
Insert the stem gently into the center of the top pumpkin.
If needed, secure it with several stitches using brown yarn around the base.
You can also crochet a stem instead.
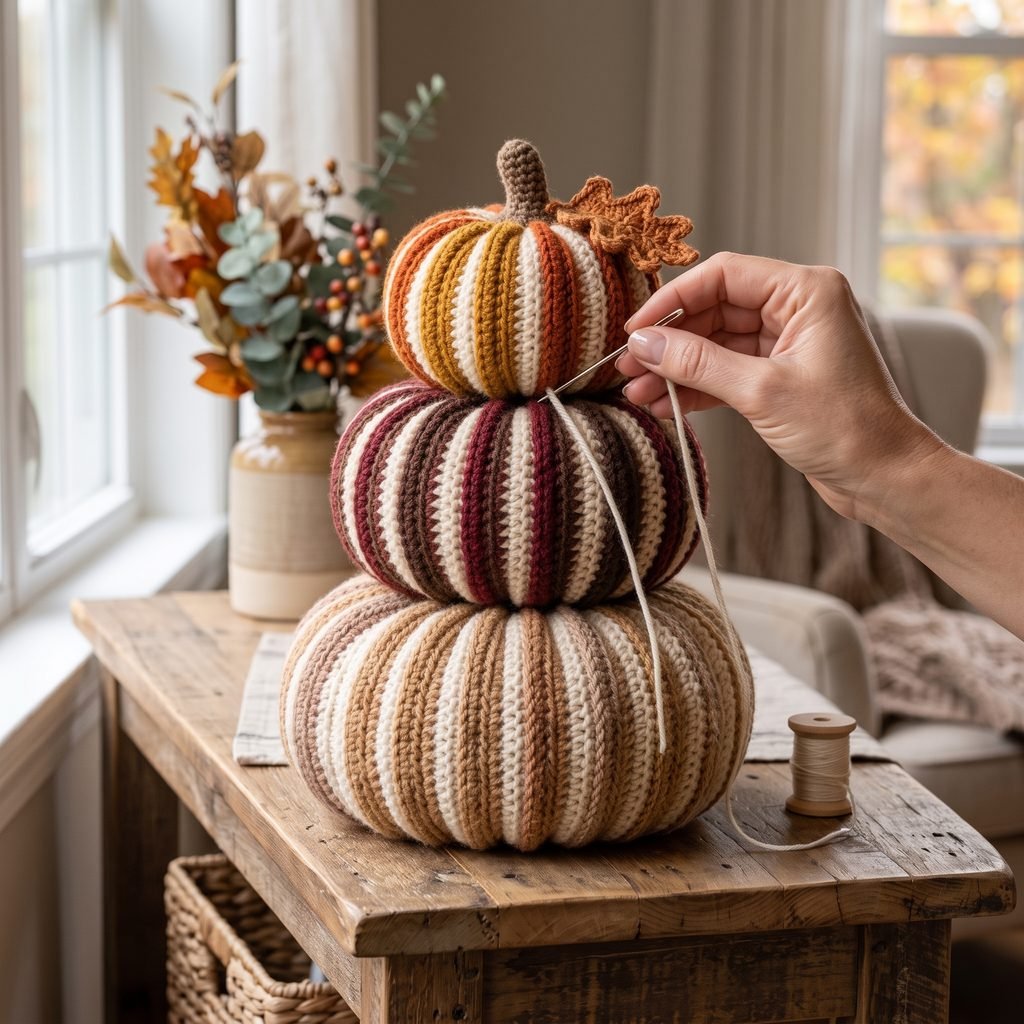
Optional Crochet Stem
Using brown yarn:
Round 1: Work 6 sc into a magic ring. (6 sts)
Rounds 2–7: Sc around. (6 sts)
Fasten off, leaving a long sewing tail.
Lightly stuff and sew the stem into the top center of the smallest pumpkin.
Part 5 — Optional Crochet Leaf
Using green, rust, or mustard yarn, ch 8.
Starting in the second chain from the hook, work:
Sl st, sc, hdc, hdc, sc, sl st.
Work 3 sc into the final chain.
Continue along the opposite side of the foundation chain:
Sl st, sc, hdc, hdc, sc, sl st.
Fasten off, leaving a sewing tail.
Sew the leaf beside the stem.
How to Assemble the Crochet Pumpkin Stack
Place the large pumpkin on a flat surface.
Center the medium pumpkin on top.
Use a long strand of strong matching yarn to sew through the bottom of the medium pumpkin and into the top of the large pumpkin.
Make several secure stitches around the contact area.
Place the small pumpkin on top of the medium pumpkin.
Center it carefully and sew it securely in place.
Check the stack from all sides before making your final knot.
The pumpkins should sit naturally rather than being pulled tightly together.
Finishing
Weave in all visible yarn ends.
Gently reshape each pumpkin with your hands.
Adjust the vertical shaping strands so the sections are evenly spaced.
Make sure all three pumpkins sit securely and the stack stands straight.
Add the stem and optional crochet leaf to the top pumpkin.
Blocking is not necessary for the stuffed pumpkins.
Finished Size
The finished three-pumpkin stack measures approximately:
- Total Height: 15–17 inches (38–43 cm)
- Large Pumpkin Width: 10–11 inches (25–28 cm)
- Medium Pumpkin Width: 7–8 inches (18–20 cm)
- Small Pumpkin Width: 5–6 inches (13–15 cm)
Finished measurements will vary depending on your yarn, crochet tension, stuffing, and shaping.

Tips and Customization Ideas
Create a Neutral Farmhouse Version
Use cream, beige, taupe, camel, and soft brown for a neutral fall centerpiece.
Try Traditional Pumpkin Colors
Use burnt orange, rust, mustard, red, and deep brown for a richer autumn palette.
Make Each Pumpkin One Solid Color
Skip the stripes and crochet each pumpkin in a different solid fall shade.
Add More Texture
Mix smooth worsted yarn with lightly textured or tweed yarn for a cozy handmade look.
Make Individual Pumpkins
You do not have to stack them. Display the three pumpkins separately across a mantel, table, or shelf.
Make a Smaller Set
Use DK weight yarn and a 4 mm hook to create a more compact pumpkin stack for a tiered tray or bookshelf.
Add a Curly Vine
Ch 20–25, then work 2 sc into each chain. The crochet will naturally curl into a vine that can be sewn beside the stem.
Where to Display Your Crochet Pumpkin Stack
This cozy fall decoration looks beautiful on an entryway table, fireplace mantel, bookshelf, dining table, kitchen shelf, Thanksgiving centerpiece, or autumn tiered tray.
The warm striped color palette also works well with farmhouse, rustic, cottage, and neutral fall decor.
Looking for Your Next Crochet Project?
Love this cozy fall project? Explore Cute Stitch Studio’s premium crochet patterns for more cute, cozy, seasonal, and gift-worthy handmade ideas.