

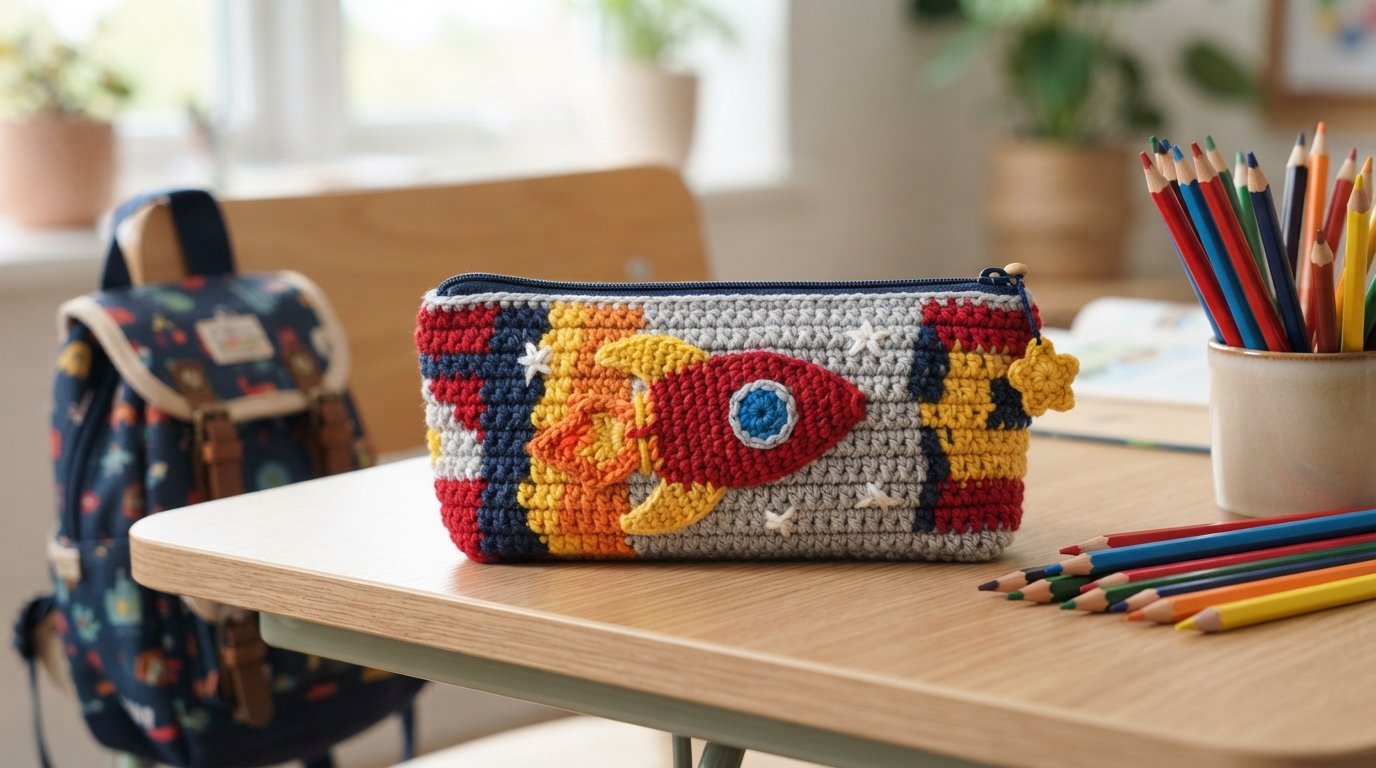
Colorful Rocket Crochet Pencil Pouch for School
Introduction
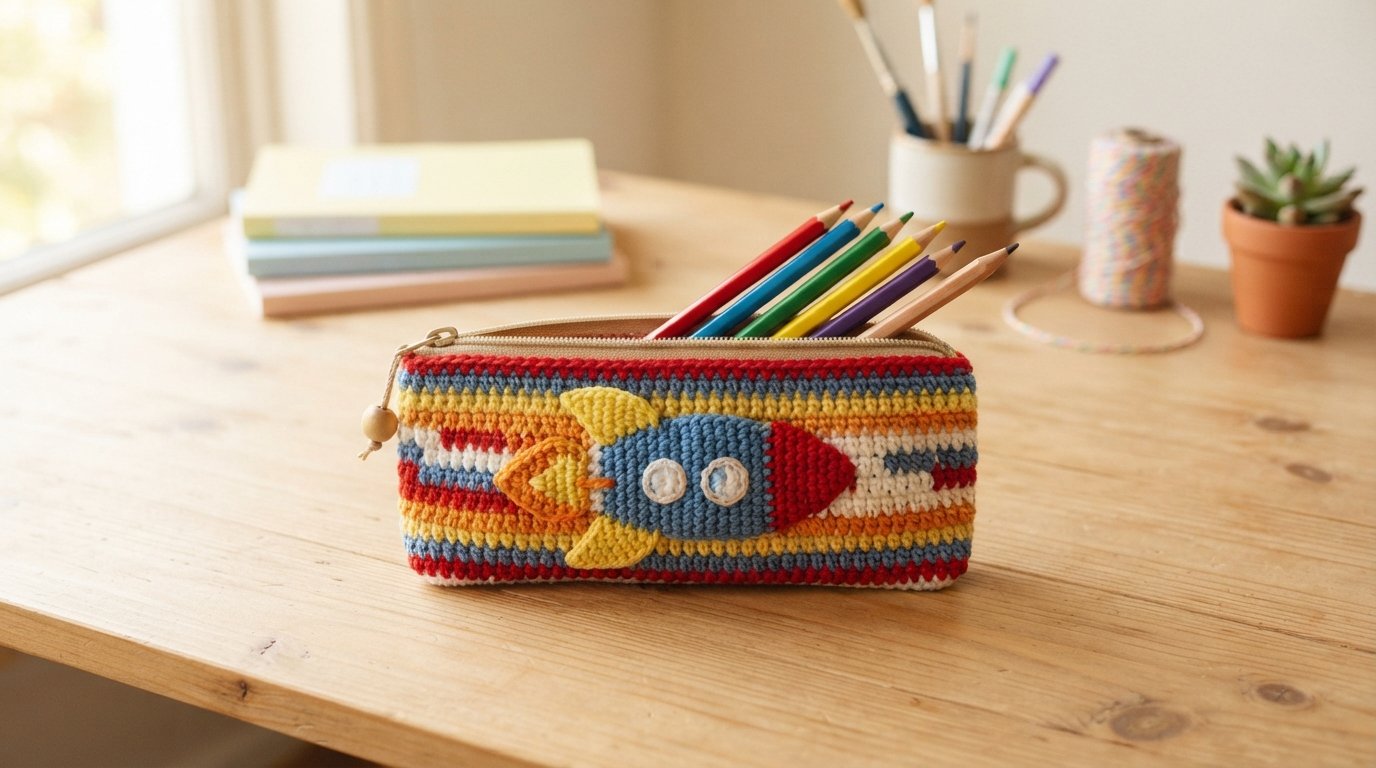
This colorful rocket crochet pencil pouch is a fun way to carry pencils, crayons, or small crochet tools. Bright stripes give the pouch a playful school-day look, while the simple rocket applique makes it feel like a special handmade accessory.
The pouch is made from two flat crochet panels and finished with a small zipper. It is a beginner-friendly project if you are comfortable with single crochet, changing colors, and basic hand sewing.
Beginner
3 to 5 hours, including assembly
About 8 x 4 inches
US crochet terms
Two striped panels, a sewn-on rocket, and a zipper
Materials
- Worsted weight yarn in navy blue, sky blue, golden yellow, red, white, gray, and orange
- One 4.0 mm crochet hook
- One 8-inch nylon zipper
- Yarn needle for weaving in ends and sewing the applique
- Hand-sewing needle and matching sewing thread for the zipper
- Scissors
- Stitch markers, optional
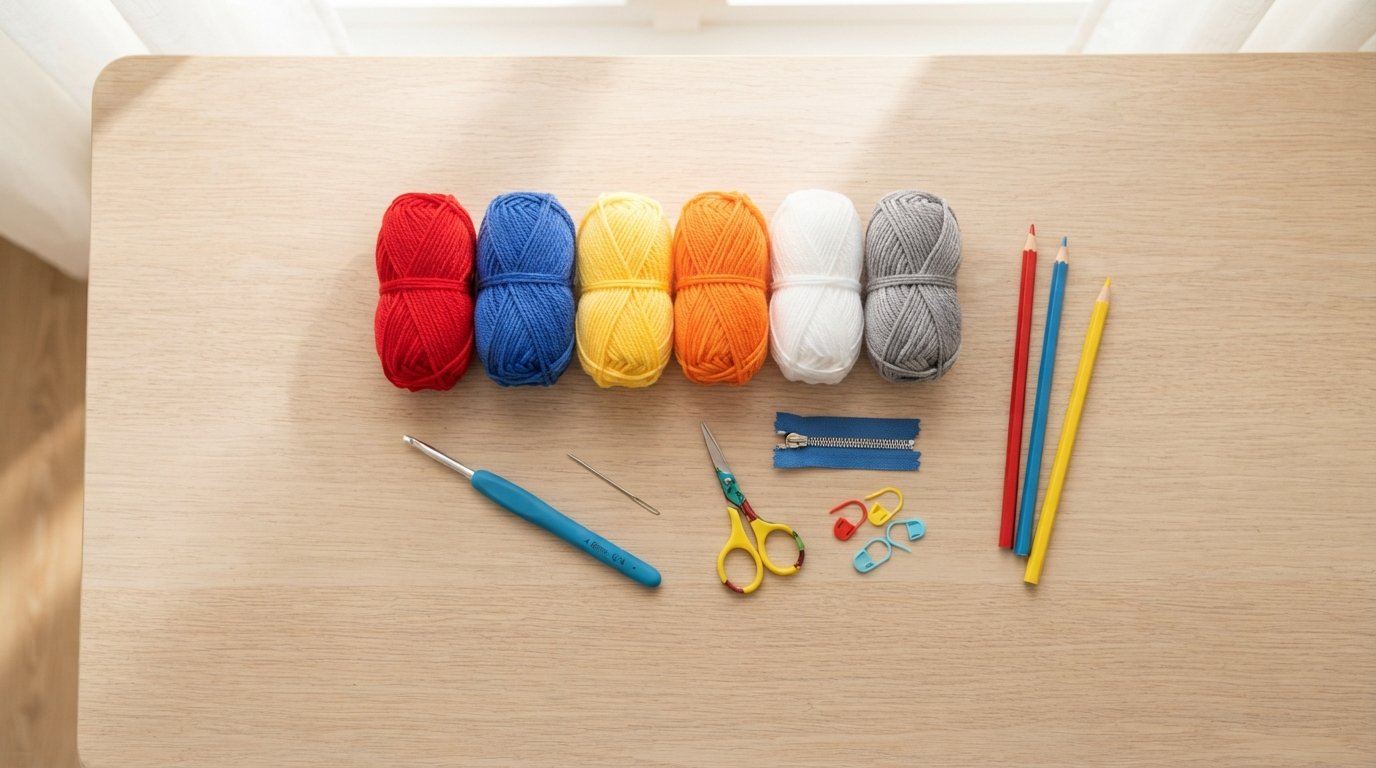
Use a 4.0 mm crochet hook. If your fabric feels loose and the pouch looks floppy, try a 3.75 mm hook. If your stitches feel tight, try a 4.5 mm hook.
Yarn
Use worsted weight yarn, also called category 4 yarn. A smooth cotton or cotton-blend yarn is a good choice because it creates a sturdy fabric and holds its shape well.
Plan for approximately 170 to 220 yards total. The two panels use the most yarn; the smaller rocket pieces use only a small amount of each accent color. Suggested colors are navy blue, sky blue, golden yellow, red, white, gray, and orange.
Abbreviations
Before You Start
- US crochet terms are used throughout.
- The turning chain does not count as a stitch.
- Each panel is worked flat in rows. Make two matching panels.
- Approximate gauge is 18 sc and 20 rows in a 4-inch square. Exact gauge is less important than matching the finished measurements.
- Change colors at the end of each four-row stripe. Leave tails long enough to weave in securely.
- Before sewing in the zipper, gently block both panels so their edges are straight and the panels are the same size.
Step-by-Step Crochet Instructions
Part 1 – Crochet the Striped Panels
Make two identical panels. Use the same color sequence for both pieces.
Color sequence: C1 navy blue, C2 sky blue, C3 golden yellow, C4 red, C5 white, then repeat C1 and finish with C4.
Fasten off and weave in the ends. Repeat the complete panel so you have two pieces measuring approximately 8 x 4 inches.
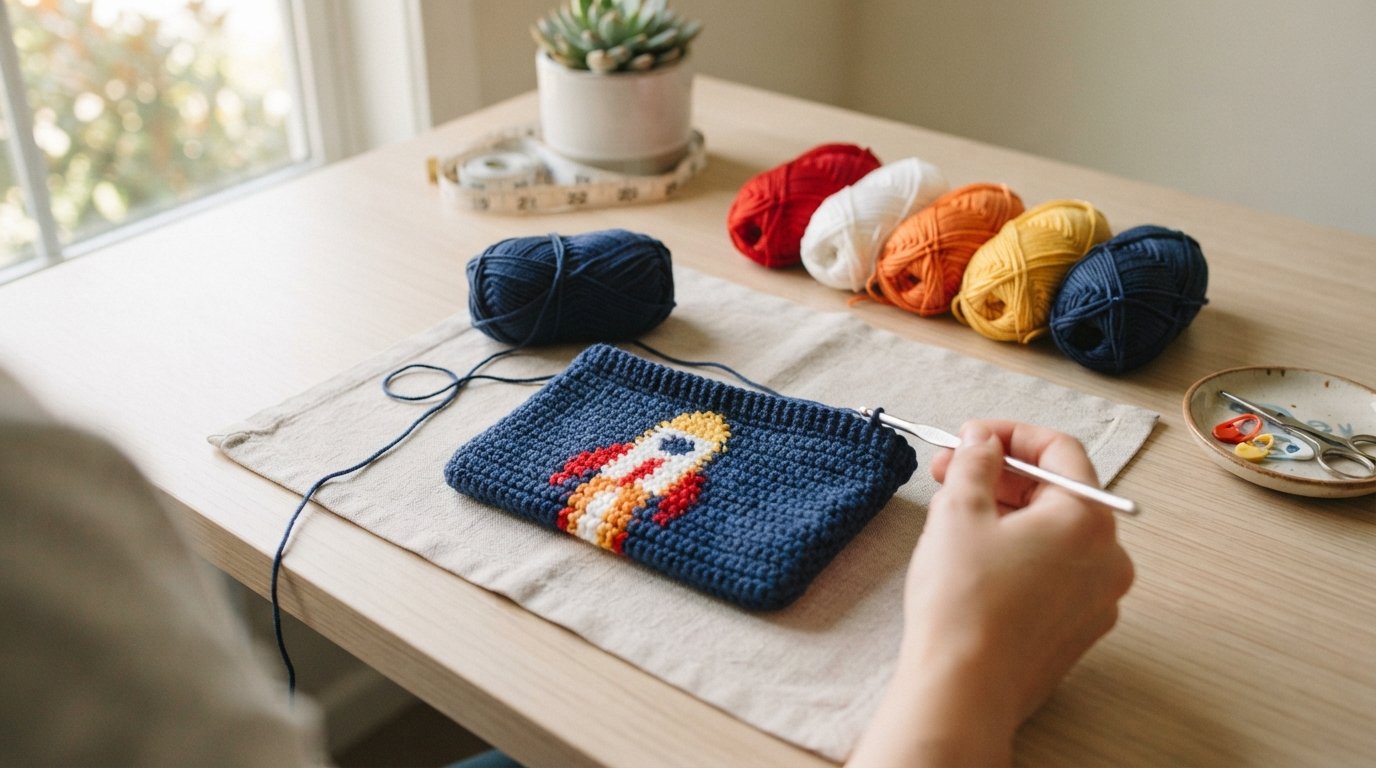
Use a yarn needle and matching yarn to sew the pieces together. Keep the applique flat and do not overstuff it.
Arrange the nose cone at one short end of the gray body, the flame at the opposite end, and one fin along each long side. Sew the pieces to the center of one panel, leaving an even border around the applique. Sew the window near the front half of the rocket.
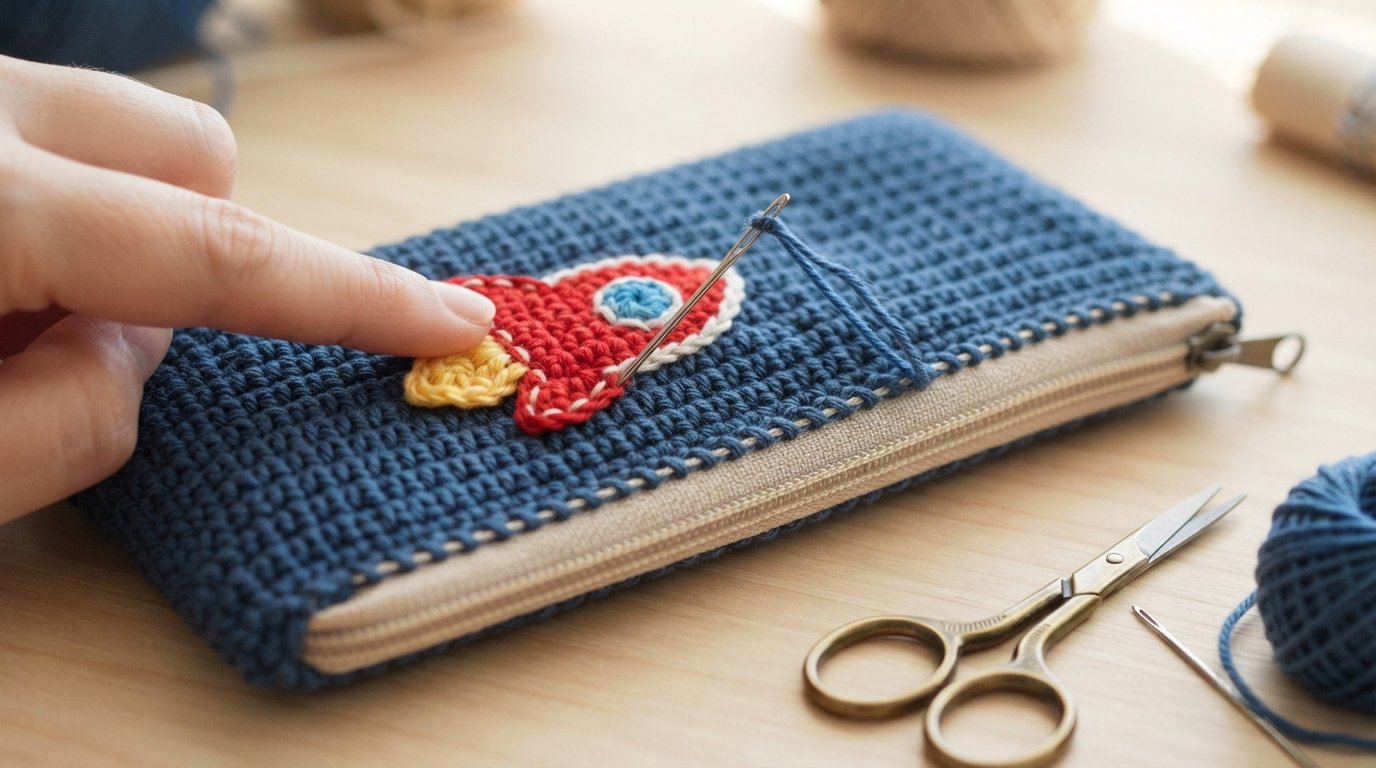
- Place the front panel right side up. Center the zipper face down along the top edge, with the zipper teeth just above the crochet stitches.
- Use matching sewing thread to make small, even stitches along the zipper tape. Keep the zipper straight and do not sew through the teeth.
- Place the second panel right side up and align its top edge with the other side of the zipper. Sew the second zipper tape in place.
- Open the zipper halfway before closing the pouch. This makes it easier to turn the pouch right side out.
Part 4 – Sew the Pouch Together
- Place the two panels together with their right sides facing out and their side edges aligned.
- Using a yarn needle and a length of matching yarn, whipstitch the two side edges and the bottom edge together.
- Make small, even stitches and pass the needle through the same row spaces on both layers so the seam stays neat.
- Turn the pouch right side out, gently push out the corners, and check that the zipper opens smoothly.
Finishing
- Weave in every yarn tail on the wrong side of the panels before sewing the pouch closed.
- Secure the applique pieces with several small stitches, especially around the nose, fins, and window.
- Lightly block the panels before assembly if the edges curl or the two pieces are different sizes.
- After the side seams are closed, shape the corners gently with your fingers and test the zipper several times.
- Trim only the thread ends that are fully secured. Do not cut close to an unsecured knot.
Finished Size
The completed crochet pencil pouch measures approximately 8 inches wide by 4 inches tall (about 20.5 x 10 cm). The size may vary slightly depending on yarn, hook size, and personal tension.
Tips and Customization
- Use school colors, a child’s favorite colors, or a rainbow stripe sequence.
- For a calmer look, make both panels in one color and use bright yarn only for the rocket.
- To make a wider pouch, add 4 or 8 chains to the foundation and keep the same number of rows.
- To make a taller pouch, add complete four-row stripes rather than adding only one or two rows.
- Use the pouch for colored pencils, crochet hooks, makeup brushes, or small travel essentials.
- Add a small yarn tassel to the zipper pull for an extra handmade detail.
Looking for Your Next Crochet Project?
Love this project? Explore Cute Stitch Studio’s premium crochet patterns for more cute, cozy, and gift-worthy handmade ideas for babies, seasonal celebrations, and everyday makers.


