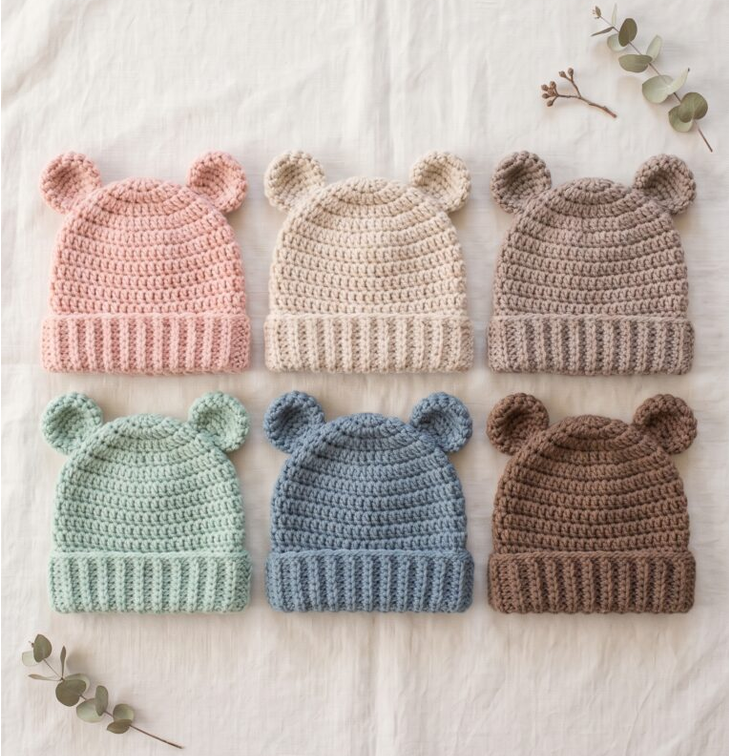
Easy Crochet Fingerless Gloves Pattern for Beginners
This easy crochet fingerless gloves pattern is a simple and practical project for keeping your hands warm while leaving your fingers free. The design uses basic stitches, straightforward shaping, and a comfortable thumb opening, making it a great first wearable project for beginners.
These crochet wrist warmers are perfect for cool mornings, working at a computer, driving, crafting, or layering with your favorite fall and winter outfits. They are also quick enough to make as handmade gifts.
The gloves are worked with a dense stitch pattern for warmth and structure, while the fingerless design keeps your hands flexible. You can make them in one solid color for a clean minimalist look or use contrasting yarn for the cuffs and edging.

Table of Contents
Easy Crochet Fingerless Gloves Pattern For Beginners Instructions
Why You’ll Love This Easy Crochet Fingerless Gloves Pattern For Beginners
- Clear step-by-step sections make the project easier to follow.
- Materials, sizing, finishing, and customization notes are easy to find.
- The pattern includes practical tips for a neat handmade result.
Project Details
| Detail | Information |
|---|---|
| Skill Level | Beginner |
| Estimated Time | 2 to 4 hours for one pair |
| Sizes | Small, Medium, Large |
| Crochet Terminology | US terms |
| Construction Method | Worked from the wrist upward in joined rounds with a simple thumb opening |
Finished Measurements
| Size | Hand Circumference | Finished Glove Length |
|---|---|---|
| Small | 6.5–7 in / 16.5–18 cm | 7 in / 18 cm |
| Medium | 7–8 in / 18–20.5 cm | 7.5 in / 19 cm |
| Large | 8–9 in / 20.5–23 cm | 8 in / 20.5 cm |
The gloves are designed with a close but comfortable fit. If you prefer a looser fit, move up one size or use a slightly larger crochet hook.
Materials
- Worsted weight yarn (#4)
- Approximately 120–180 yards (110–165 m) for one pair
- 4.5 mm crochet hook
- Yarn needle
- Scissors
- Stitch marker
- Measuring tape
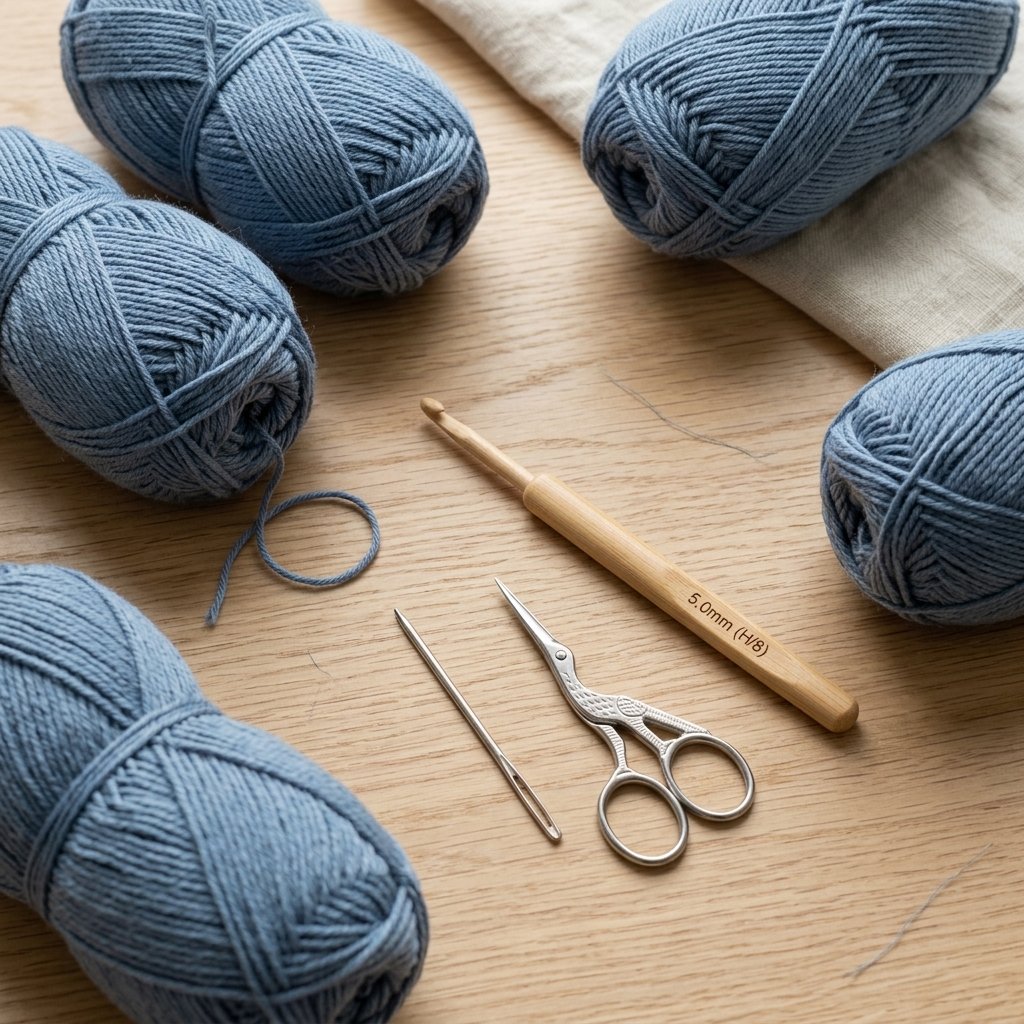
Yarn
A soft worsted weight yarn works well for this project. Acrylic, wool blends, or soft cotton blends are all good choices depending on how warm you want the gloves to feel.
For everyday winter use, a soft acrylic or wool-blend yarn gives the best balance of warmth, stretch, and durability.
Yardage by Size
| Size | Approximate Yardage |
|---|---|
| Small | 120–140 yd / 110–128 m |
| Medium | 140–160 yd / 128–146 m |
| Large | 160–180 yd / 146–165 m |
Hook Size
Use a 4.5 mm crochet hook for the main gloves.
If your stitches are very tight and the glove feels stiff, move up to a 5.0 mm hook. If your stitches are loose and the glove feels too large, try a 4.0 mm hook.
Gauge
Gauge is helpful for getting the best fit.
Approximately 16 single crochet stitches x 18 rows = 4 x 4 inches (10 x 10 cm).
Measure your hand around the widest part of the palm, excluding the thumb, and compare it with the size chart before beginning.
Abbreviations
- ch = chain
- sc = single crochet
- hdc = half double crochet
- sl st = slip stitch
- BLO = back loop only
- st(s) = stitch(es)
- rep = repeat
Pattern Notes
- The gloves are worked from the wrist upward.
- Work in joined rounds unless stated otherwise.
- Ch 1 does not count as a stitch.
- The thumb opening is created by skipping stitches and chaining across the gap.
- Make two identical gloves.
- Try the glove on during the project to check the thumb placement and overall fit.
Easy Crochet Fingerless Gloves Pattern
Part 1 — Crochet the Wrist Cuff
Choose your size:
- Small: ch 25
- Medium: ch 29
- Large: ch 33
Join with a sl st to the first ch, taking care not to twist the chain.
Round 1: Ch 1, sc in each ch around. Join with sl st.
Stitch counts:
- Small: 25 sts
- Medium: 29 sts
- Large: 33 sts
Rounds 2–8: Ch 1, sc in BLO in each st around. Join with sl st.
The BLO stitches create a subtle ribbed texture around the wrist and give the cuff extra stretch.
Part 2 — Crochet the Hand Section
Rounds 9–13: Ch 1, sc in each st around. Join with sl st.
Try the glove on. The fabric should reach the base of your thumb.
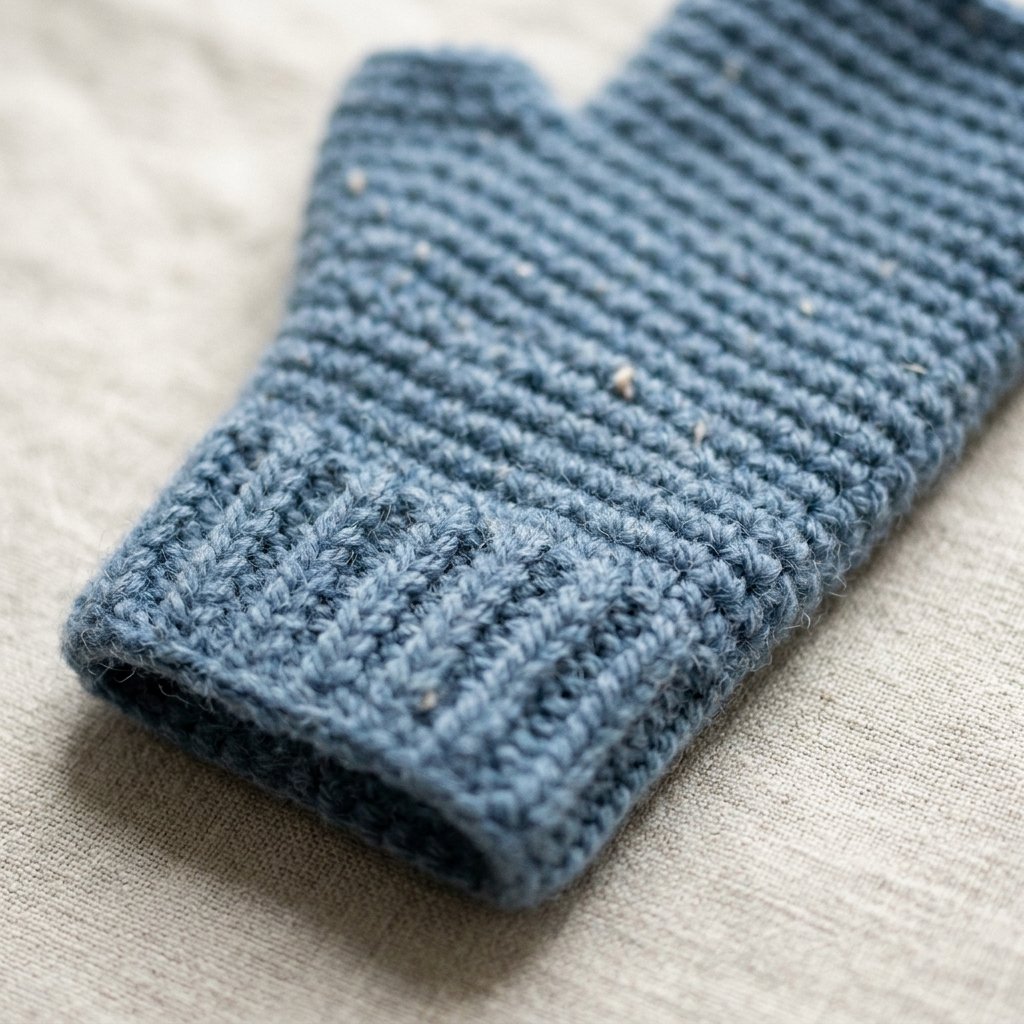
Part 3 — Make the Thumb Opening
The thumb opening is created during the next round.
Small: sc in next 18 sts, ch 5, skip 5 sts, sc in remaining 2 sts.
Medium: sc in next 21 sts, ch 6, skip 6 sts, sc in remaining 2 sts.
Large: sc in next 24 sts, ch 7, skip 7 sts, sc in remaining 2 sts.
Join with sl st to complete the round.
Try the glove on before continuing. Your thumb should fit comfortably through the opening without pulling the surrounding stitches.
Part 4 — Continue Above the Thumb
Next Round: Ch 1, sc in each stitch and in each chain across the thumb opening. Join.
Next 4–6 Rounds: Ch 1, sc in each st around. Join.
For a shorter glove, work 4 rounds. For more coverage over the hand, work 6 rounds.
Part 5 — Finish the Top Edge
Final Round: Ch 1, sl st loosely in each stitch around.
Fasten off and weave in the end.
Part 6 — Crochet Around the Thumb Opening
Join yarn at the lower edge of the thumb opening.
Thumb Round 1: Ch 1, work sc evenly around the opening. Join.
Thumb Round 2: Ch 1, sc in each st around. Join.
Thumb Round 3: Ch 1, sl st loosely around.
Fasten off and weave in the yarn tail.
You can work one additional sc round if you want a slightly longer thumb section.
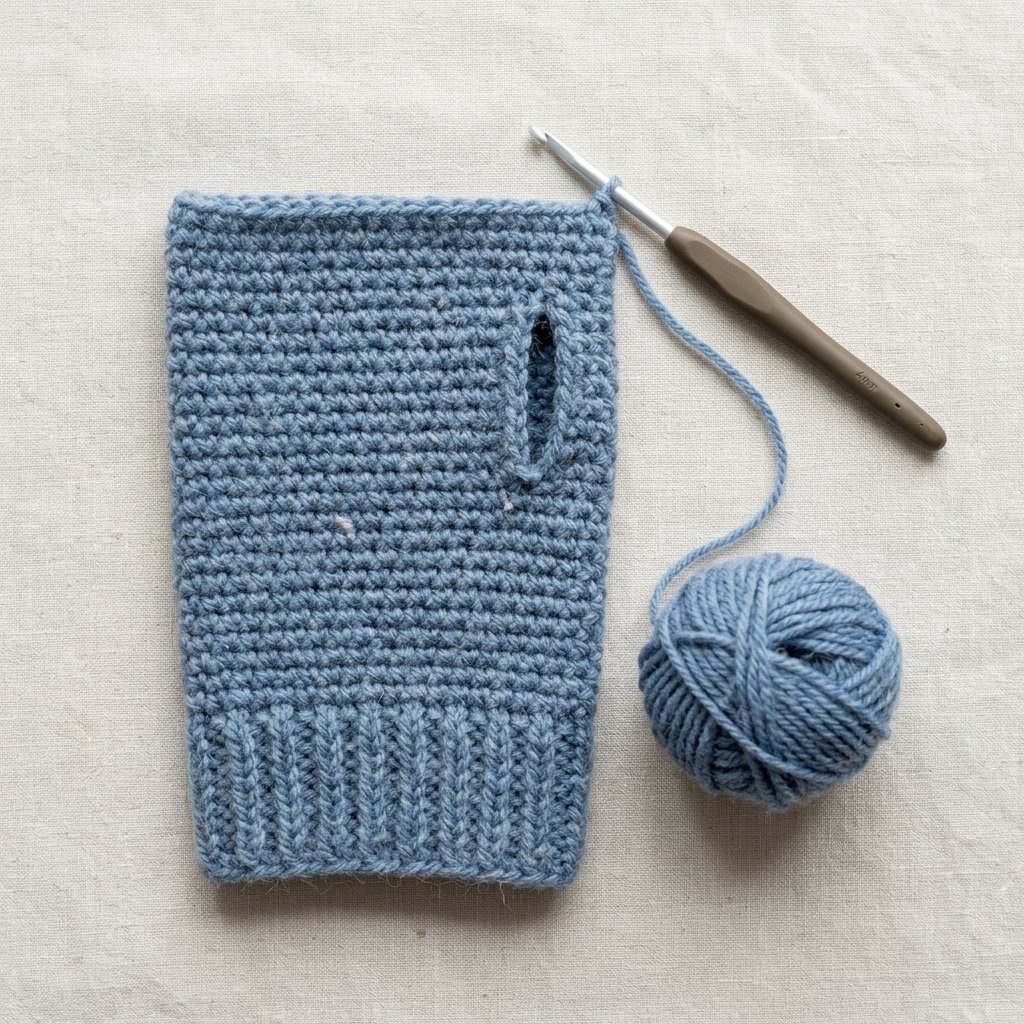
Make the Second Glove
Repeat the entire pattern to create the second glove.
Because the thumb opening sits slightly to the side, you can mirror the placement if you prefer a more tailored left and right glove. For a simple beginner version, both gloves can be made the same way and rotated slightly when worn.
Finishing
- Weave in all yarn ends securely.
- Check the thumb openings for any loose stitches.
- Gently stretch the cuffs so the ribbing sits evenly.
- Lightly block the gloves if needed.
- Allow them to dry completely before wearing.

Finished Size
Approximate finished measurements:
- Small: 7 inches (18 cm) long
- Medium: 7.5 inches (19 cm) long
- Large: 8 inches (20.5 cm) long
The gloves should fit comfortably around the palm while allowing enough flexibility to move your fingers freely.
How to Adjust the Fit
If your gloves feel too tight, you can add 2–4 stitches to the starting chain. Keep in mind that you may also need to slightly enlarge the thumb opening.
If the gloves feel too loose, remove 2–4 stitches from the starting chain or use a smaller hook.
To make longer wrist warmers, simply continue working extra BLO rounds before starting the hand section.
Tips for Beginners
- Keep your starting chain loose enough to fit comfortably around the wrist.
- Use a stitch marker to mark the first stitch of every round.
- Count your stitches every few rounds so the glove does not accidentally become wider or narrower.
- Try the glove on before and after making the thumb opening.
- Keep the final slip stitch round loose so the top edge stays stretchy.
Customization Ideas
- Two-tone gloves: make the cuff in one color and the hand section in another.
- Striped wrist warmers: change colors every 2 or 3 rounds.
- Long cuffs: add 5–10 extra cuff rounds for more wrist coverage.
- Textured version: alternate regular sc rounds with BLO rounds.
- Gift set: make a matching scarf or headband with the same yarn.
- Autumn style: try rust, mustard, forest green, or warm beige.
- Winter style: use charcoal, cream, icy blue, burgundy, or navy.
Why Fingerless Gloves Are a Great Beginner Project
Fingerless gloves are a nice introduction to crochet wearables because they use simple shaping without requiring individual fingers. Once you understand how to create the thumb opening, the rest of the construction is very straightforward.
They are also small enough to finish quickly, making them a satisfying project when you want something practical without committing to a large garment.
Frequently Asked Questions
Is this Easy Crochet Fingerless Gloves Pattern For Beginners beginner-friendly?
Check the Skill Level and Pattern Notes sections before you begin. Read through the full pattern once, then keep a stitch marker and your materials nearby as you work.
What yarn should I use for this crochet project?
Use the yarn weight and fiber recommendations listed in the Yarn section. Matching the suggested yarn weight will help you stay closer to the intended size and fabric.
Can I change the colors?
Yes. Color changes are one of the easiest ways to personalize this project without changing the core construction. Keep the same yarn weight for the most consistent result.
How can I keep my stitch counts accurate?
Count at the end of each row or round, move your stitch marker as you work, and correct missed increases or decreases before continuing to the next section.
Looking for Your Next Crochet Project?
Love this project? Explore Cute Stitch Studio’s premium crochet patterns for more cute, cozy, gift-worthy, and beginner-friendly handmade ideas.