Crochet Ghost Phone Case Pattern: A Spooky-Cute Halloween Cover
This crochet ghost phone case pattern combines a burgundy crochet background with a tiny cream ghost wearing a witch hat. A golden crescent moon, little bats, and a pumpkin charm complete the Halloween look.
The crochet is fitted to the back of an existing protective phone case. The screen stays accessible, and the camera opening is shaped around the actual case you use.
For an iPhone 18 version, begin with a case specifically made for your exact phone model. This pattern uses measurements from that case rather than assuming camera dimensions or placement.
The project is best for confident beginners who enjoy small crochet pieces, careful measuring, and a little embroidery.
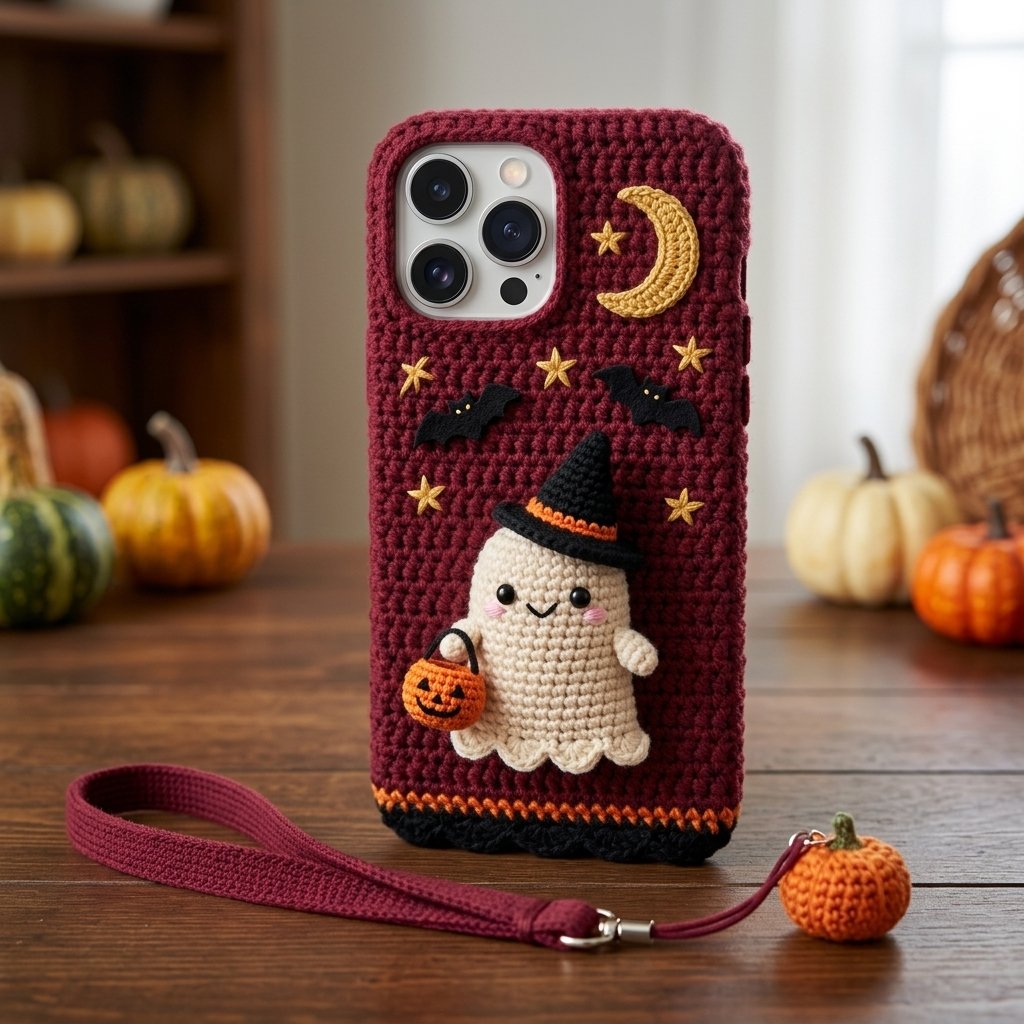
Table of Contents
Crochet Ghost Phone Case Pattern: A Spooky-cute Halloween Cover Instructions
Project Details
- Skill level: Confident beginner to intermediate.
- Estimated time: Approximately 6–9 hours, plus adhesive curing time.
- Finished size: Made to the measurements of your existing phone case.
- Terminology: US crochet terms.
- Construction: Flat crochet back panel with a measured camera opening, attached to a ready-made case.
- Decorations: Lightly padded crochet ghost, witch hat, crescent moon, embroidered stars, felt bats, and a separate pumpkin charm.
This original Cute Stitch Studio pattern has not been physically tested. The worked panel example is a construction guide, not a verified iPhone 18 sizing specification.
Materials
- Sport-weight cotton yarn in burgundy: approximately 50–70 yards.
- Matching-weight cream yarn: approximately 15–20 yards.
- Matching-weight black yarn: approximately 10–15 yards.
- Small amounts of orange, gold, green, and pink yarn.
- 2.5 mm hook for the case panel.
- 2 mm hook for the small crochet decorations.
- A protective case made for your exact phone model.
- A ready-made burgundy wrist strap and compatible case attachment, if adding the wristlet.
- A small black felt scrap for two bats.
- Black sewing thread and a sewing needle.
- Tapestry needle.
- A small amount of polyester stuffing.
- Flexible adhesive explicitly suitable for both your case material and textile.
- Scissors, measuring tape, paper, and pencil.
- Removable stitch markers.
Check adhesive compatibility before beginning. Some flexible case materials do not bond reliably with ordinary craft glue. Follow the adhesive manufacturer’s preparation and curing instructions.
If you want the bead detail shown in the styling, choose a ready-made wrist strap that already includes securely assembled beads. The crochet charm is decorative and does not support the phone.
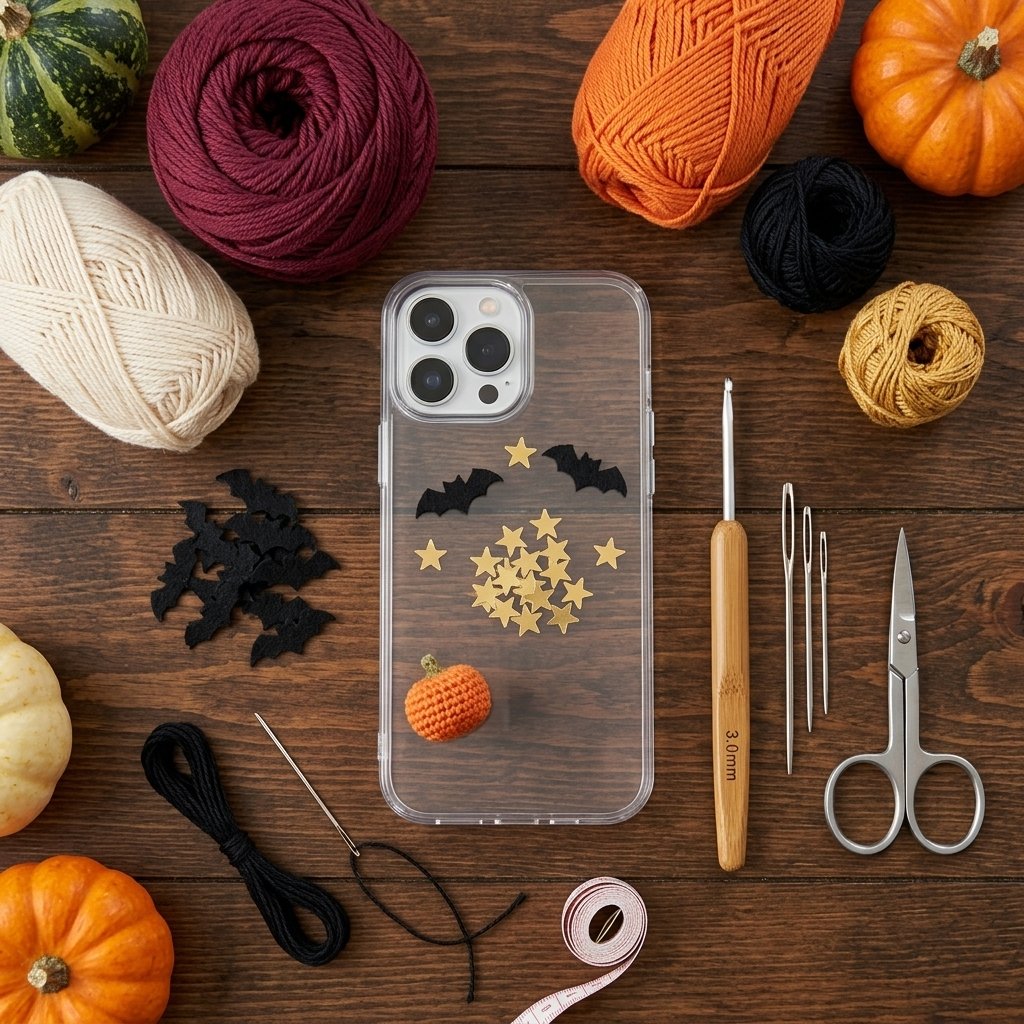
Hook Size
Use a 2.5 mm hook for the back panel and a 2 mm hook for the ghost, hat, moon, and pumpkin pieces.
The back panel should be compact enough to hold its shape without becoming stiff. Use the smaller hook for the decorations so their outlines remain clear.
Yarn
Choose sport-weight, category 2 cotton yarn with a smooth finish.
Burgundy forms the background, cream makes the ghost, and black defines the witch hat and facial details. Orange, gold, and green provide the seasonal accents.
Keep the decorative yarns similar in thickness. Bulky yarn will make the small motifs much larger and can crowd the camera opening.
Gauge
Example panel gauge: 24 sc and 28 rows = 4 inches.
Make a swatch and measure it after gentle washing and drying. At this gauge, there are approximately 6 stitches and 7 rows per inch.
Your actual gauge determines the panel counts. Do not stretch the crochet over the camera opening to make an incorrectly sized panel fit.
Measure Your Phone Case
Remove the phone before tracing or working on the case. Trace the usable back surface onto paper, including every camera, flash, sensor, and other opening that must remain clear.
This pattern explains a rectangular camera opening close to the upper edge. A case with a substantially different opening arrangement needs a revised template.
Measure:
- The usable back width and height.
- The distance from the lower edge to the bottom of the camera opening.
- The width of the camera opening.
- The height of the camera opening.
- The available crochet width on each side of the opening.
- The space above the opening.
Leave visible clearance around the camera opening. The crochet, yarn tails, and adhesive must stay outside the case’s existing cutout.
Keep the crochet on the exterior back surface. It should not wrap across the screen lip, buttons, speaker openings, charging port, or attachment hardware.
Worked Panel Example
The following numbers explain the construction. They are not measurements for a particular iPhone model.
| Section | Example |
|---|---|
| Panel width | 18 stitches, approximately 3 inches |
| Solid lower section | 30 rows, approximately 4.3 inches |
| Left camera rail | 2 stitches wide |
| Camera opening | 14 stitches wide and 12 rows high |
| Right camera rail | 2 stitches wide |
| Upper bridge | 2 rows |
| Total panel height | 44 rows, approximately 6.3 inches before shaping |
The two rails plus the opening must equal the full panel width. They do not have to be the same width if your camera opening is off-center.
Abbreviations
- ch: chain
- sc: single crochet
- hdc: half double crochet
- dc: double crochet
- sl st: slip stitch
- st(s): stitch(es)
- inc: work 2 sc in the same stitch
- dec: single crochet two stitches together
Decrease: Pull up a loop in each of the next two stitches, yarn over, and pull through all three loops.
Before You Start
- The case panel is worked in flat rows.
- Beginning ch 1 does not count as a stitch.
- The ghost uses two matching flat pieces with minimal stuffing between them.
- Use embroidered eyes rather than beads for a low-profile finish.
- Sew all decorations to the panel before attaching it to the case.
- Keep the phone out of the case until all adhesive has fully cured.
- The added crochet does not establish any additional drop-protection rating.
Crochet Ghost Phone Case Pattern Instructions
Part 1 — Burgundy Back Panel
Use your measured stitch and row counts. The example below uses 18 stitches across.
With burgundy and the 2.5 mm hook, ch 19.
Row 1: Sc in the second chain from the hook and in each remaining chain. Turn. (18 sc)
Rows 2–30: Ch 1. Sc in every stitch across. Turn. (18 sc)
Stop when the upper edge reaches the bottom of the camera opening on your template. Adjust the row count now if necessary.
Part 2 — Camera Rails
First rail, example Rows 31–42: Ch 1. Sc in the first 2 stitches only. Turn and leave the remaining stitches unworked.
Continue working 2 sc per row until the rail has 12 rows. Fasten off.
Second rail: With the same side of the panel facing you as when you began the first rail, join yarn in the second-to-last stitch of the solid lower section.
Ch 1. Sc in that stitch and the final stitch. Turn. Work 12 rows of 2 sc to match the first rail. Do not fasten off.
Place the panel on the paper template. The opening between the rails must fully clear the camera area. Add or remove rail rows before making the upper bridge.
Part 3 — Upper Bridge
From the top of the second rail, ch 14 for the example opening width. Sl st into the inner top corner of the first rail to secure the bridge. Fasten off.
Lay the panel flat and join yarn at the outer top corner of the first rail.
Upper Row 1: Ch 1. Work 2 sc across the first rail, 1 sc in each of the 14 bridge chains, and 2 sc across the second rail. Turn. (18 sc)
Upper Row 2: Ch 1. Sc in every stitch across. (18 sc)
Fasten off and weave in the ends.
For your own measurements, replace 2, 14, and 2 with the left-rail, opening, and right-rail counts from your template. Add upper rows only if the case has enough space above its camera cutout.
Do not add an inner camera border if it would reduce the clearance.

Part 4 — Little Ghost
Use cream and the 2 mm hook. Make two matching pieces.
Foundation: Ch 7.
Row 1: Sc in the second chain from the hook and across. Turn. (6 sc)
Row 2: Ch 1. Inc, sc in the next 4 stitches, inc. Turn. (8 sc)
Row 3: Ch 1. Inc, sc in the next 6 stitches, inc. Turn. (10 sc)
Row 4: Ch 1. Inc, sc in the next 8 stitches, inc. Turn. (12 sc)
Rows 5–10: Ch 1. Sc in each stitch across. Turn. (12 sc)
Row 11: Repeat [sl st in the next stitch, 3 hdc in the next stitch, sl st in the next stitch] 4 times. (4 small scallops)
Fasten off with a sewing tail.
On one piece, embroider two small black eyes around Rows 5–6, leaving a few stitches between them. Add a tiny curved mouth and one short pink cheek stitch on each side.
Place the pieces together with the decorated surface facing outward. Sew around the top and side edges. Add only a thin layer of stuffing, then sew around the lower scallops.
The ghost should be lightly raised rather than round and bulky.
Part 5 — Ghost Arms
Make two with cream.
Ch 4. Sc in the second chain from the hook, hdc in the next chain, and 3 sc in the final chain.
Working along the underside of the chain, hdc in the next chain and sc in the final chain. Sl st into the first sc. (7 stitches)
Fasten off. Sew one end of each small oval to a side of the ghost, leaving the rounded ends visible.
Part 6 — Witch Hat
With black and the 2 mm hook, ch 2.
Row 1: Sc in the second chain from the hook. Turn. (1 sc)
Row 2: Ch 1. Inc. Turn. (2 sc)
Row 3: Ch 1. Sc in each stitch. Turn. (2 sc)
Row 4: Ch 1. Inc, sc. Turn. (3 sc)
Row 5: Ch 1. Sc across. Turn. (3 sc)
Row 6: Ch 1. Inc, sc in the remaining 2 stitches. Turn. (4 sc)
Row 7: Ch 1. Inc, sc in the remaining 3 stitches. Turn. (5 sc)
Row 8: Ch 1. Inc, sc in the remaining 4 stitches. (6 sc)
Fasten off.
Brim: Ch 11. Sc in the second chain from the hook and across. Turn. (10 sc) Ch 1 and work a second row of 10 sc. Fasten off.
Sew the wide base of the hat triangle to the center of the brim. Add a narrow orange embroidered band and a small gold star made from five short stitches meeting at one center.
Sew the hat across the ghost’s upper edge.
Part 7 — Tiny Pumpkin Bucket
With orange and the 2 mm hook, ch 2.
Round 1: Work 6 sc in the second chain from the hook. Sl st into the first sc. (6 sc)
Round 2: Ch 1. Inc in every stitch. Join with a sl st. (12 sc)
Fasten off with a sewing tail.
Embroider two tiny black eyes and a short smile. Sew the orange circle to the ghost’s lower front.
Embroider an upside-down U above it for the bucket handle. This is a flat pumpkin-bucket detail, not a separate open container.
Part 8 — Crescent Moon and Background Details
With gold and the 2 mm hook, ch 13.
Working from the second chain from the hook, make: sl st, sc in the next 2 chains, hdc in the next 2 chains, dc in the next 2 chains, hdc in the next 2 chains, sc in the next 2 chains, and sl st in the final chain. (12 stitches)
Fasten off with a long tail. Gently curve the strip into a crescent. Sew it to the upper background area, securing the inner and outer curves so it retains its shape.
For two small bats, draw a paper template approximately 0.75 inch wide with a central body and two pointed, scalloped wings. Cut two from black felt and sew around their edges.
Embroider four small gold stars in the remaining space. For each star, make five short straight stitches radiating from one center point.
Part 9 — Assemble the Decorated Panel
Lay the burgundy panel on its template. Position the ghost below the camera opening and leave room above it for the moon.
Arrange one bat above and to the side of the ghost, and the other near the lower opposite corner. Space the stars between the larger shapes.
Sew the ghost and hat securely around their outer edges. Tack the arm ends to the panel so they do not stick out and catch easily.
Keep all sewing knots and tails flat on the back. No decoration should extend into the camera opening or beyond the usable back surface.
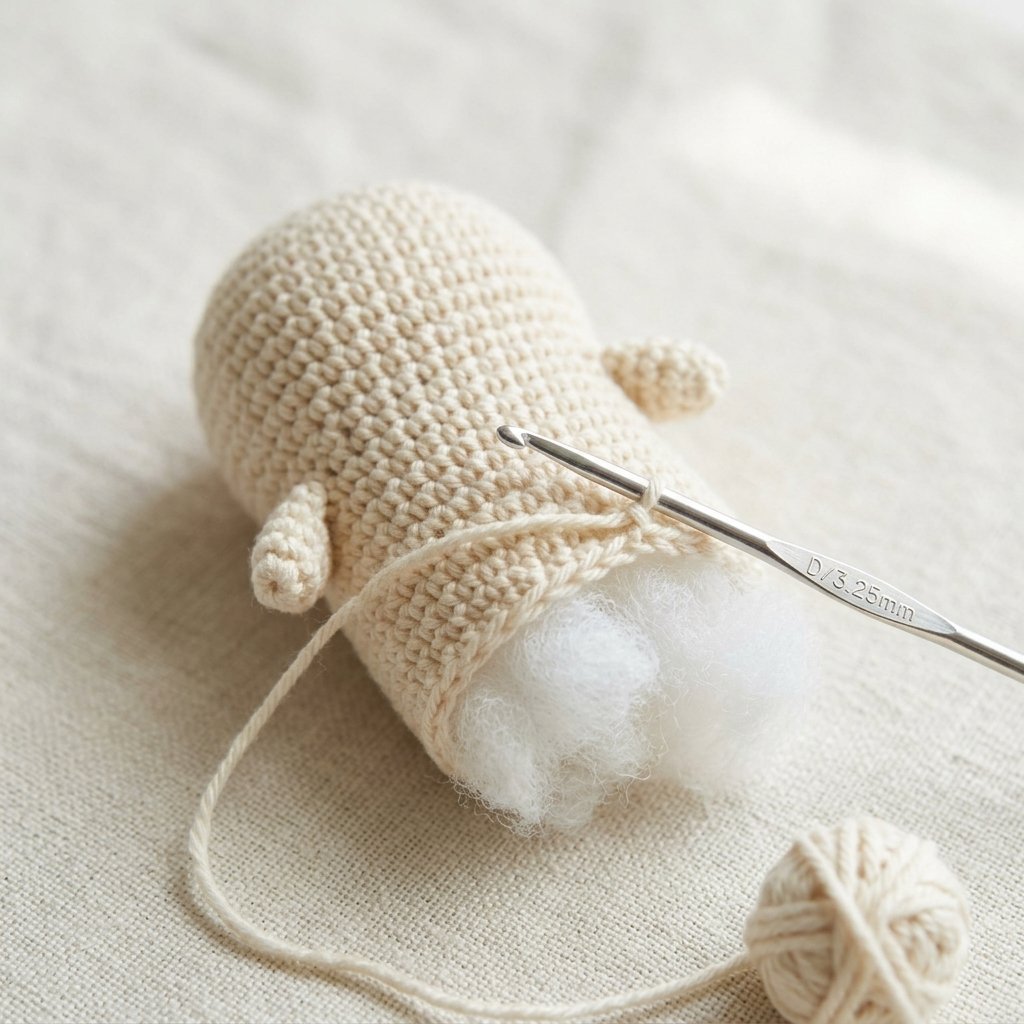
Part 10 — Attach the Crochet to the Case
Keep the phone removed. Place the finished panel against the case and check every opening before applying adhesive.
Prepare the case surface only as directed by the adhesive manufacturer. Apply a thin, controlled amount of compatible adhesive to the panel’s back, keeping it away from the camera cutout and all functional openings.
Press the crochet into place without stretching it. Follow the adhesive’s instructions for pressure, ventilation, and full curing time.
Do not reinstall the phone while the adhesive is wet or tacky. Once fully cured, check for loose edges and make sure the case still fits and closes correctly.
Part 11 — Pumpkin Wrist-Strap Charm
Use a ready-made wrist strap and case attachment designed to work together. Do not attach the carrying strap to the crochet panel alone.
For the decorative pumpkin, use orange and the 2 mm hook. Work in continuous rounds.
Round 1: Ch 2. Work 6 sc in the second chain from the hook. (6 sts)
Round 2: Inc in every stitch. (12 sts)
Round 3: Repeat [sc, inc] 6 times. (18 sts)
Round 4: Sc in every stitch. (18 sts)
Round 5: Repeat [sc, dec] 6 times. (12 sts)
Add a small amount of stuffing.
Round 6: Dec 6 times. (6 sts)
Fasten off. Thread the tail through the remaining front loops and pull closed.
With green, ch 3 and sl st back along the two chains. Sew this small stem to the top. Embroider black eyes and a smile on the pumpkin.
Sew the pumpkin to the wrist strap’s designated decorative loop or a nonmoving section near its attachment. Keep the strap’s clasp and attachment mechanism unobstructed.
Finishing
Check the camera clearance, felt edges, embroidery, ghost attachments, and charm stitching.
The decorations add thickness to the back. The phone may no longer sit flat or work with a stand, charging accessory, or magnetic mount in the same way. Remove the decorated case when an accessory requires unobstructed contact.
Spot-clean the crochet gently, keeping moisture away from the phone. Do not immerse the decorated case unless every component and adhesive is suitable for that treatment.
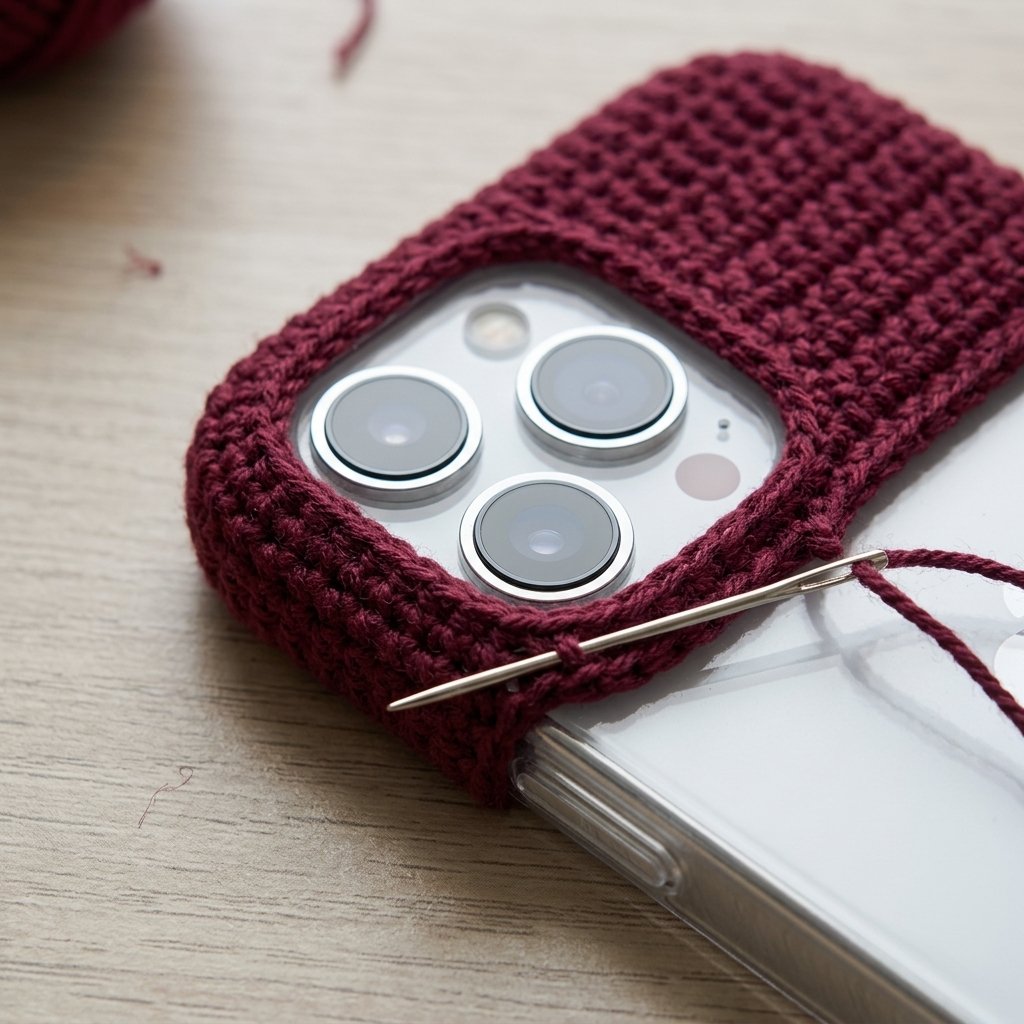
Finished Size
The finished cover should match the usable back surface of your actual case.
The example panel measures approximately 3 inches wide by 6.3 inches tall (7.6 by 16 cm) at the stated gauge. These are demonstration measurements, not verified iPhone 18 dimensions.
Check every decorative piece against the available space before sewing it down.
Tips and Customization
Make a Flatter Version
Use one ghost panel rather than two, omit stuffing, and sew it directly to the background. The face and hat instructions remain the same.
Adjust the Camera Opening
Change the left rail, right rail, bridge chain, and rail height to match your template. The two rails and bridge must add up to the full panel stitch count.
Change the Background Color
Deep purple, forest green, or charcoal work beautifully with the cream ghost. Keep the yarn thickness consistent so your measurements remain useful.
Keep the Decoration Balanced
If the case has a large camera area, use fewer stars or omit one bat rather than squeezing the ghost into the opening.
Frequently Asked Questions
Is this a phone pouch?
No. This is a crochet decoration fitted to the back of an existing phone case. The phone stays in its protective shell with the screen accessible.
Does the pattern include exact iPhone 18 dimensions?
No. Measure the case made for your exact model, including its camera cutout. The worked example explains how to construct and adjust the crochet panel.
Can I attach a wrist strap to the crochet itself?
The crochet panel is decorative. Attach the carrying strap to a compatible case attachment designed for that purpose.
Can I use hot glue?
Use an adhesive whose manufacturer explicitly lists compatibility with your case material and textile. Do not assume a general craft adhesive will hold on every type of case.
Can I wash the ghost before assembly?
Follow the yarn’s care instructions and let every piece dry completely before attaching it. After assembly, care must also account for the felt, case, and adhesive.
Save This Pattern for Later
Save this crochet ghost phone case pattern to your Halloween crochet or handmade accessories board on Pinterest. Start with your case template, then enjoy making the little ghost and its decorations.
Looking for Your Next Crochet Project?
Love this project? Explore Cute Stitch Studio’s premium crochet patterns for more cute, cozy, gift-worthy, and beginner-friendly handmade ideas.