

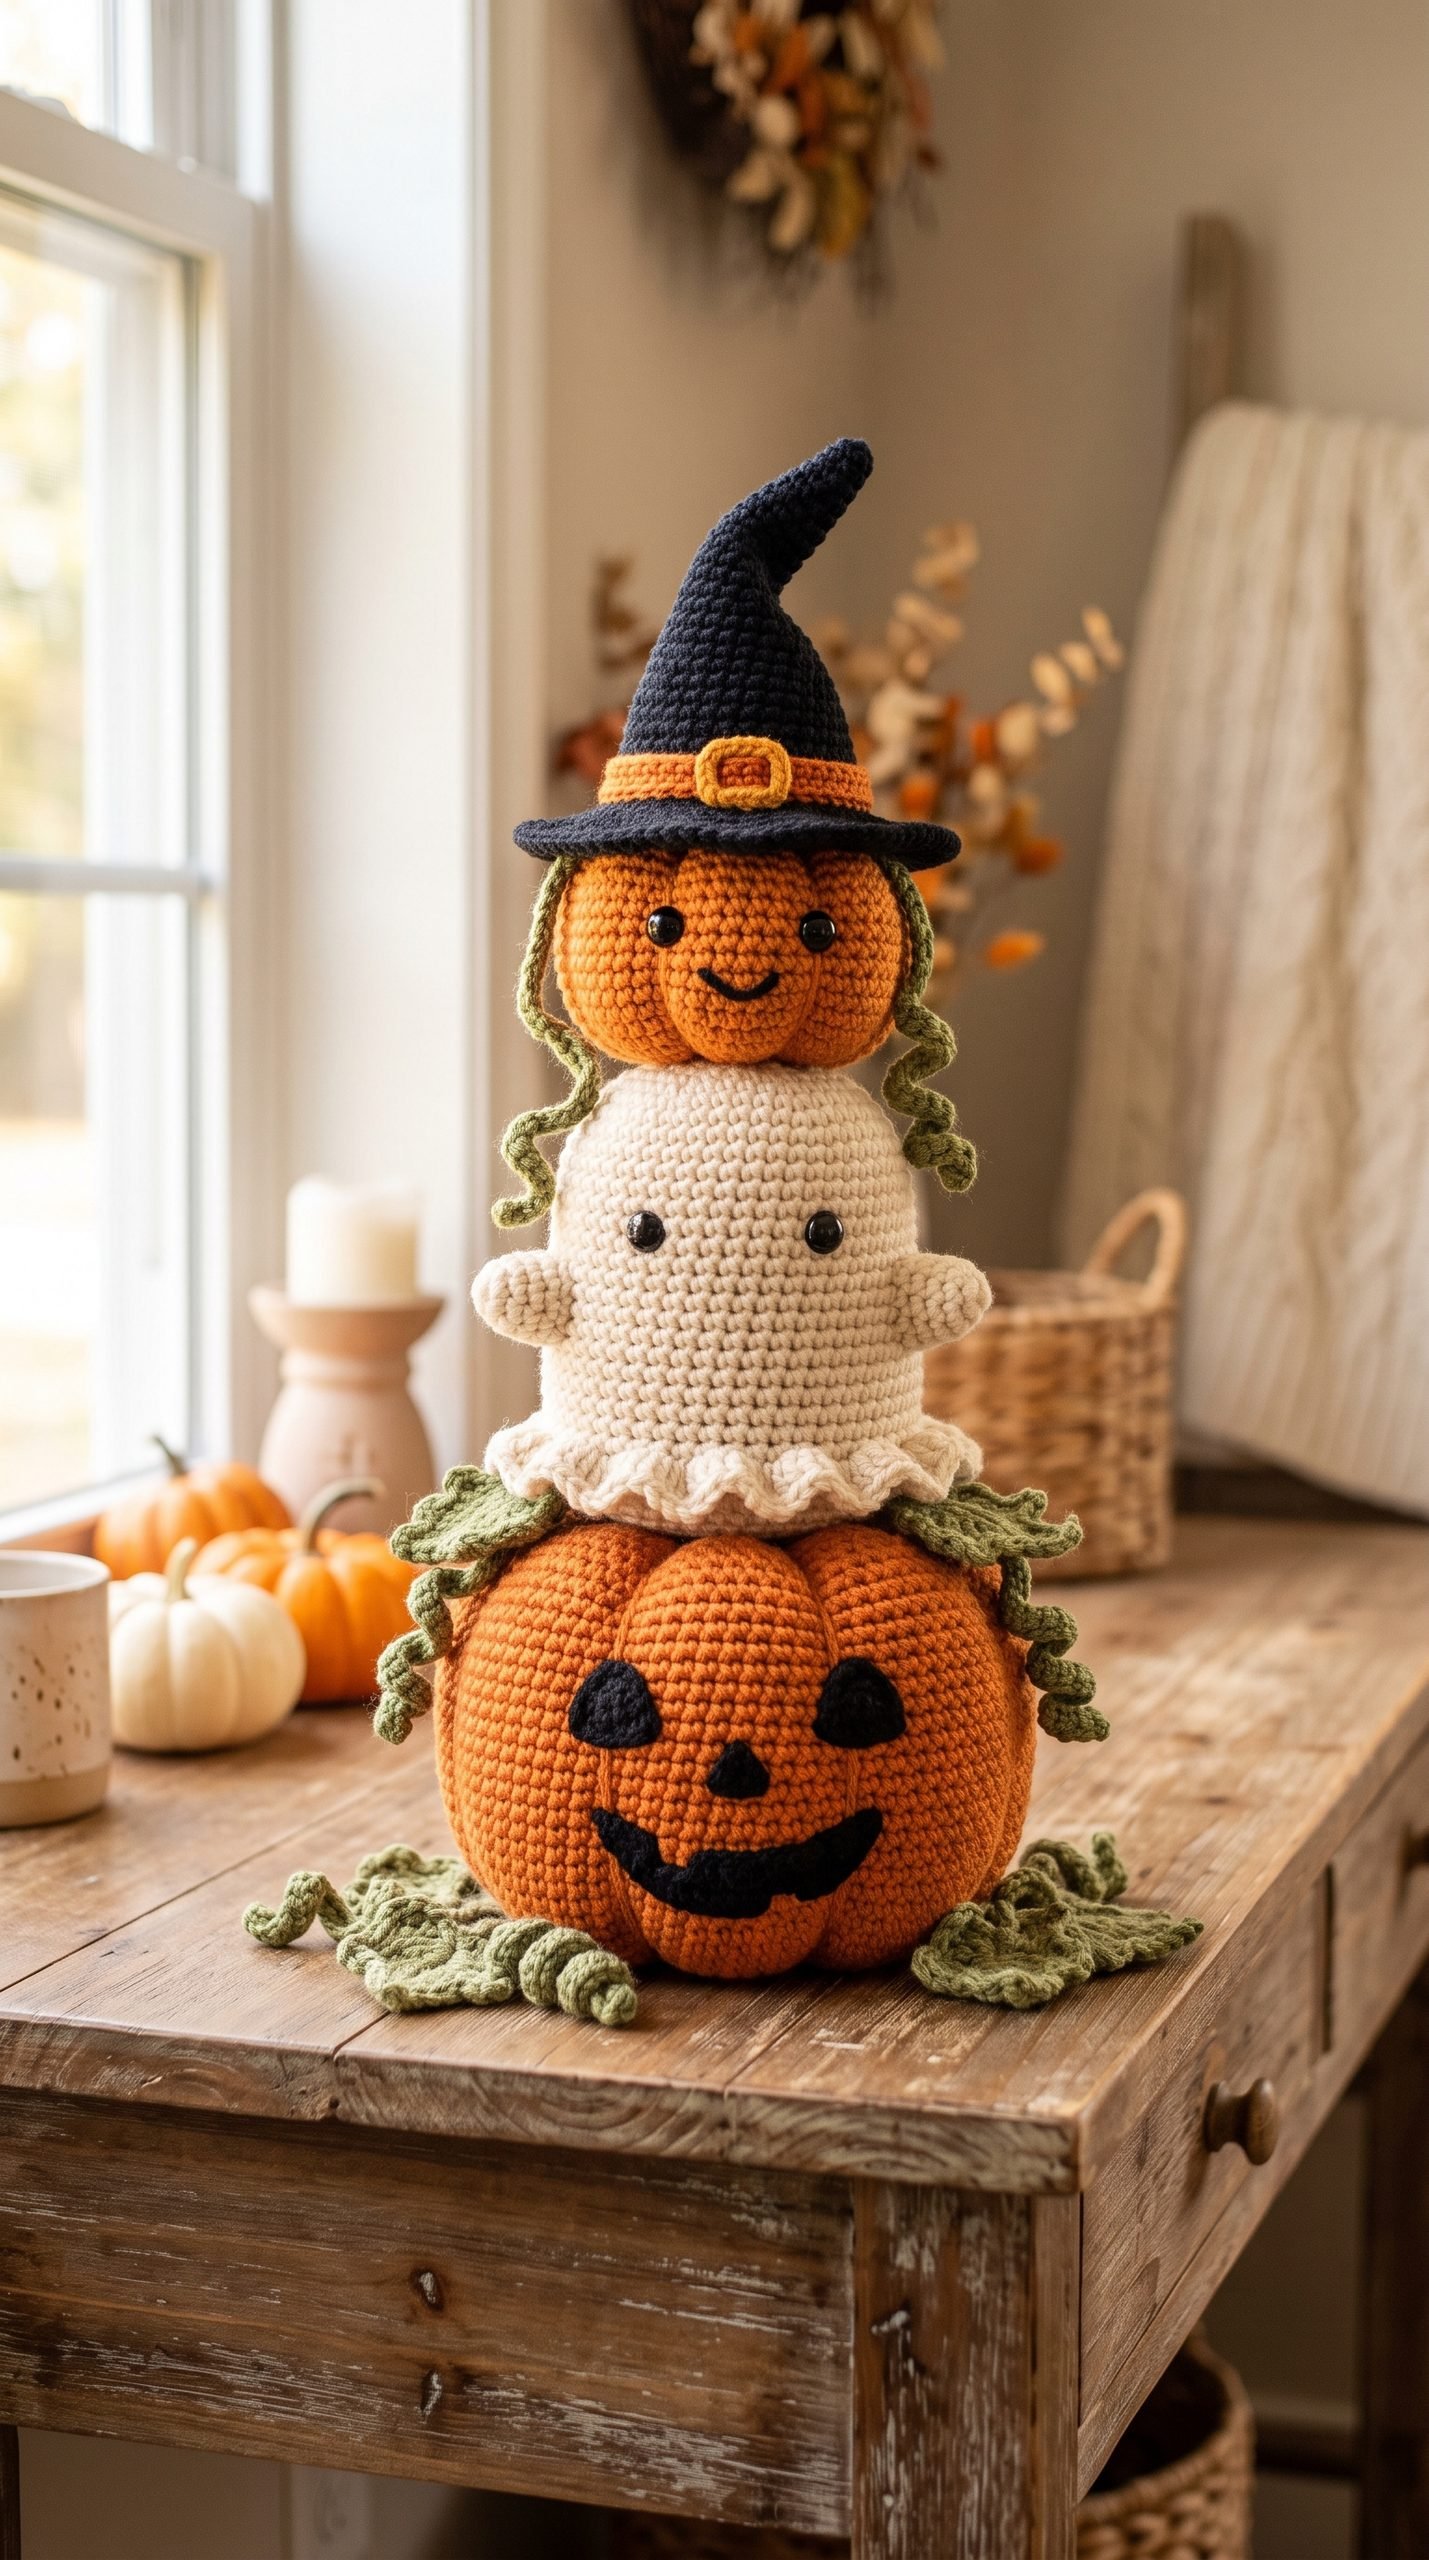
Free Crochet Ghost Pumpkin Stack Pattern for Halloween
Looking for a cute crochet ghost pumpkin stack pattern to add to your Halloween decor? This cozy fall project combines a smiling jack-o’-lantern, a sweet little ghost, a smaller pumpkin, and a whimsical witch hat into one adorable handmade centerpiece.
The pieces are crocheted separately and assembled at the end, making the project easier to manage than it may first appear. It is a fun choice for advanced beginners who already know basic amigurumi stitches, simple increases and decreases, stuffing, and sewing.
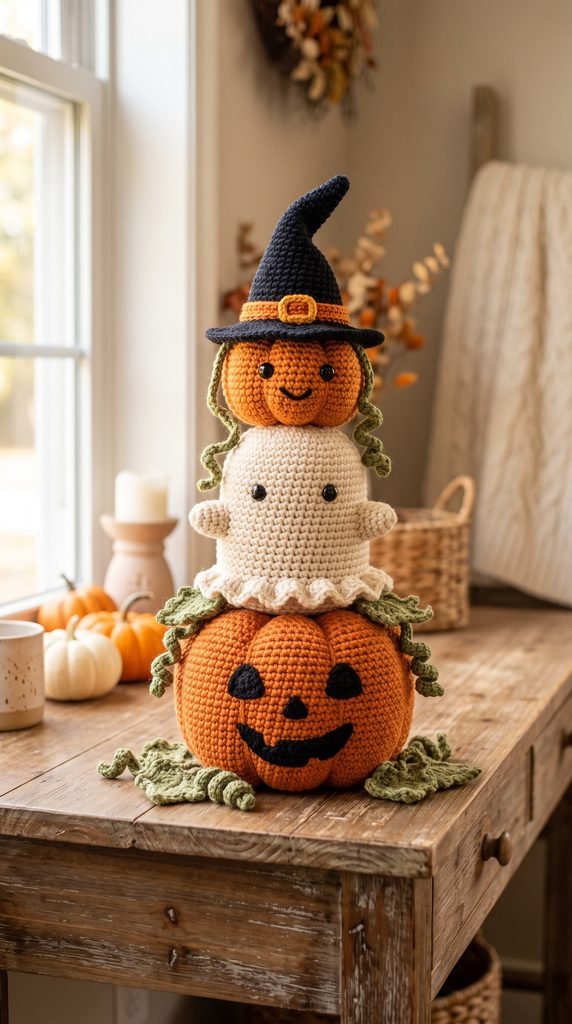
Project Details
- Skill Level: Advanced Beginner
- Estimated Time: 5–7 hours
- Finished Size: Approximately 12–13 inches tall and 6–7 inches wide
- Crochet Terminology: US terms
- Construction: Pieces are worked separately in continuous rounds, stuffed, shaped, and sewn together.
Materials
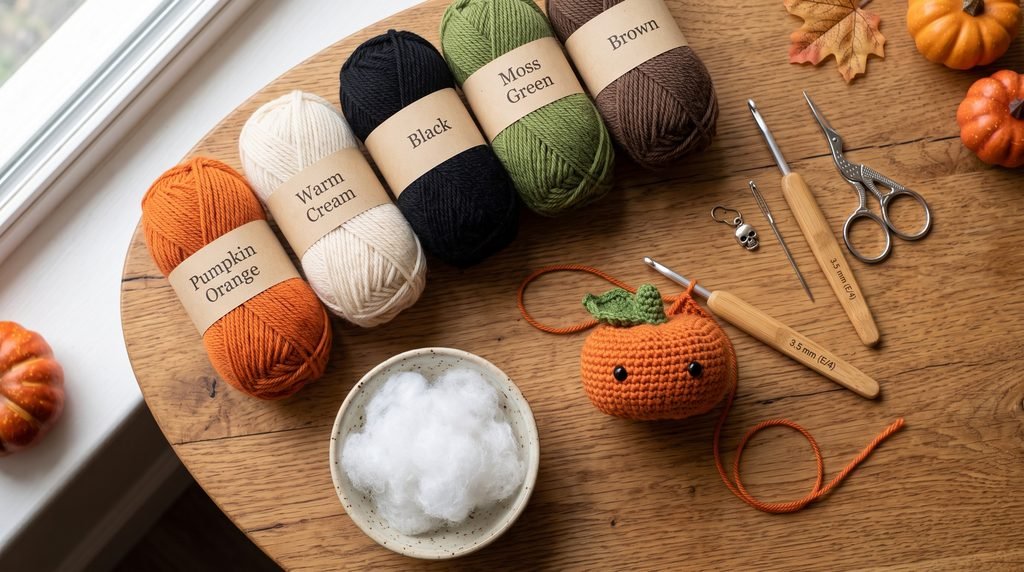
- Worsted weight #4 yarn in orange
- Worsted weight #4 yarn in cream or white
- Worsted weight #4 yarn in black
- Small amount of moss or olive green yarn
- Small amount of brown yarn
- Small amount of mustard or yellow yarn, optional
- 3.5 mm crochet hook
- Polyester fiberfill stuffing
- Yarn needle
- Scissors
- Stitch marker
- Black embroidery yarn for facial details
- Pink yarn for optional cheeks
- Straight pins for assembly, optional
Recommended Crochet Hook Size
Use a 3.5 mm (E/4) crochet hook.
For amigurumi, your stitches should be firm enough that the stuffing does not show through the fabric. If you naturally crochet loosely, you can try a slightly smaller hook.
Yarn
Use worsted weight #4 yarn. Cotton, acrylic, or a cotton-acrylic blend can all work well for this project.
Approximate yarn quantities:
- Orange: 100–130 yards
- Cream or white: 50–70 yards
- Black: 35–50 yards
- Green: 10–20 yards
- Brown: Less than 10 yards
For a classic Halloween look, try pumpkin orange, warm cream, charcoal black, moss green, mustard yellow, and rustic brown.
For softer fall decor, substitute dusty terracotta, oatmeal, sage, and dark gray.
Abbreviations
- MR = magic ring
- ch = chain
- sc = single crochet
- hdc = half double crochet
- dc = double crochet
- sl st = slip stitch
- st(s) = stitch(es)
- inc = increase, work 2 sc in the same stitch
- dec = invisible single crochet decrease
- FLO = front loop only
Before You Start
This crochet ghost pumpkin stack is worked mainly in continuous spiral rounds. Do not join each round unless the pattern specifically tells you to do so.
Place a stitch marker in the first stitch of every round and move it upward as you work.
Gauge is not critical for this decorative project. The most important thing is creating a firm crochet fabric so the stuffing stays hidden.
Stuff each amigurumi piece firmly, but avoid overstuffing because this can stretch the stitches and change the shape.
Free Crochet Ghost Pumpkin Stack Pattern
Part 1 — Large Jack-O’-Lantern Pumpkin
Using orange yarn:
Round 1: Work 6 sc into MR. (6 sts)
Round 2: Inc in each st around. (12 sts)
Round 3: *Sc in next st, inc in next st.* Repeat around. (18 sts)
Round 4: *Sc in next 2 sts, inc.* Repeat around. (24 sts)
Round 5: *Sc in next 3 sts, inc.* Repeat around. (30 sts)
Round 6: *Sc in next 4 sts, inc.* Repeat around. (36 sts)
Round 7: *Sc in next 5 sts, inc.* Repeat around. (42 sts)
Round 8: *Sc in next 6 sts, inc.* Repeat around. (48 sts)
Round 9: *Sc in next 7 sts, inc.* Repeat around. (54 sts)
Round 10: *Sc in next 8 sts, inc.* Repeat around. (60 sts)
Rounds 11–20: Sc in each st around. (60 sts)
Round 21: *Sc in next 8 sts, dec.* Repeat around. (54 sts)
Round 22: *Sc in next 7 sts, dec.* Repeat around. (48 sts)
Round 23: *Sc in next 6 sts, dec.* Repeat around. (42 sts)
Round 24: *Sc in next 5 sts, dec.* Repeat around. (36 sts)
Begin stuffing the pumpkin.
Round 25: *Sc in next 4 sts, dec.* Repeat around. (30 sts)
Round 26: *Sc in next 3 sts, dec.* Repeat around. (24 sts)
Continue stuffing firmly.
Round 27: *Sc in next 2 sts, dec.* Repeat around. (18 sts)
Round 28: *Sc in next st, dec.* Repeat around. (12 sts)
Add the final stuffing.
Round 29: Dec around. (6 sts)
Fasten off, leaving a long yarn tail. Thread the tail through the remaining stitches and pull the opening closed.
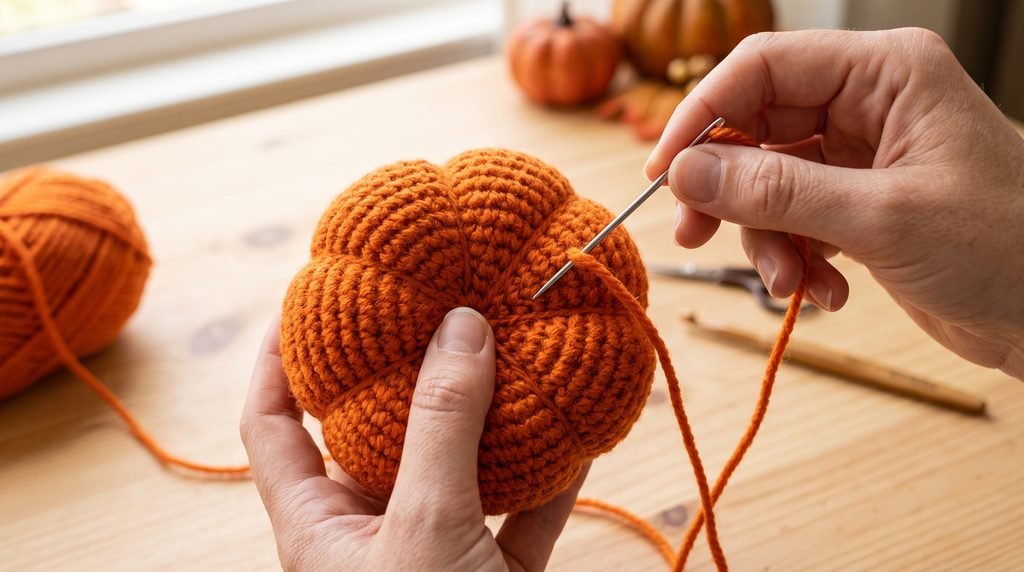
How to Shape the Crochet Pumpkin
Cut a long piece of orange yarn and thread it onto your yarn needle.
Insert the needle through the center bottom of the pumpkin and bring it out through the center top.
Wrap the yarn around the outside of the pumpkin and bring the needle through the bottom center again.
Pull gently until a visible pumpkin ridge forms.
Repeat around the pumpkin until you have approximately six evenly spaced sections.
Secure the yarn and hide the end inside the pumpkin.
Add the Jack-O’-Lantern Face
Use black yarn or embroidery floss to create two small triangular-style eyes and a tiny triangular nose.
Embroider a curved jack-o’-lantern smile underneath.
For a sweeter expression, keep the mouth rounded and friendly rather than making it sharp or spooky.
Part 2 — Crochet Ghost
Using cream or white yarn:
Round 1: 6 sc into MR. (6 sts)
Round 2: Inc around. (12 sts)
Round 3: *Sc, inc.* Repeat around. (18 sts)
Round 4: *Sc 2, inc.* Repeat around. (24 sts)
Round 5: *Sc 3, inc.* Repeat around. (30 sts)
Round 6: *Sc 4, inc.* Repeat around. (36 sts)
Rounds 7–12: Sc around. (36 sts)
Round 13: *Sc 4, dec.* Repeat around. (30 sts)
Rounds 14–16: Sc around. (30 sts)
Round 17: *Sc 3, dec.* Repeat around. (24 sts)
Round 18: *Sc 2, dec.* Repeat around. (18 sts)
Begin stuffing the ghost.
Round 19: *Sc, dec.* Repeat around. (12 sts)
Finish stuffing.
Round 20: Dec around. (6 sts)
Fasten off and close the opening.
Part 3 — Ghost Scalloped Ruffle
Using cream yarn, ch 30.
Join carefully with a sl st to the first chain, making sure the chain is not twisted.
Round 1: Sc in each chain around. (30 sts)
Round 2: *Sc in next 2 sts, work 5 dc into next st, sc in next 2 sts.* Repeat around 6 times.
Fasten off, leaving a long sewing tail.
Position the ruffle around the lower portion of the ghost and sew it securely in place. The scalloped edge should hang downward to create a soft floating ghost shape.
Add the Ghost Face
Using black yarn or embroidery floss, create two small eyes between approximately Rounds 8 and 10.
Leave about 5–6 stitches between the eyes.
Embroider a small curved smile underneath.
Add tiny pink cheek stitches if you would like an extra-cute expression.
Part 4 — Small Crochet Pumpkin
Using orange yarn:
Round 1: 6 sc into MR. (6 sts)
Round 2: Inc around. (12 sts)
Round 3: *Sc, inc.* Repeat around. (18 sts)
Round 4: *Sc 2, inc.* Repeat around. (24 sts)
Round 5: *Sc 3, inc.* Repeat around. (30 sts)
Round 6: *Sc 4, inc.* Repeat around. (36 sts)
Rounds 7–10: Sc around. (36 sts)
Round 11: *Sc 4, dec.* Repeat around. (30 sts)
Round 12: *Sc 3, dec.* Repeat around. (24 sts)
Begin stuffing.
Round 13: *Sc 2, dec.* Repeat around. (18 sts)
Round 14: *Sc, dec.* Repeat around. (12 sts)
Finish stuffing.
Round 15: Dec around. (6 sts)
Fasten off and close the opening.
Shape this pumpkin into six sections using the same yarn-wrapping method used for the large pumpkin.
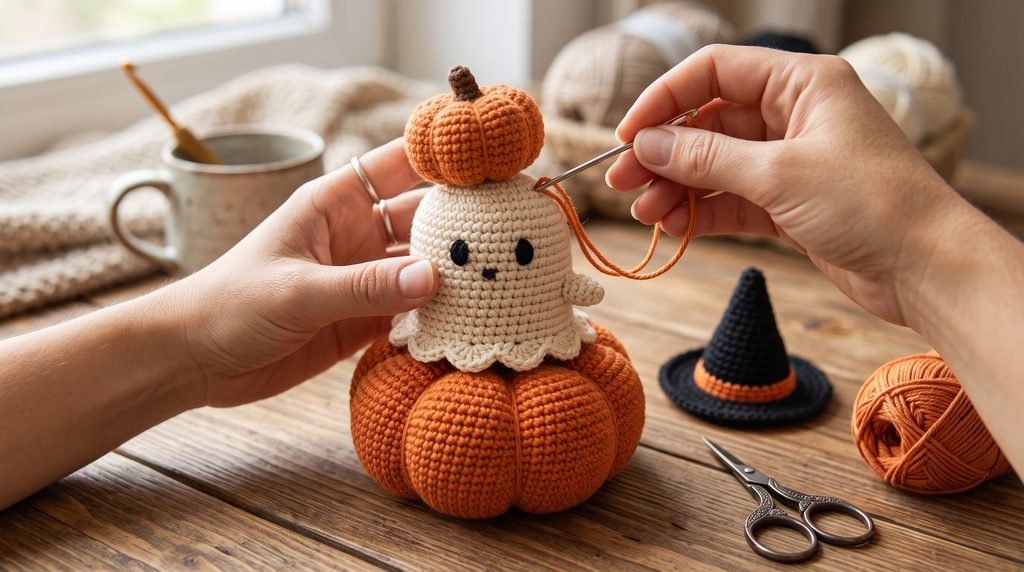
Small Pumpkin Face
Embroider two small black eyes and a curved smile onto the front of the pumpkin.
Optional pink cheeks can be added underneath the eyes.
Part 5 — Crochet Witch Hat
Using black yarn:
Round 1: 4 sc into MR. (4 sts)
Round 2: Inc around. (8 sts)
Round 3: Sc around. (8 sts)
Round 4: *Sc, inc.* Repeat around. (12 sts)
Round 5: Sc around. (12 sts)
Round 6: *Sc 2, inc.* Repeat around. (16 sts)
Round 7: Sc around. (16 sts)
Round 8: *Sc 3, inc.* Repeat around. (20 sts)
Round 9: Sc around. (20 sts)
Round 10: *Sc 4, inc.* Repeat around. (24 sts)
Round 11: Sc around. (24 sts)
Round 12: *Sc 5, inc.* Repeat around. (28 sts)
Round 13: Sc around. (28 sts)
Witch Hat Brim
Round 14: Working in FLO, *sc in next 6 sts, inc.* Repeat 4 times. (32 sts)
Round 15: *Sc 3, inc.* Repeat around. (40 sts)
Round 16: *Sc 4, inc.* Repeat around. (48 sts)
Round 17: Sc around. (48 sts)
Fasten off and weave in the end.
Shape the Witch Hat
Gently bend the upper portion of the hat toward one side.
Use a small piece of black yarn to tack the bent tip into place if needed.
A slightly crooked shape gives the hat more personality.
For an optional hatband, chain a length of orange yarn long enough to wrap around the base of the hat cone. Sew it just above the brim.
Part 6 — Pumpkin Stem
Using brown yarn:
Round 1: 6 sc into MR. (6 sts)
Rounds 2–4: Sc around. (6 sts)
Fasten off, leaving a sewing tail.
Lightly stuff the stem if necessary and sew it to the center of the small pumpkin.
Part 7 — Crochet Leaves
Using green yarn, ch 7.
Starting in the second chain from the hook, work:
Sl st, sc, hdc, dc, hdc.
Work 3 sc into the final chain.
Continue along the opposite side of the foundation chain:
Hdc, dc, hdc, sc, sl st.
Fasten off.
Make 2–4 leaves depending on how decorated you want your finished Halloween centerpiece to look.
Part 8 — Curly Crochet Vines
Using green yarn, ch 20–30.
Starting in the second chain from the hook, work 2 sc into every chain.
The vine should naturally curl as you crochet.
Fasten off.
Make two or three vines in slightly different lengths.
How to Assemble the Crochet Ghost Pumpkin Stack
Before sewing anything permanently, arrange the main pieces together to check their position.
Your stack should be arranged in this order:
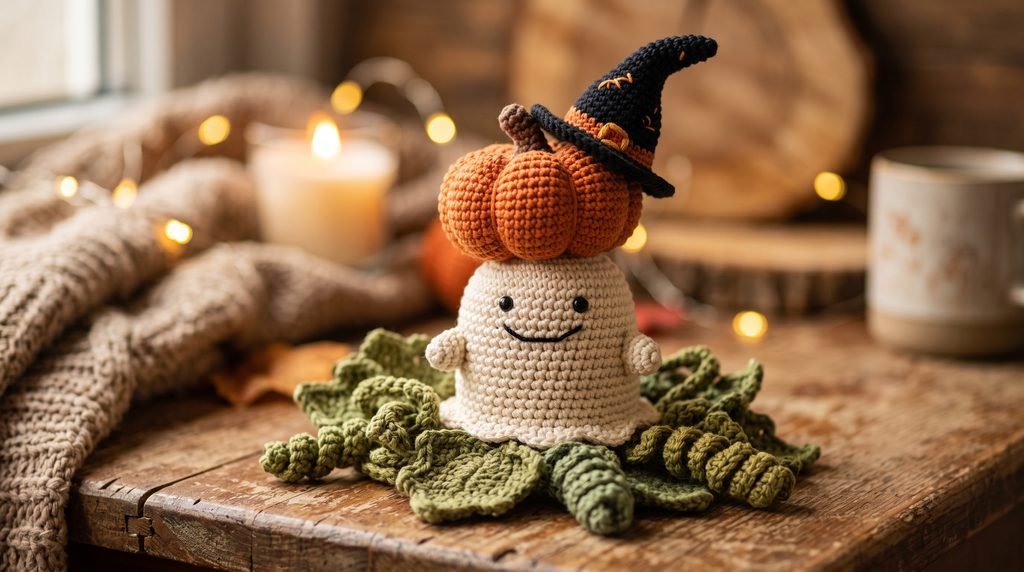
Large pumpkin → Ghost → Small pumpkin → Witch hat
Center the ghost over the large pumpkin.
Using a yarn needle and matching yarn, sew the bottom of the ghost securely to the top of the large pumpkin.
Make several small stitches around the contact area instead of relying on only one or two stitches.
Place the smaller pumpkin on top of the ghost and sew it securely to the center of the ghost’s head.
Position the witch hat over the small pumpkin and sew several hidden stitches around the base of the hat.
Before tying your final knot, place the stack on a flat surface and make sure it stands as straight as possible.
Add the Halloween and Fall Details
Sew the green leaves and curly vines around the pumpkins.
Instead of placing every decoration symmetrically, try grouping two leaves and a vine on one side and a smaller detail on the opposite side.
This creates a playful handmade look and keeps the faces visible.
You can also add a tiny crochet star, miniature bat, or small bow if you want extra detail.
Finishing
Weave in all remaining yarn ends securely.
Check every sewn connection between the large pumpkin, ghost, smaller pumpkin, and witch hat.
Gently reshape the pumpkin sections with your hands.
Adjust the witch hat until the curved tip sits naturally.
Arrange the leaves and vines so they decorate the stack without covering the facial details.
Blocking is generally unnecessary for the stuffed pieces.
If the witch hat brim curls too much, lightly dampen it, reshape it with your fingers, and allow it to dry flat before attaching it.
Finished Size
When made with worsted weight #4 yarn and a 3.5 mm hook, the finished crochet ghost pumpkin stack should measure approximately:
12–13 inches tall (30–33 cm)
6–7 inches wide (15–18 cm) at the widest part of the bottom pumpkin.
Your final measurements may vary depending on yarn choice, crochet tension, stuffing, and how you shape the witch hat.
Tips and Customization Ideas
Try a Softer Fall Color Palette
Swap traditional bright orange for dusty terracotta and use oatmeal instead of white for the ghost. Charcoal gray can also replace pure black for a softer farmhouse-inspired Halloween look.
Make It Bright and Playful
Try purple, lime green, orange, and black for a colorful Halloween version.
Add More Crochet Vines
Make several vines in different lengths and arrange them around the large pumpkin for extra texture.
Add Tiny Crochet Stars
Small mustard, gold, or orange stars can be sewn onto the witch hat or around the pumpkin.
Change the Facial Expressions
Try sleepy eyes, eyelashes, rosy cheeks, or a tiny surprised ghost mouth to give each character its own personality.
Make a Smaller Version
Using DK weight #3 yarn and a smaller hook can create a more compact decoration while keeping the same basic construction.
Turn It Into a Handmade Gift
This crochet Halloween decoration makes a cute handmade gift for friends, teachers, coworkers, family members, or anyone who loves cozy fall decor and amigurumi.
Where to Display Your Crochet Halloween Stack
This finished project works beautifully as a seasonal decoration on a fireplace mantel, entryway table, bookshelf, fall tray, craft room shelf, Halloween party table, or autumn centerpiece.
Because the design is more cute than scary, it also works well with cozy and family-friendly Halloween decor.
Looking for Your Next Crochet Project?
Love this project? Explore Cute Stitch Studio’s premium crochet patterns for more cute, cozy, seasonal, and gift-worthy handmade ideas.
Shop Crochet Patterns
You May Also Like
Easy Crochet Pumpkin Pattern for Beginners
Cute Crochet Ghost Pattern for Halloween
Easy Crochet Witch Hat Pattern
These projects are perfect for building your handmade Halloween collection one cozy crochet project at a time.


