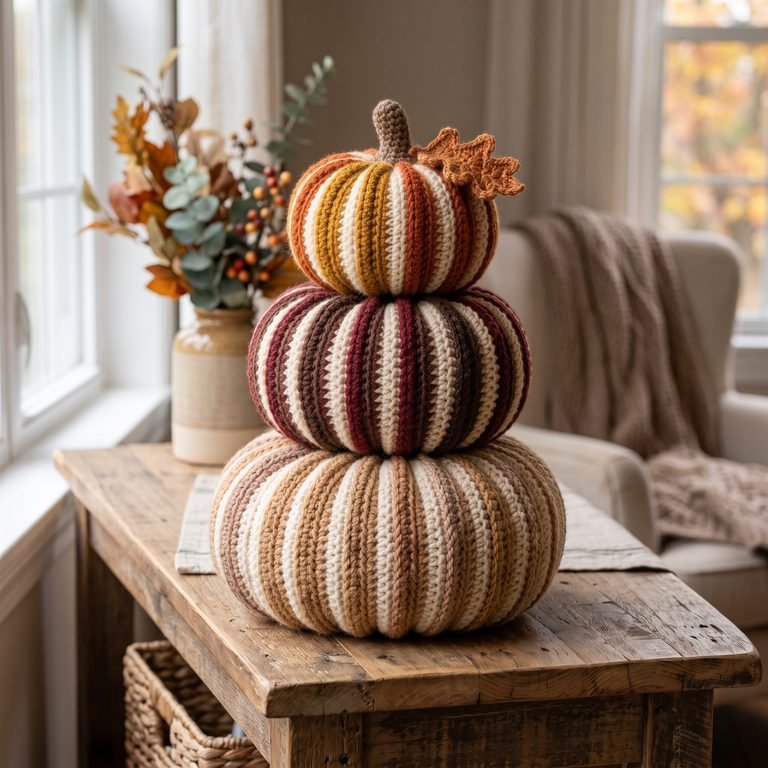
Free Crochet Pumpkin Cat Hat Pattern for Halloween
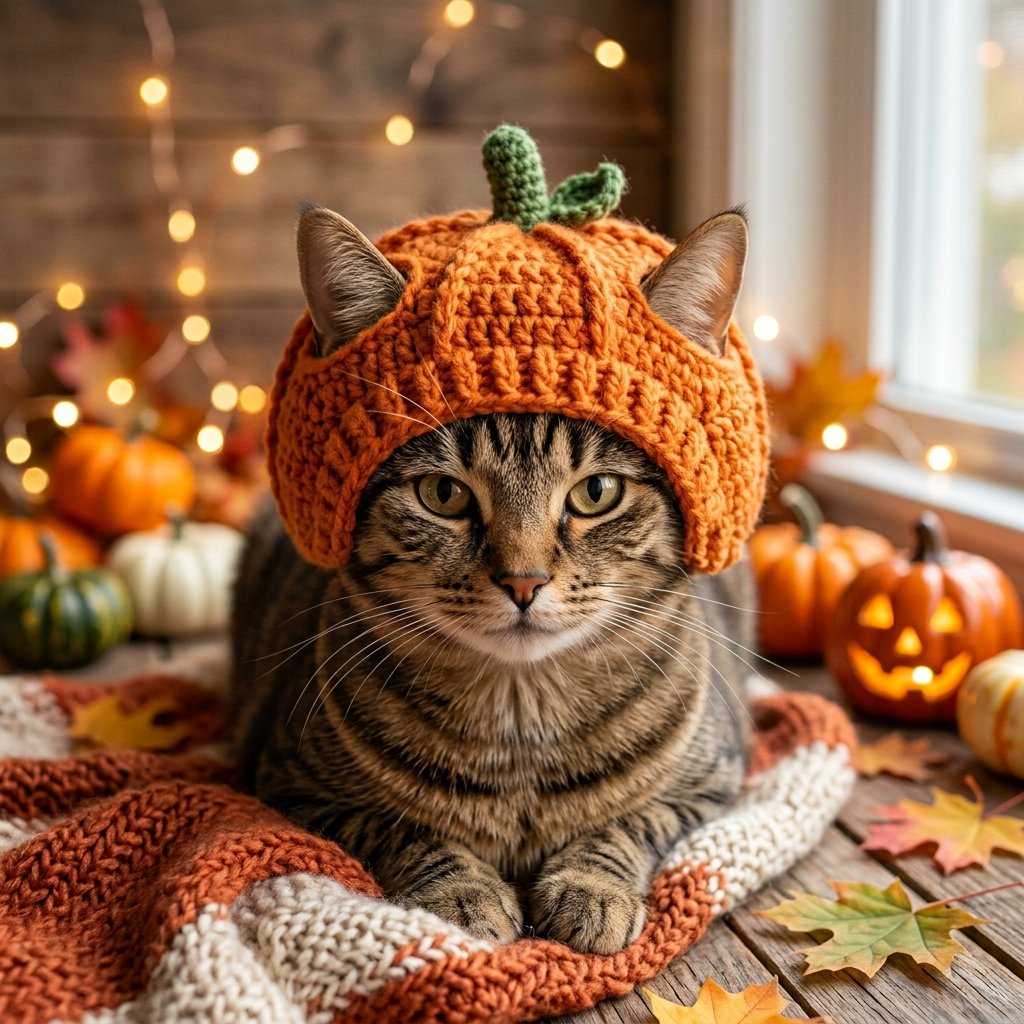
This free crochet pumpkin cat hat pattern is a fun way to make a cute handmade Halloween accessory for your favorite feline. The finished hat looks like a tiny orange pumpkin, complete with a green stem, textured pumpkin ridges, a cozy ribbed brim, and openings that allow the cat’s ears to remain uncovered.
The pattern uses simple crochet stitches and straightforward shaping, making it a great seasonal project for adventurous beginners. It also works beautifully for fall pet photos, Halloween pictures, and handmade gifts for cat lovers.
Pet Safety: This hat is intended as a supervised costume or photo accessory only. Never leave a cat unattended while wearing it. Remove the hat immediately if your cat shows signs of stress or discomfort. The ears, eyes, whiskers, and breathing should remain completely unobstructed.
Project Details
- Skill Level: Advanced beginner
- Estimated Time: 2–4 hours
- Finished Size: Approximately 10–12 inches (25–30 cm) around the lower edge
- Crochet Terminology: US terms
- Construction Method: Top-down pumpkin cap worked in rounds with two ear openings, separate ribbed brim, surface crochet ridges, and a small green stem
Materials
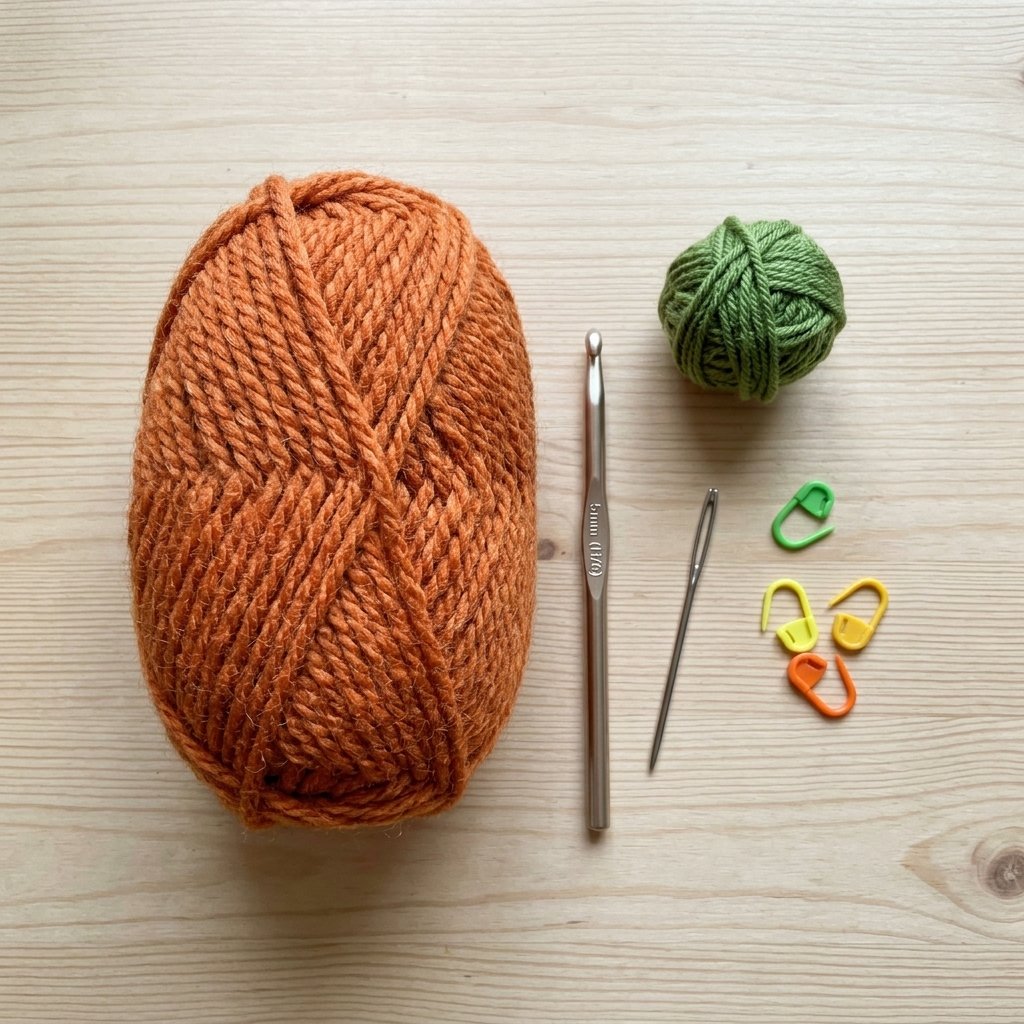
- Worsted weight yarn in pumpkin orange, approximately 80–100 yards
- Small amount of dark orange yarn for optional pumpkin ridges
- Small amount of green worsted weight yarn for the stem
- 4 mm crochet hook
- Yarn needle
- Scissors
- Stitch marker
- Flexible measuring tape
Hook Size
Use a 4 mm crochet hook with worsted weight yarn. The finished fabric should be soft and flexible rather than stiff.
If your stitches are very tight, try a 4.5 mm hook. If the hat feels too loose, move down to a 3.5 mm hook.
Yarn
A soft category 4 worsted weight yarn works well for this project. Acrylic, soft cotton, or a cotton-acrylic blend can all be used.
- Main Color: Pumpkin orange
- Stem: Leaf green or forest green
- Optional Ridges: Darker orange or the same orange used for the hat
For a different seasonal look, try cream, mustard, rust, dark green, or purple.
Abbreviations
- MR = magic ring
- ch = chain
- sc = single crochet
- hdc = half double crochet
- sl st = slip stitch
- st(s) = stitch(es)
- inc = increase, 2 stitches in the same stitch
- BLO = back loop only
Before You Start
Measure your cat’s head gently around the area where the lower edge of the hat will sit. For many adult cats, approximately 10–12 inches (25–30 cm) is a useful starting point, but every cat is different.
The main hat is worked from the top down in continuous rounds. Use a stitch marker to mark the first stitch of each round.
The ear openings are created with chain spaces so the cat’s ears can remain free instead of being pushed underneath the hat.
Gauge is not critical, but the fabric should stretch slightly without becoming tight.
Step-by-Step Crochet Instructions
Part 1 — Top of the Pumpkin Hat
Using orange yarn, make a magic ring.
Round 1: Work 8 hdc into the MR. (8 sts)
Round 2: Work 2 hdc in each st around. (16 sts)
Round 3: *Hdc in next st, 2 hdc in next st.* Repeat around. (24 sts)
Round 4: *Hdc in next 2 sts, 2 hdc in next st.* Repeat around. (32 sts)
Round 5: *Hdc in next 3 sts, 2 hdc in next st.* Repeat around. (40 sts)
Round 6: Hdc in each st around. (40 sts)
At this point, the top should form a shallow rounded cap.
Part 2 — Creating the Ear Openings
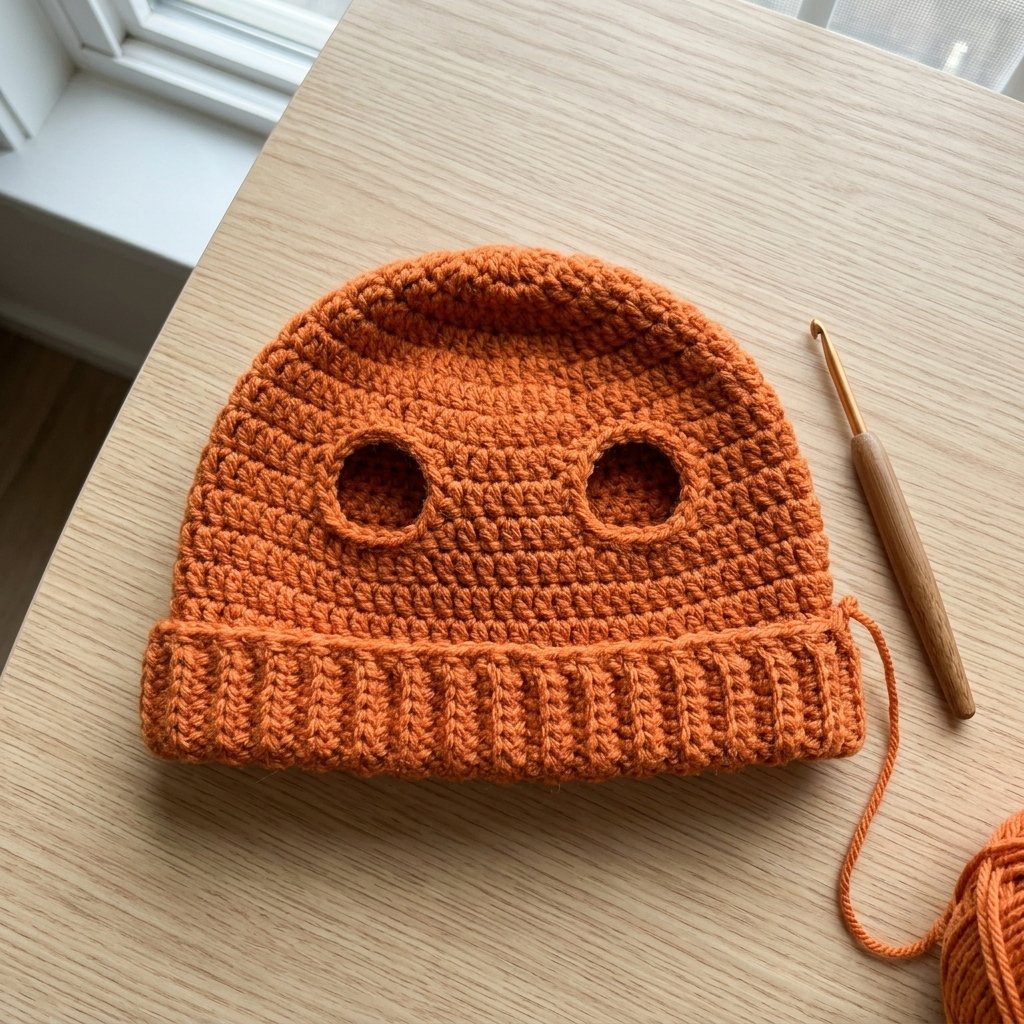
Before beginning this round, place the unfinished hat gently near your cat’s head without forcing it on. Check approximately where the ears will sit.
Round 7: Hdc in next 8 sts, ch 6 and skip next 6 sts, hdc in next 12 sts, ch 6 and skip next 6 sts, hdc in final 8 sts. (40 sts including chain spaces)
The two chain spaces create the ear openings.
Round 8: Hdc in each hdc and work 1 hdc in each ch across both ear openings. (40 sts)
Rounds 9–11: Hdc in each st around. (40 sts)
Try the hat loosely against your cat’s head again. If you need slightly more depth, add one additional round.
Part 3 — Finishing the Main Cap
Round 12: Sc in each st around. (40 sts)
Sl st into the first stitch and fasten off.
The cap should now sit around the top of the head while allowing both ears to pass comfortably through the openings.
Part 4 — Ribbed Brim
Using orange yarn, ch 7.
Row 1: Sc in 2nd ch from hook and in each ch across. (6 sts)
Row 2: Ch 1, turn. Working in BLO, sc in each st across. (6 sts)
Repeat Row 2 until the ribbed strip fits comfortably around the lower edge of the hat without stretching tightly.
For many medium-sized adult cats, approximately 34–40 rows will be suitable, but use the actual hat edge as your guide.
Bring the short ends together and sew them to form a ring.
Position the ribbed ring around the lower edge of the pumpkin cap and sew it evenly in place using orange yarn.
Part 5 — Green Pumpkin Stem
Using green yarn, make a magic ring.
Round 1: Work 6 sc into MR. (6 sts)
Rounds 2–5: Sc in each st around. (6 sts)
Fasten off, leaving a long sewing tail.
Flatten the lower edge slightly and sew the stem securely to the center top of the hat.
Part 6 — Pumpkin Ridges
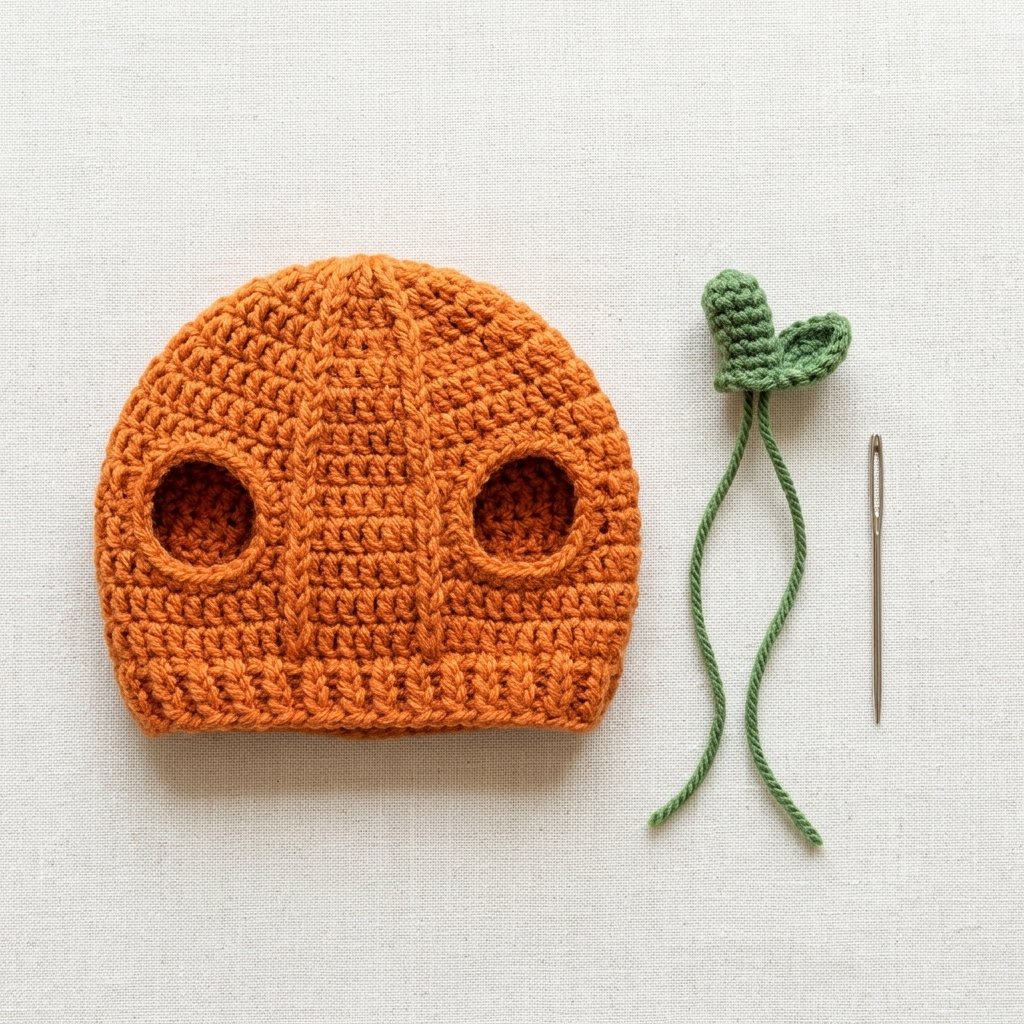
To create the pumpkin texture, use the same orange yarn or a slightly darker orange.
Insert your hook near the top beside the stem and work surface slip stitches down toward the brim.
Create approximately 6 evenly spaced vertical ridges around the hat.
Keep the surface stitches relaxed so they do not make the hat tighter.
Part 7 — Finishing the Ear Openings
Join orange yarn at one ear opening.
Work sc evenly around the opening, keeping the stitches loose enough that the ear can pass through comfortably.
Join with a sl st and fasten off.
Repeat around the second ear opening.
Finishing
Weave in all yarn ends securely and inspect the entire hat for loose loops or threads.
Gently shape the pumpkin ridges and stem with your fingers.
Check that both ear openings are large enough and that the lower brim is flexible rather than tight.
Do not add strings around the neck or under the chin. The hat should only be worn when supervised and should be removed immediately if your cat tries to shake, scratch, or pull it off.
Finished Size
- Head Circumference: Approximately 10–12 inches (25–30 cm)
- Hat Height Without Stem: Approximately 4 inches (10 cm)
- Stem Height: Approximately 1–1.5 inches (2.5–4 cm)
The finished dimensions can vary depending on yarn, hook size, tension, and the size of your cat.
Tips & Customization
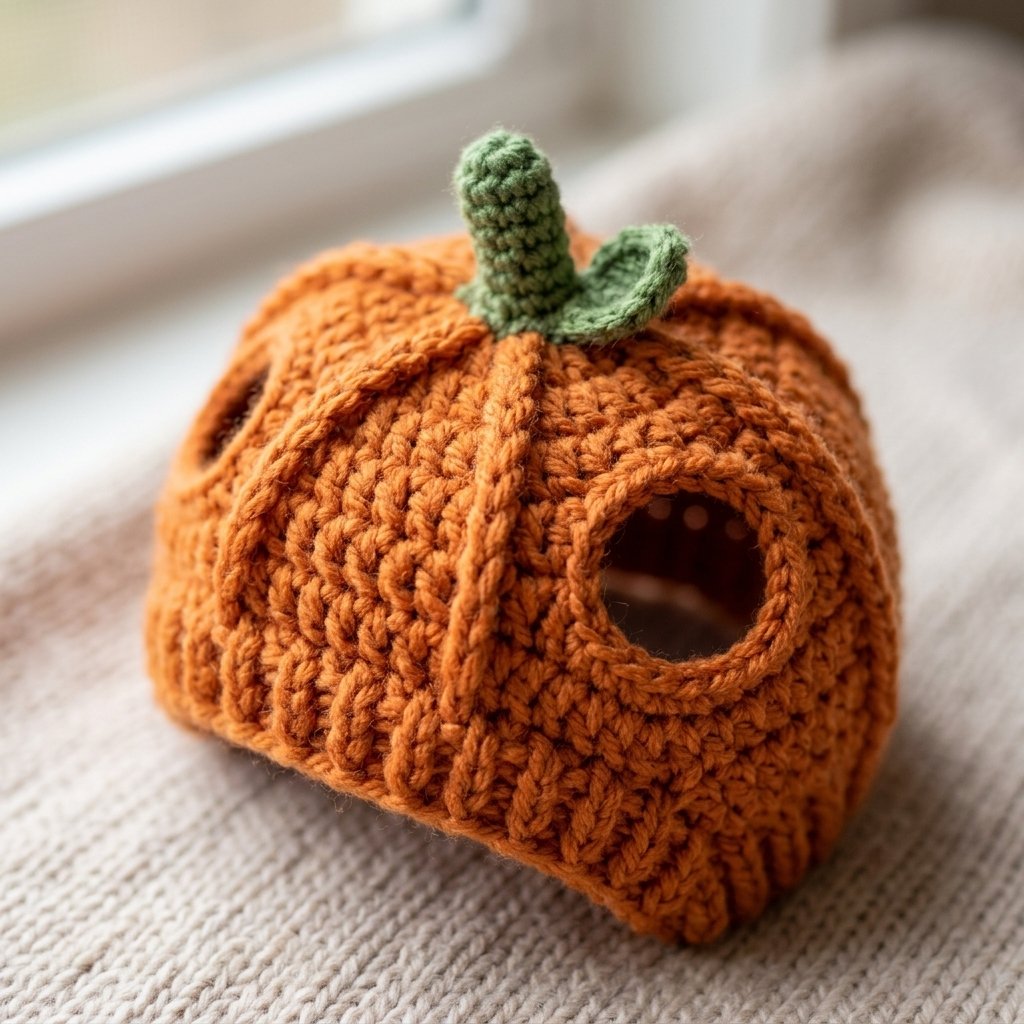
- Use rust orange yarn for a cozy fall pumpkin look.
- Try cream yarn to create a white pumpkin cat hat.
- Use black and purple yarn for a more dramatic Halloween version.
- Add extra surface crochet ridges for more pronounced pumpkin texture.
- Make the stem shorter or longer depending on the look you prefer.
- Create matching pumpkin hats for multiple pets using different colors.
- For a smaller kitten-sized version, stop increasing after Round 4 and adjust the ear openings accordingly.
Looking for Your Next Crochet Project?
Love this project? Explore Cute Stitch Studio’s premium crochet patterns for more cute, cozy, seasonal, and gift-worthy handmade ideas.