Free Crochet Bear Pencil Case Pattern for Kids
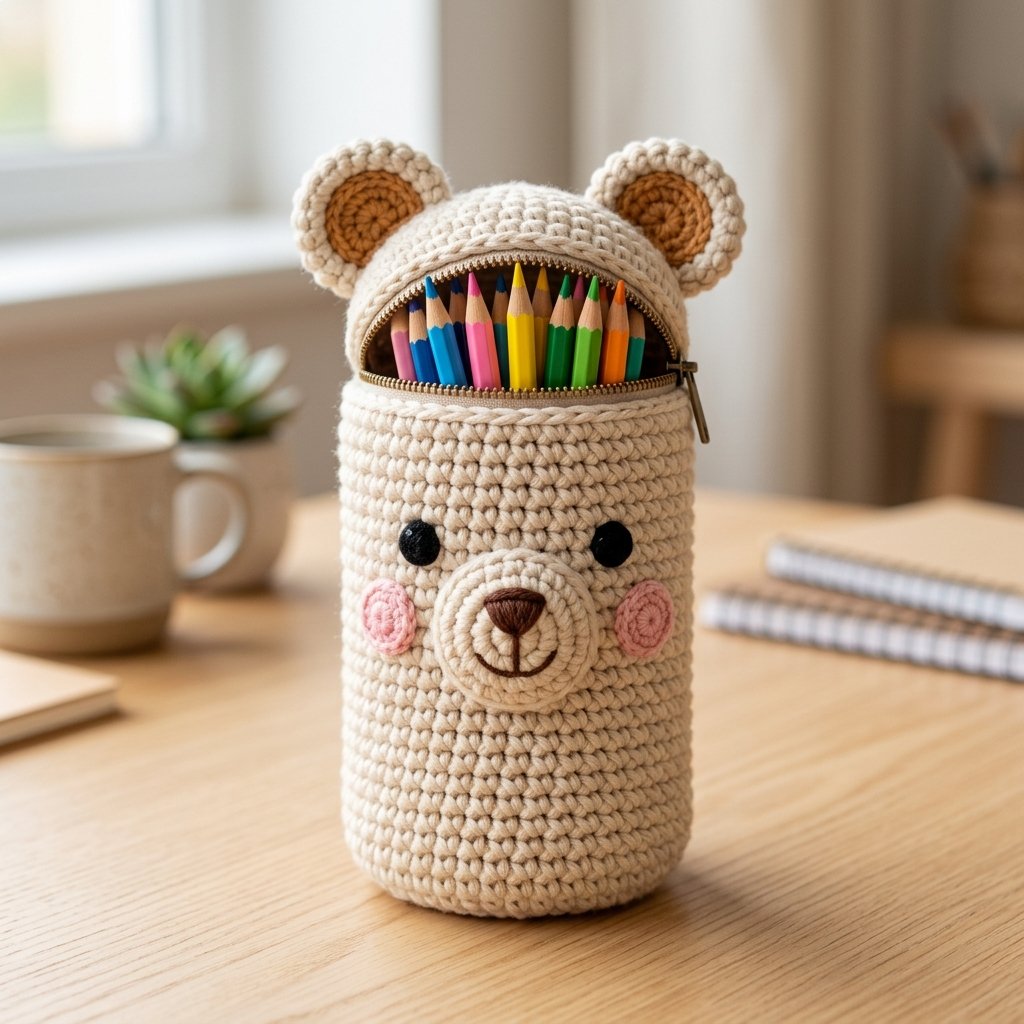
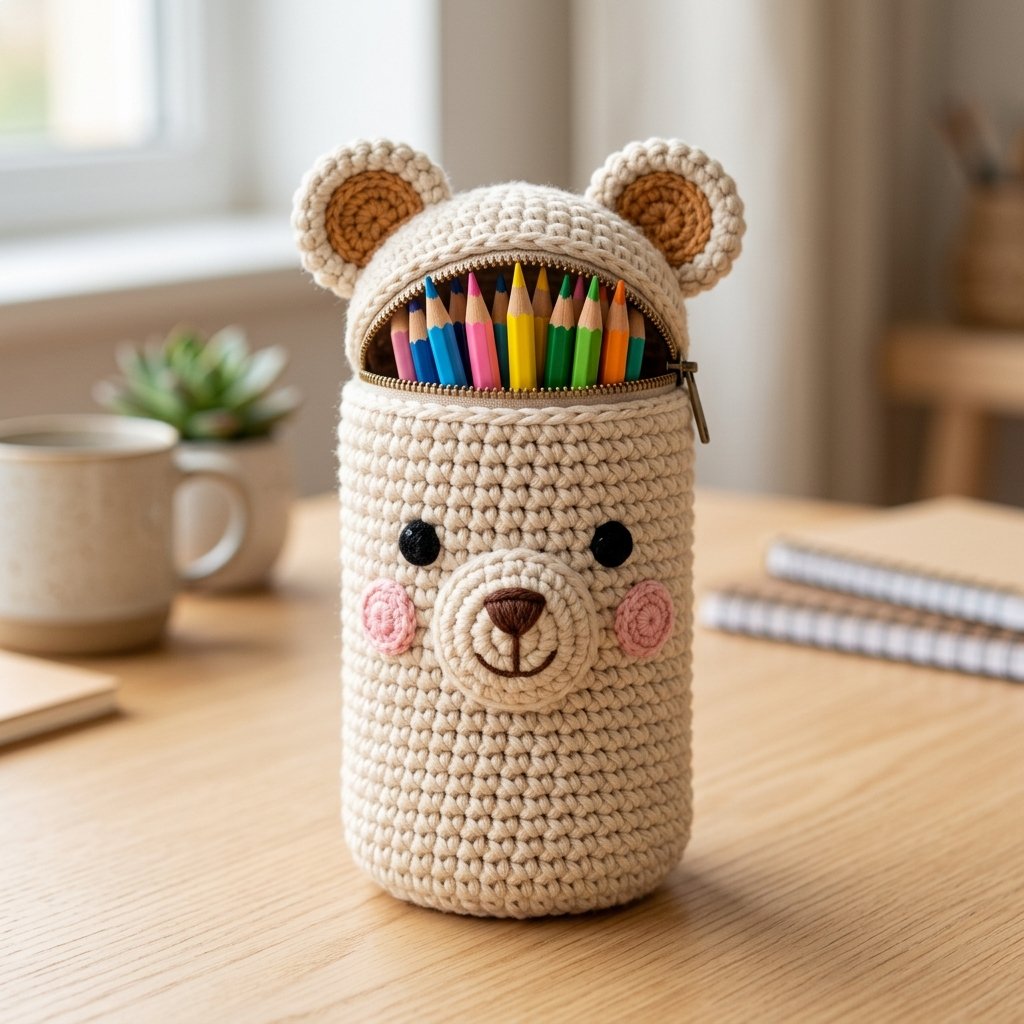
This crochet bear pencil case pattern is a cute and practical way to keep pencils, markers, crayons, and other small school supplies organized. The soft cylindrical pouch features little bear ears, a sweet muzzle, rosy cheeks, and a secure zipper opening.
The simple body is worked in continuous rounds, making this a fun project for adventurous beginners who are comfortable with single crochet. The bear details are added separately, so you can easily customize the expression and colors.
Make one for back-to-school season, a handmade birthday gift, or simply as a fun crochet project for animal lovers.
Project Details
- Skill Level: Advanced beginner
- Estimated Time: 4–6 hours
- Finished Size: Approximately 8 inches (20 cm) tall and 4 inches (10 cm) wide
- Crochet Terminology: US terms
- Construction Method: Bottom-up cylindrical pouch worked in continuous rounds with a sewn zipper and separate crochet bear details
Materials
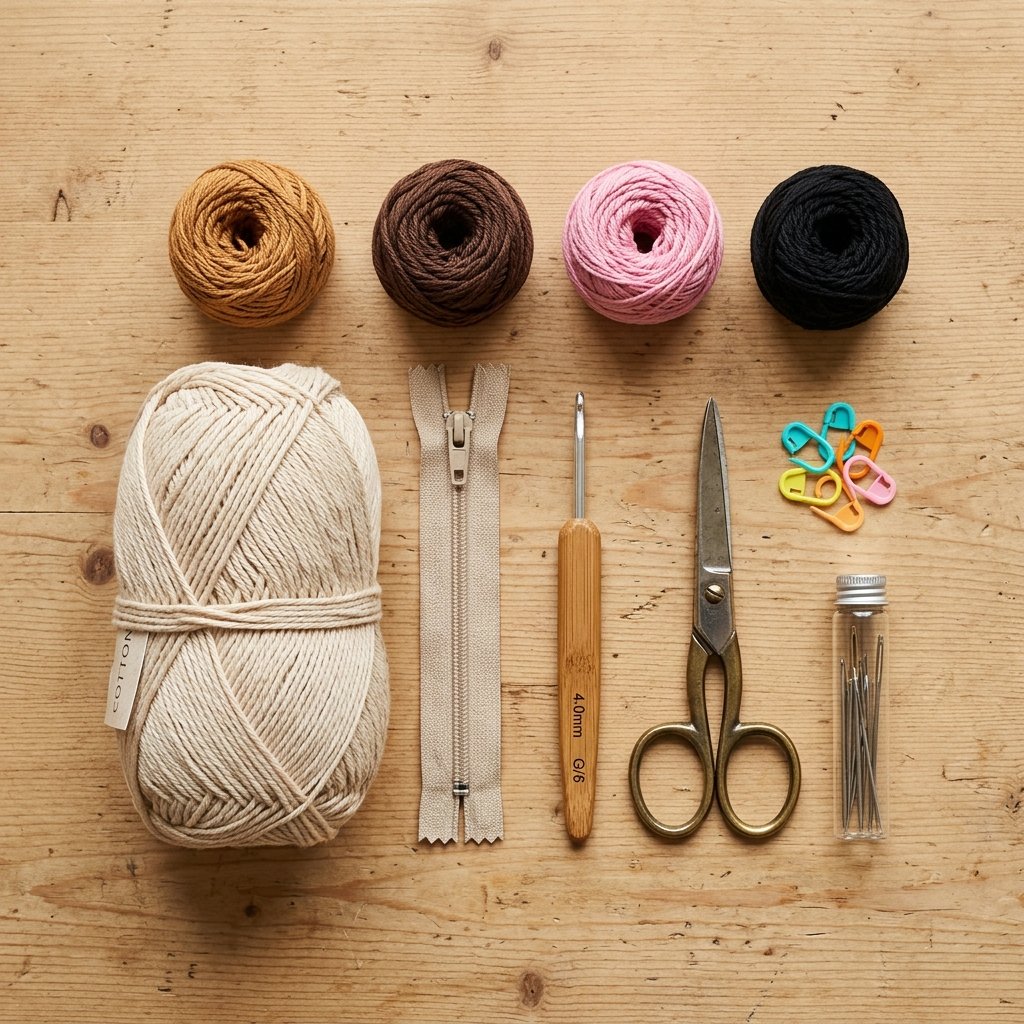
- Worsted weight yarn in cream or beige, approximately 120–150 yards
- Small amount of caramel or light brown yarn for inner ears
- Small amount of brown yarn for the nose and mouth
- Small amount of pink yarn for cheeks
- Small amount of black yarn for embroidered eyes
- 4 mm crochet hook
- 12–14 inch zipper in beige, cream, or coordinating color
- Yarn needle
- Sewing needle and matching sewing thread
- Scissors
- Stitch marker
- Optional fabric lining
Hook Size
Use a 4 mm crochet hook for the main pencil case. The stitches should be firm enough that pencils cannot easily poke through the fabric.
If your stitches are very loose, try a 3.5 mm hook. If your fabric feels too stiff, move up to a 4.5 mm hook.
Yarn
A medium-weight category 4 yarn works well for this project. Cotton or a cotton-acrylic blend is especially useful because it creates a durable pouch with good stitch definition.
- Main Color: Cream, oatmeal, beige, or soft tan
- Inner Ears: Caramel or golden brown
- Muzzle Details: Dark brown
- Cheeks: Soft pink
You can also make a brown bear, polar bear, panda-inspired pouch, or colorful pastel version using the same base pattern.
Abbreviations
- MR = magic ring
- ch = chain
- sc = single crochet
- sl st = slip stitch
- st(s) = stitch(es)
- inc = increase, 2 sc in the same stitch
- BLO = back loop only
Before You Start
The main pencil case is worked in continuous spiral rounds. Place a stitch marker in the first stitch of every round and move it upward as you work.
Gauge is not critical, but your fabric should be fairly dense. A useful guideline is approximately 16 single crochet stitches and 17 rounds per 4 inches (10 cm).
The zipper is sewn into the finished upper opening after the crochet body is complete.
Step-by-Step Crochet Instructions
Part 1 — Bottom of the Pencil Case
Using the main cream or beige yarn, make a magic ring.
Round 1: Work 6 sc into MR. (6 sts)
Round 2: Inc in each st around. (12 sts)
Round 3: *Sc in next st, inc in next st.* Repeat around. (18 sts)
Round 4: *Sc in next 2 sts, inc in next st.* Repeat around. (24 sts)
Round 5: *Sc in next 3 sts, inc in next st.* Repeat around. (30 sts)
Round 6: *Sc in next 4 sts, inc in next st.* Repeat around. (36 sts)
Round 7: *Sc in next 5 sts, inc in next st.* Repeat around. (42 sts)
The circle should now form the flat bottom of your pencil case.
Part 2 — Main Body
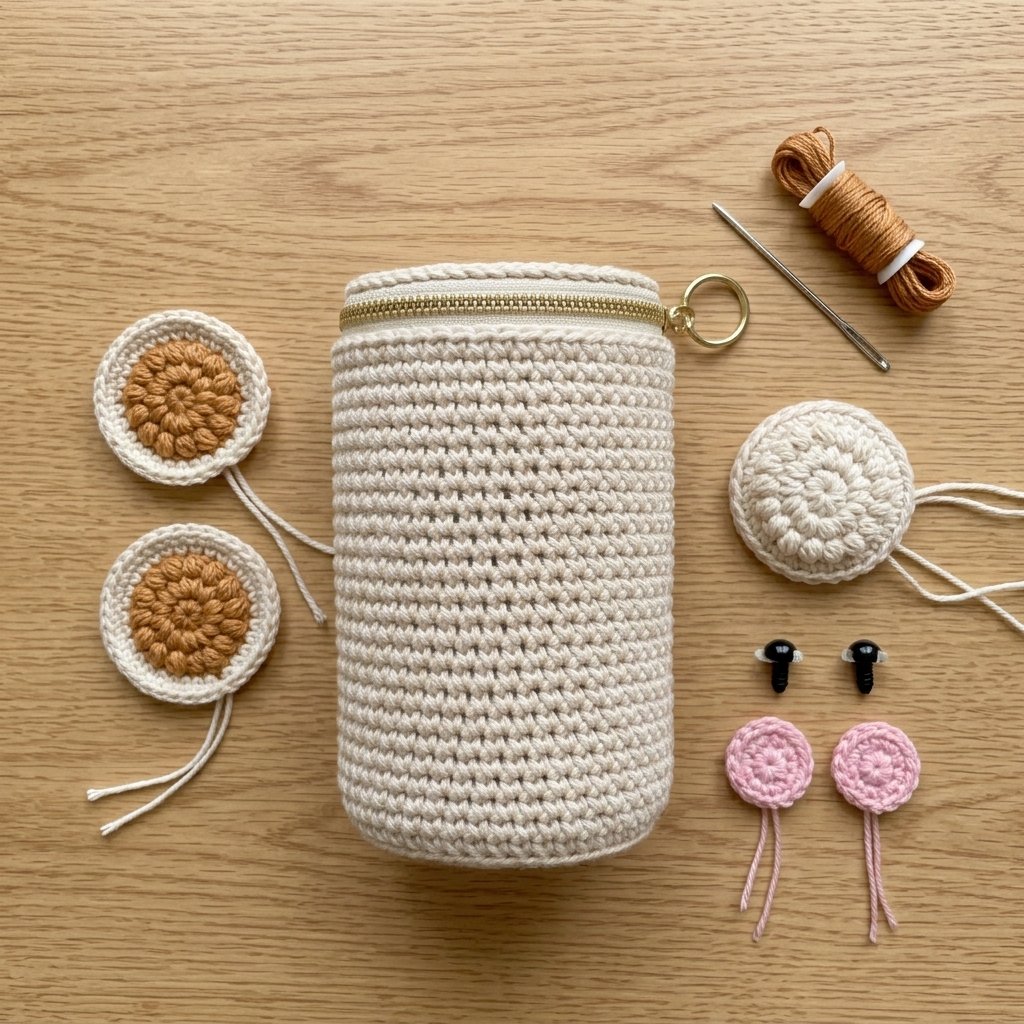
Round 8: Working in BLO, sc in each st around. (42 sts)
This round creates a neat turning edge between the base and the sides.
Rounds 9–36: Sc in each st around. (42 sts)
Continue until the pouch measures approximately 7 1/2 inches (19 cm) from the bottom.
If you want a taller pencil case for long markers or crochet hooks, simply add a few more rounds.
Part 3 — Upper Zipper Edge
Round 37: Sc in each st around. (42 sts)
Sl st into the next stitch and fasten off, leaving enough yarn to weave in securely.
Gently shape the pouch so the opening is even.
Part 4 — Crochet Bear Ears
Make 2 ears using the main yarn.
Round 1: Make a MR and work 6 sc into the ring. (6 sts)
Round 2: Inc in each st around. (12 sts)
Round 3: *Sc in next st, inc in next st.* Repeat around. (18 sts)
Fasten off, leaving a long sewing tail.
Part 5 — Inner Ear Pieces
Make 2 using caramel or light brown yarn.
Round 1: Make a MR and work 6 sc into the ring. (6 sts)
Round 2: Inc in each st around. (12 sts)
Fasten off.
Sew one smaller inner-ear circle onto each larger ear.
Fold the bottom of each ear slightly inward and secure it with a few stitches. This gives the ears a softly curved shape.
Part 6 — Bear Muzzle
Using cream yarn, make a MR.
Round 1: Work 6 sc into MR. (6 sts)
Round 2: Inc in each st around. (12 sts)
Round 3: *Sc in next st, inc in next st.* Repeat around. (18 sts)
Round 4: Sc in each st around. (18 sts)
Sl st and fasten off, leaving a long sewing tail.
The final round gives the muzzle a slightly raised three-dimensional shape.
Part 7 — Nose and Mouth
Using dark brown yarn, embroider a small rounded triangle nose in the center of the muzzle.
Bring a short vertical stitch down from the nose, then embroider two gentle curved lines to form a simple smiling mouth.
Part 8 — Eyes
For a child-friendly version, embroider two round black eyes directly onto the pouch using black yarn.
Position the eyes approximately 1 1/2 inches (4 cm) apart and slightly above the muzzle.
If the pouch is being made for an older child and you prefer plastic safety eyes, they must be installed before finishing the upper body. Embroidered eyes are recommended for younger children.
Part 9 — Crochet Cheeks
Make 2 using pink yarn.
Make a MR and work 6 sc into the ring.
Sl st into the first stitch and fasten off, leaving a sewing tail.
Flatten each circle and sew one cheek beside each side of the muzzle.
Part 10 — Attaching the Bear Face
Lay the pencil case flat with the front facing you.
Position the muzzle approximately 3 inches (7.5 cm) below the upper edge.
Sew the muzzle securely around its outer edge.
Position the cheeks beside the muzzle and sew them in place.
Make sure the embroidered eyes are symmetrical before securing all yarn ends.
Part 11 — Attaching the Ears
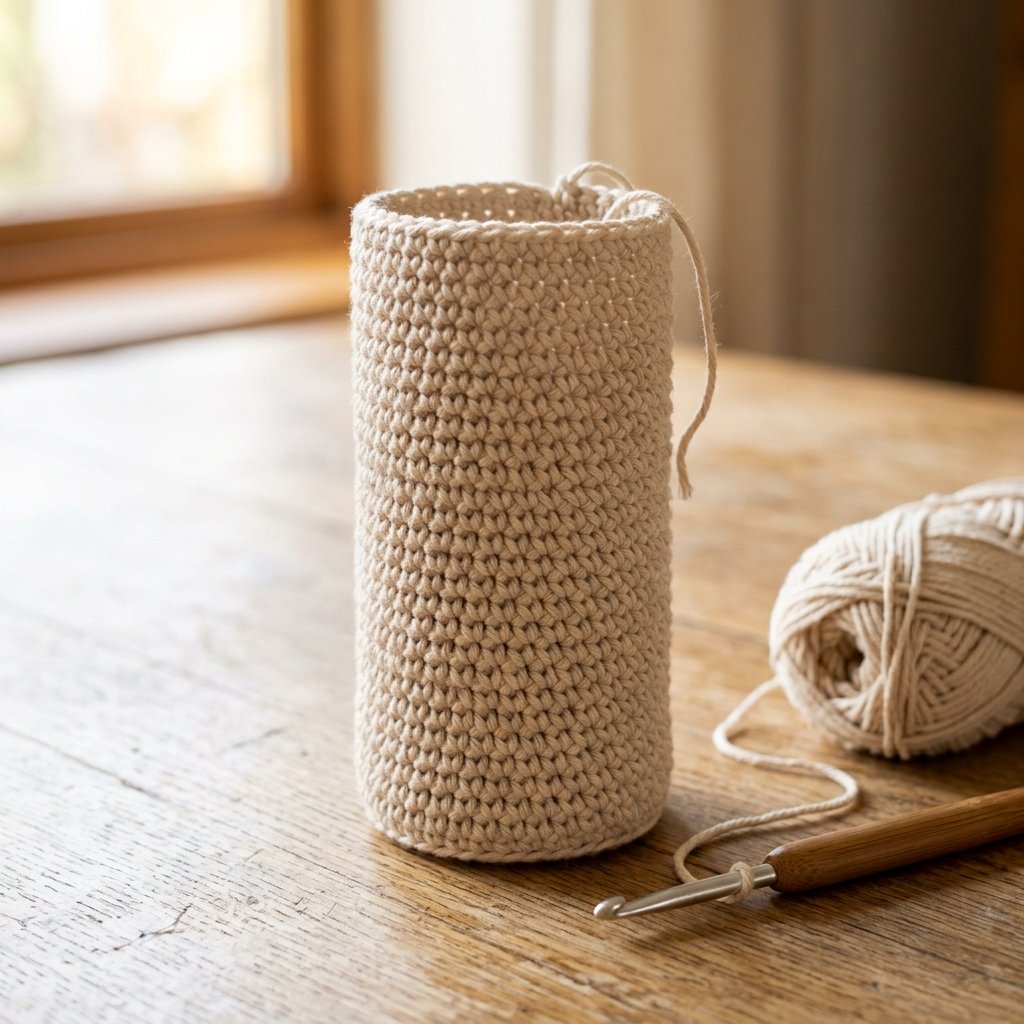
Position one ear on each side of the upper portion of the pouch, approximately 1 inch (2.5 cm) below the zipper opening.
Sew the lower section of each ear firmly to the body while leaving the upper rounded portion free.
Part 12 — Installing the Zipper
Place the zipper inside the upper opening with the zipper teeth just above the crochet edge.
Use sewing pins or clips to hold it evenly around the opening.
Using matching sewing thread and a hand-sewing needle, sew through the zipper tape and crochet fabric using small secure stitches.
Work slowly around the entire opening, checking frequently that the zipper opens and closes smoothly.
Secure the thread firmly and trim the excess.
Optional Fabric Lining
A fabric lining is optional but can help protect the crochet fabric from sharp pencil points.
Cut a rectangle of lightweight cotton fabric that fits inside the pouch, sew the side seam and bottom, and place it inside the crochet body.
Hand-sew the upper edge of the lining to the zipper tape without sewing through the zipper teeth.
Finishing
Weave in all remaining yarn ends securely.
Check that the ears, muzzle, and cheeks are firmly attached. Open and close the zipper several times to make sure the fabric is not catching in the teeth.
Gently shape the bottom and sides with your hands. Cotton yarn can also be lightly blocked if necessary.
Finished Size
- Height: Approximately 8 inches (20 cm)
- Width: Approximately 4 inches (10 cm)
- Opening Circumference: Approximately 12–13 inches (30–33 cm)
The exact finished size may vary slightly depending on your yarn, hook size, and crochet tension.
Tips & Customization

- Use medium brown yarn to create a classic teddy bear pencil case.
- Try white yarn with pale pink ears for a polar bear version.
- Use black and white yarn to create a panda-inspired pouch.
- Make the cheeks larger for an extra-cute kawaii look.
- Use a contrasting zipper to add a bright pop of color.
- Add a small crochet loop near the zipper so the pouch can be carried easily.
- Use the same pattern as storage for crochet hooks, makeup brushes, or craft supplies.
Looking for Your Next Crochet Project?
Love this project? Explore Cute Stitch Studio’s premium crochet patterns for more cute, cozy, beginner-friendly, and gift-worthy handmade ideas.