Crochet Hanging Flower Basket Pattern
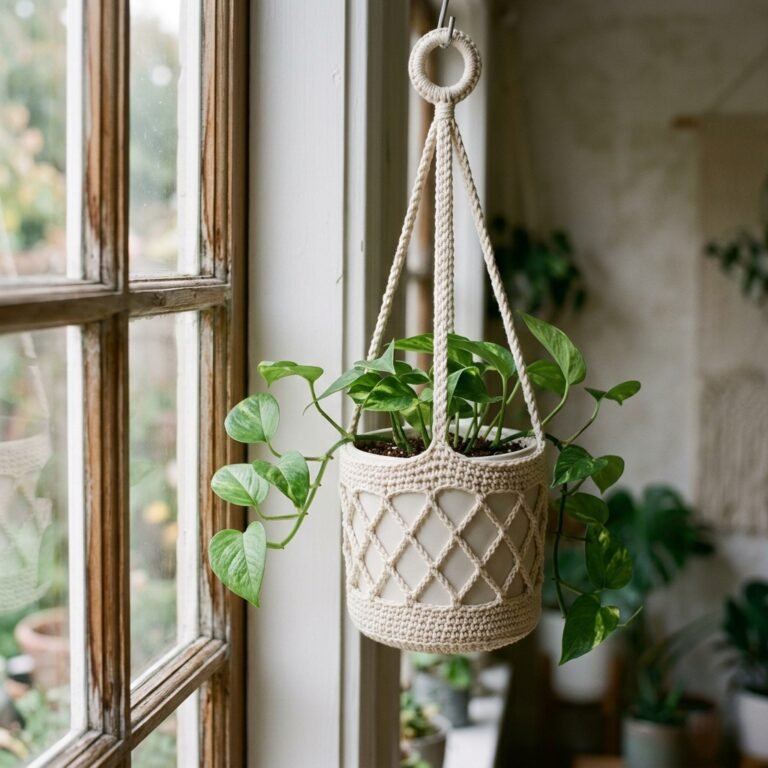
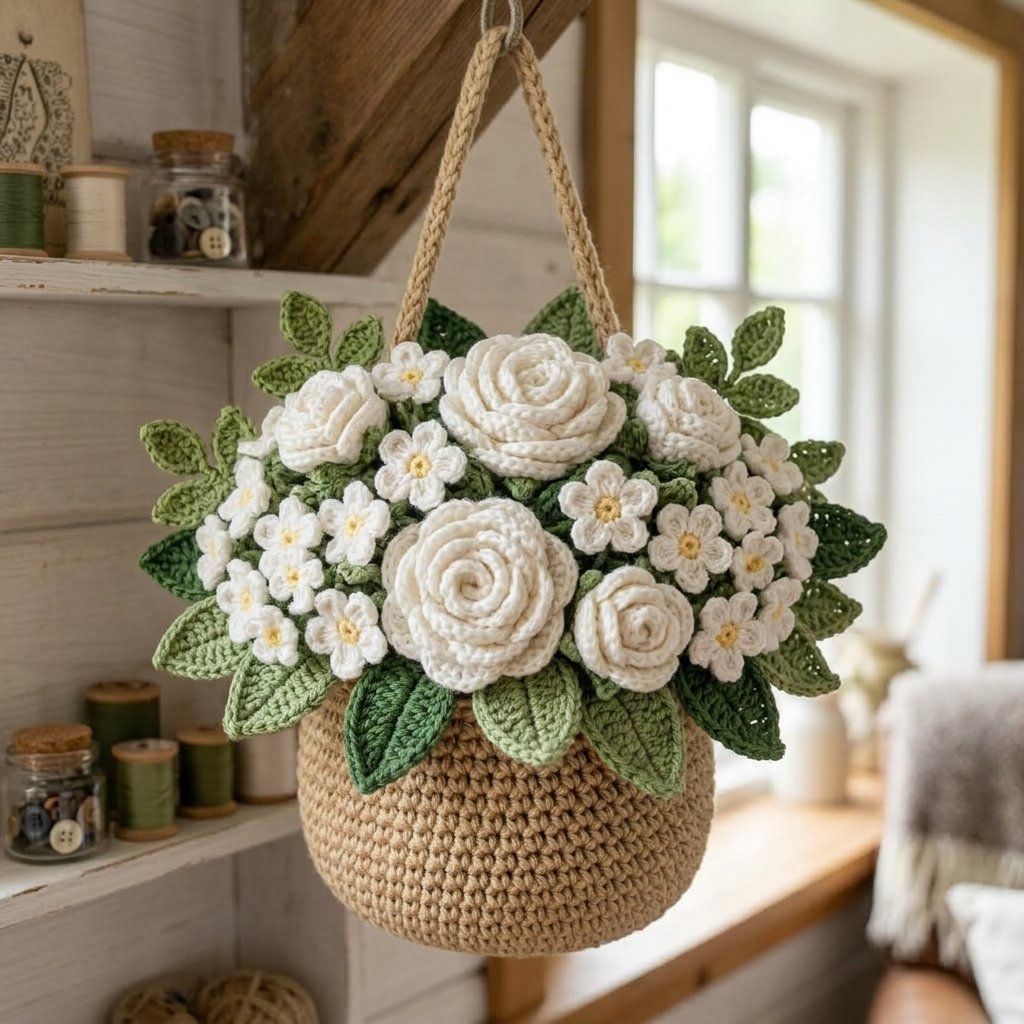
This crochet hanging flower basket pattern is a lovely way to bring soft floral charm into your home. It features a small textured basket, a simple hanging loop, rolled white crochet roses, tiny blossoms, and layered green leaves for a sweet handmade display.
This project is perfect for decorative wall hooks, shelf styling, bedroom corners, craft rooms, or gift giving. The finished piece is lightweight, cozy, and beginner-friendly, especially if you already know how to crochet in rounds and sew simple pieces together.
The design is also easy to personalize. You can keep the soft neutral look with white roses and cream tones, or switch to pink, yellow, lavender, or seasonal shades. Once you understand the structure, you can make several baskets in different colors for spring, weddings, nursery decor, or cottage-style home accents.

Table of Contents
Why You’ll Love This Crochet Hanging Flower Basket Pattern
- Clear step-by-step sections make the project easier to follow.
- Materials, sizing, finishing, and customization notes are easy to find.
- The pattern includes practical tips for a neat handmade result.
Project Details
| Detail | Information |
|---|---|
| Skill Level | Easy to Confident Beginner |
| Estimated Time | 4 to 6 hours |
| Finished Size | Basket approximately 3.5 inches wide x 3 inches tall (9 x 7.5 cm), hanging length approximately 8 to 10 inches (20 to 25 cm) |
| Crochet Terminology | US terms |
| Construction Method | Round basket base worked first, textured basket sides, crocheted hanging cord, separate roses, blossoms, and leaves sewn into a full arrangement |
Materials
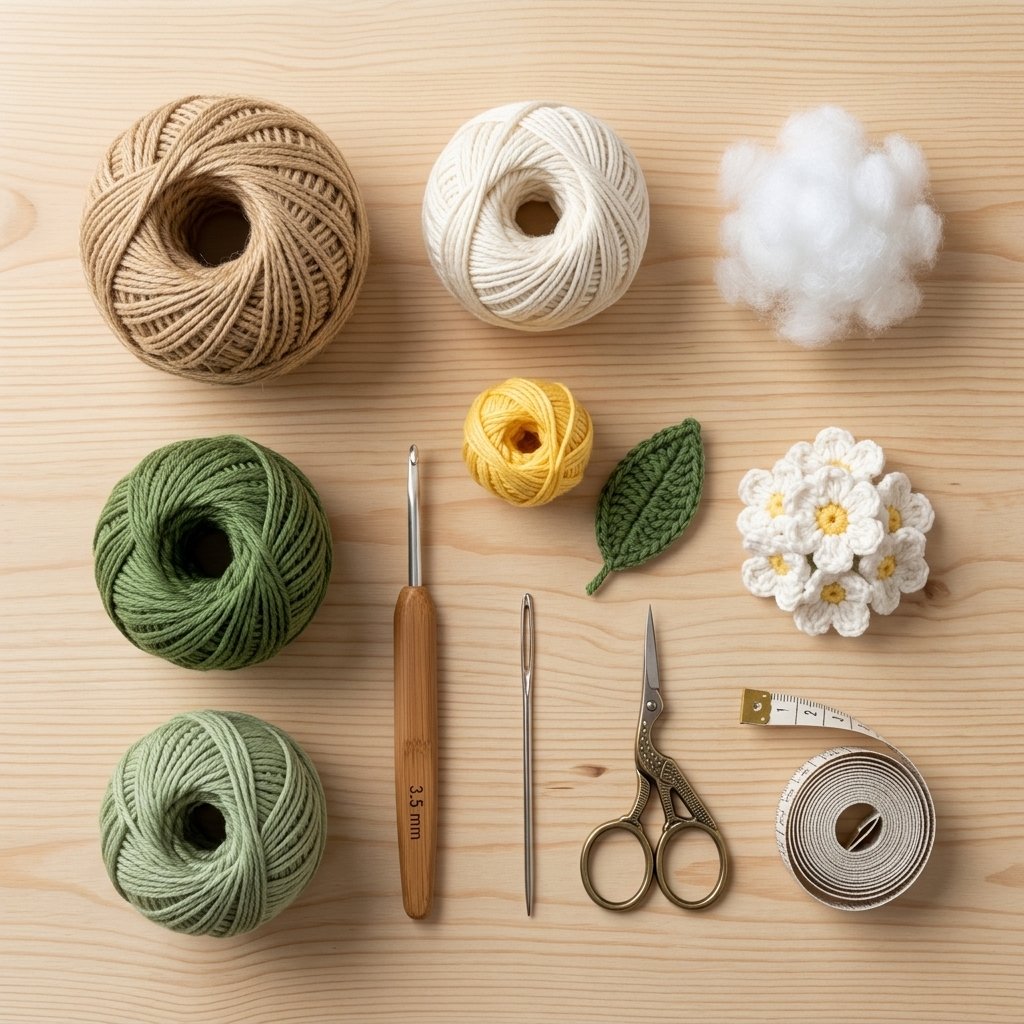
- DK or light worsted cotton yarn (#3 or lightweight #4)
- Basket Color: light tan, beige, camel, or soft brown
- Rose Color: white or cream
- Flower Center Color: pale yellow
- Leaf Colors: light green and medium green
- 3.5 mm (E/4) crochet hook
- Yarn needle
- Scissors
- Stitch marker (optional)
- Polyfill, yarn scraps, or soft stuffing for shaping
Hook Size
Use a 3.5 mm hook for a neat, well-shaped result. If your crochet feels too loose and the basket does not hold its shape well, go down to a 3.0 mm hook. If your stitches feel too tight, go up to a 4.0 mm hook.
Yarn Notes
Cotton yarn works especially well for this project because it helps the basket keep its shape and gives the flowers a crisp, clean look. You can also use a soft cotton blend if you want a slightly gentler drape.
For the sample style, use a warm natural basket color, bright white roses, soft white blossoms, yellow flower centers, and two shades of green for the leaves. This creates a fresh, airy floral arrangement with a cottage-inspired feel.
Gauge
Gauge is not critical for this small decor project, but consistent tension helps the basket and flowers look polished.
- Basket base after Round 4 = approximately 2.5 inches (6.5 cm) across
- Finished basket width = approximately 3.5 inches (9 cm)
If your basket is coming out much larger or smaller, adjust your hook size or yarn weight.
Abbreviations
- MR = magic ring
- ch = chain
- sc = single crochet
- hdc = half double crochet
- dc = double crochet
- tr = treble crochet
- sl st = slip stitch
- BLO = back loop only
- st(s) = stitch(es)
- rep = repeat
Before You Start
- This pattern is made in separate parts: basket, hanging cord, roses, blossoms, and leaves.
- The basket is worked in joined rounds.
- Use a stitch marker if you like to keep track of the first stitch in each round.
- Weave in ends as you go whenever possible.
- You can make more or fewer flowers depending on how full you want your arrangement.
- The sample arrangement uses 3 large roses, 5 small blossoms, and 8 leaves.
Crochet Hanging Flower Basket Pattern Instructions
Part 1 — Basket Base
With basket color, make a MR.
Round 1: Ch 1, 6 sc in MR. Join with sl st to first sc. (6 sts)
Round 2: Ch 1, 2 sc in each st around. Join. (12 sts)
Round 3: Ch 1, (sc in next st, 2 sc in next st) rep around. Join. (18 sts)
Round 4: Ch 1, (sc in next 2 sts, 2 sc in next st) rep around. Join. (24 sts)
The basket base should now be flat and round.
Part 2 — Basket Sides
Round 5: Ch 1, working in BLO only, sc in each st around. Join. (24 sts)
This round helps the sides fold upward neatly.
Round 6: Ch 1, hdc in each st around. Join. (24 sts)
Round 7: Ch 1, hdc in BLO around. Join. (24 sts)
Round 8: Ch 1, hdc in each st around. Join. (24 sts)
Round 9: Ch 1, hdc in BLO around. Join. (24 sts)
Round 10: Ch 1, sc in each st around. Join. (24 sts)
Optional Top Edge: Work 1 more round of sl st or reverse sc if you want a firmer rim.
Fasten off, leaving a tail for weaving.
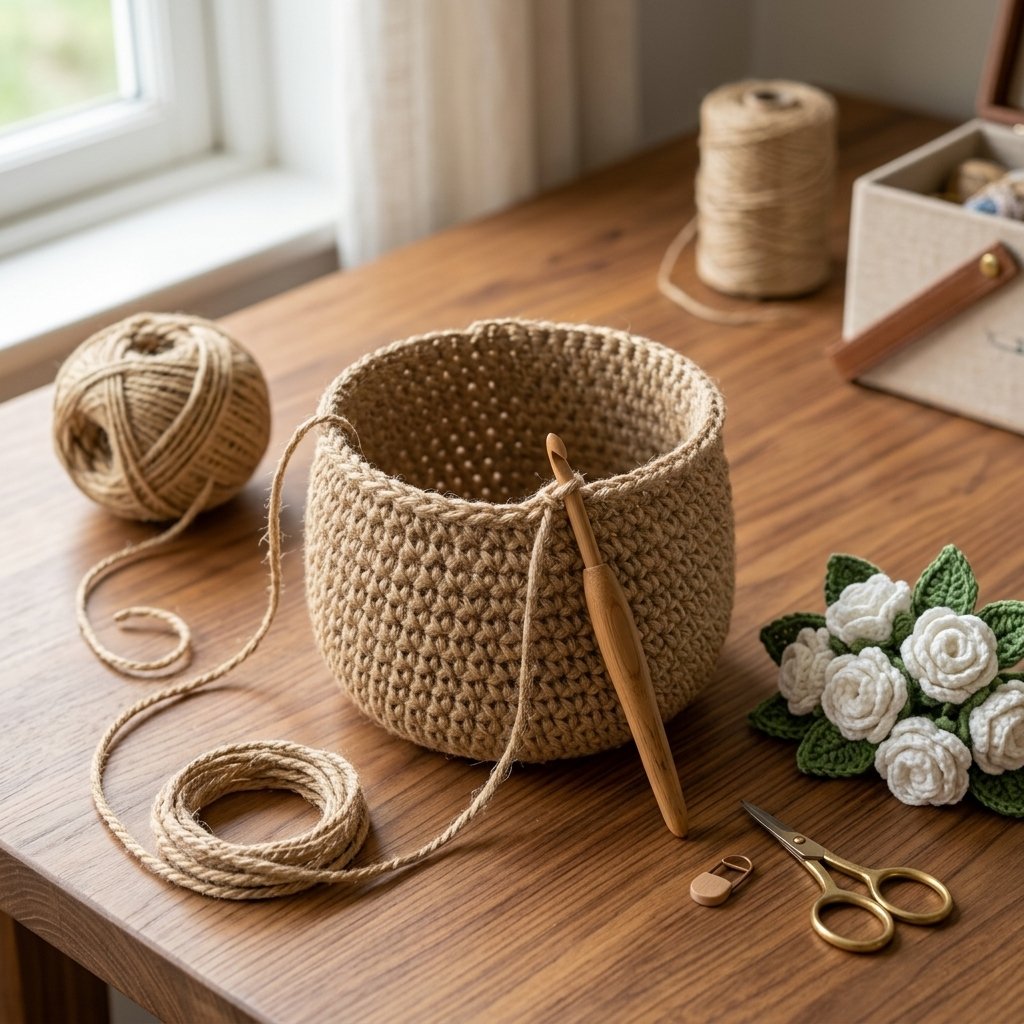
The basket should now resemble a small rounded hanging planter or flower pocket with a soft ribbed texture.
Part 3 — Hanging Cord
With basket color, ch 50.
Starting in the second ch from hook, sl st in each ch across to create a stronger cord. (49 sl sts)
Fasten off, leaving a long tail at each end for sewing.
Fold the cord into a loop and sew one end to one side of the basket rim and the other end to the opposite side of the basket rim. Make sure the loop hangs evenly before securing it permanently.
If you want a slightly longer hanger, simply add more chains.
Part 4 — Large Rolled Rose
Make 3 roses.
With white or cream yarn, ch 26.
Row 1: Starting in second ch from hook, sc across. Turn. (25 sts)
Row 2: Ch 1, sl st in first st, (skip next st, 5 dc in next st, skip next st, sl st in next st) rep across. You should have a strip with soft shell-like petals.
Fasten off, leaving a long tail for sewing.
Starting at one short end, roll the petal strip tightly at first, then a little more loosely as you go to form a rose shape. Use the yarn tail to sew through the bottom layers and secure the flower.
Gently spread the petals with your fingers for a fuller rose look.
Part 5 — Small Five-Petal Blossoms
Make 5 blossoms.
With yellow yarn, make a MR.
Round 1: Ch 1, 5 sc in MR. Join. (5 sts)
Fasten off yellow and join white yarn in any stitch.
Round 2: In each st around work (sl st, ch 2, 2 dc, ch 2, sl st). Repeat 5 times total to create 5 petals.
Fasten off, leaving a tail for sewing.
If you prefer, you can embroider the yellow center afterward instead of changing yarn colors.
Part 6 — Leaves
Make 8 leaves.
With green yarn, ch 7.
Working into the second ch from hook and across one side of the chain: sc, hdc, dc, tr, dc.
In the last ch, work ch 1 and turn to the other side of the chain, then work dc, tr, dc, hdc, sc. Sl st to the first stitch to finish the leaf shape.
Fasten off, leaving a tail.
You can make half the leaves in a lighter green and half in a darker green for more visual depth.
Part 7 — Optional Tiny Filler Buds
If you want a fuller arrangement, make 2 to 4 tiny buds.
With white yarn, make a MR, ch 1, 6 sc in ring. Join and fasten off. Sew each tiny round bud near the roses to fill small gaps.
This step is optional but helpful if you want a denser floral cluster.
Assembly
Before sewing, lightly stuff the lower half of the basket with polyfill or yarn scraps. Do not overfill it. You just want enough support so the basket keeps its rounded shape and the flowers sit nicely at the top.
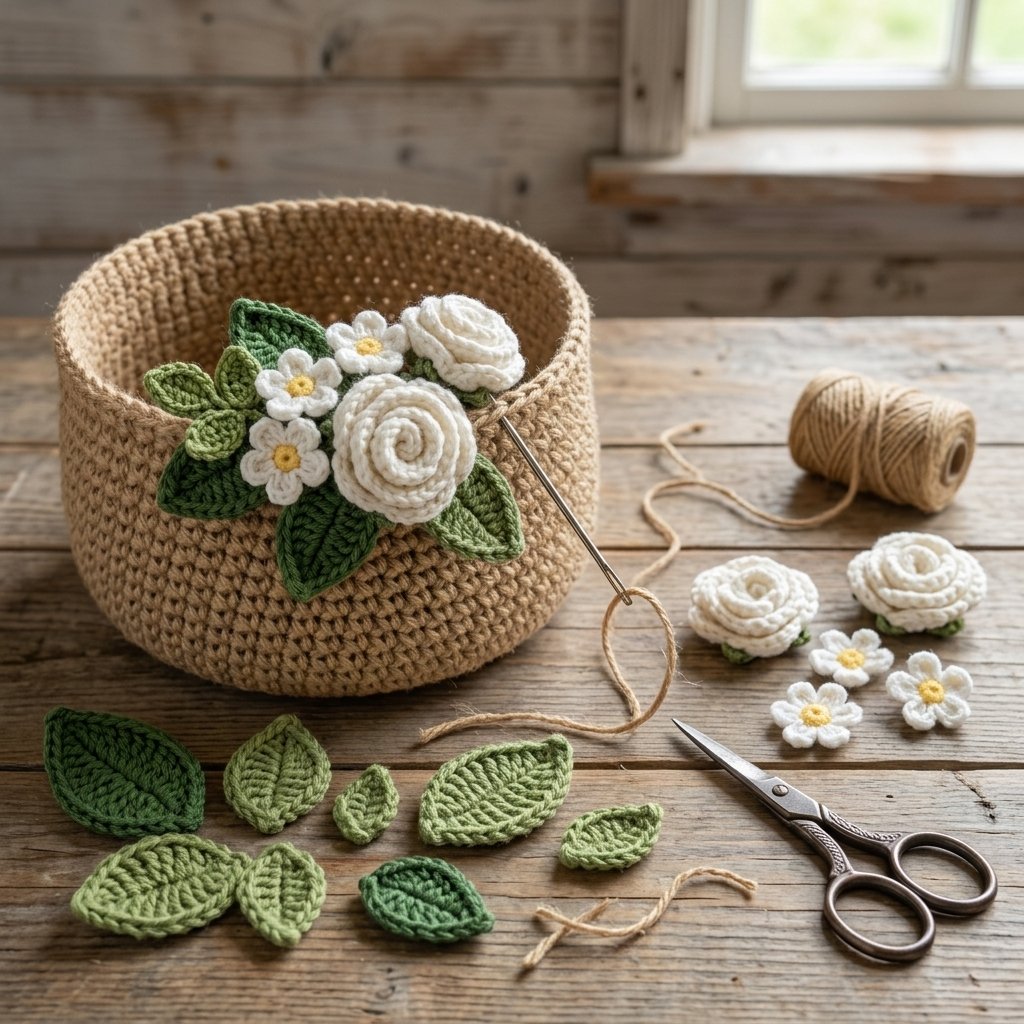
Start by arranging the 3 roses across the top opening of the basket. Sew them in place securely, stitching through the base of each flower and into the inside rim of the basket.
Next, place the 5 small blossoms around and between the roses. Let some flowers sit slightly forward and some slightly higher to create a natural arrangement.
Then add the leaves underneath and between the flowers. Angle a few leaves outward so the arrangement looks layered and full.
If you made any filler buds, tuck them into small empty spaces for extra detail.
Continue adjusting the arrangement until the top of the basket looks balanced from the front. Once you are happy with the layout, reinforce all sewn pieces with a few extra stitches.
Tips for the Best Crochet Result
Keep your tension consistent throughout this crochet hanging flower basket pattern. Small tension changes can affect the finished size, shaping, and how neatly the pieces line up during assembly.
Pause at the end of important sections to compare your stitch count with the pattern. Correcting a missed increase or decrease early is much easier than adjusting the finished piece later.
When you reach the finishing stage, take a little extra time with seams, shaping, and yarn ends. These small details can make the finished crochet project look cleaner and more polished.
Finishing
- Weave in all ends neatly on the inside of the basket.
- Check that the hanging cord is attached evenly and securely.
- Shape the roses and petals gently with your fingers.
- Spread the leaves for a fuller and more natural appearance.
- Lightly steam the finished piece only if your yarn fiber allows it.
This floral basket is meant as decorative crochet home decor. It looks beautiful on wall hooks, shelf ends, door knobs, or craft room pegs.
Finished Size
The finished basket is approximately 3.5 inches wide x 3 inches tall (9 x 7.5 cm).
The full hanging length, including the loop, is approximately 8 to 10 inches (20 to 25 cm), depending on how long you make the cord.
Tips & Customization
- Spring version: use blush pink roses, pale yellow blossoms, and mint leaves.
- Wedding decor: use ivory flowers and sage green leaves.
- Farmhouse look: keep the basket neutral and use cream or dusty rose flowers.
- Wall decor set: make 3 hanging baskets in different colors and display them together.
- Gift idea: add one to a handmade gift basket for birthdays, Mother’s Day, or housewarmings.
- Seasonal version: swap the flowers for autumn tones or holiday reds and greens.
Pattern Notes for the Best Result
- If your basket feels floppy, use a smaller hook or slightly thicker cotton yarn.
- If your roses look too flat, roll the starting end tighter and the outer petals looser.
- If the arrangement looks sparse, add extra leaves or a few filler buds.
- If you want a fuller basket, make 1 or 2 additional roses.
Frequently Asked Questions
Is this Crochet Hanging Flower Basket Pattern beginner-friendly?
Check the Skill Level and Pattern Notes sections before you begin. Read through the full pattern once, then keep a stitch marker and your materials nearby as you work.
What yarn should I use for this crochet project?
Use the yarn weight and fiber recommendations listed in the Yarn section. Matching the suggested yarn weight will help you stay closer to the intended size and fabric.
Can I change the colors?
Yes. Color changes are one of the easiest ways to personalize this project without changing the core construction. Keep the same yarn weight for the most consistent result.
How can I keep my stitch counts accurate?
Count at the end of each row or round, move your stitch marker as you work, and correct missed increases or decreases before continuing to the next section.
Project Checklist
- Confirm your yarn weight, hook size, and gauge before beginning.
- Read through the full Crochet Hanging Flower Basket Pattern instructions once before you start.
- Check stitch counts at the end of each row or round before continuing.
- Review the finishing and sizing notes before weaving in the final ends.
Looking for Your Next Crochet Project?
Love this project? Explore Cute Stitch Studio’s premium crochet patterns for more cute, cozy, gift-worthy, and beginner-friendly handmade ideas.