Crochet Heart Phone Sleeve Pattern with Personalized Embroidery
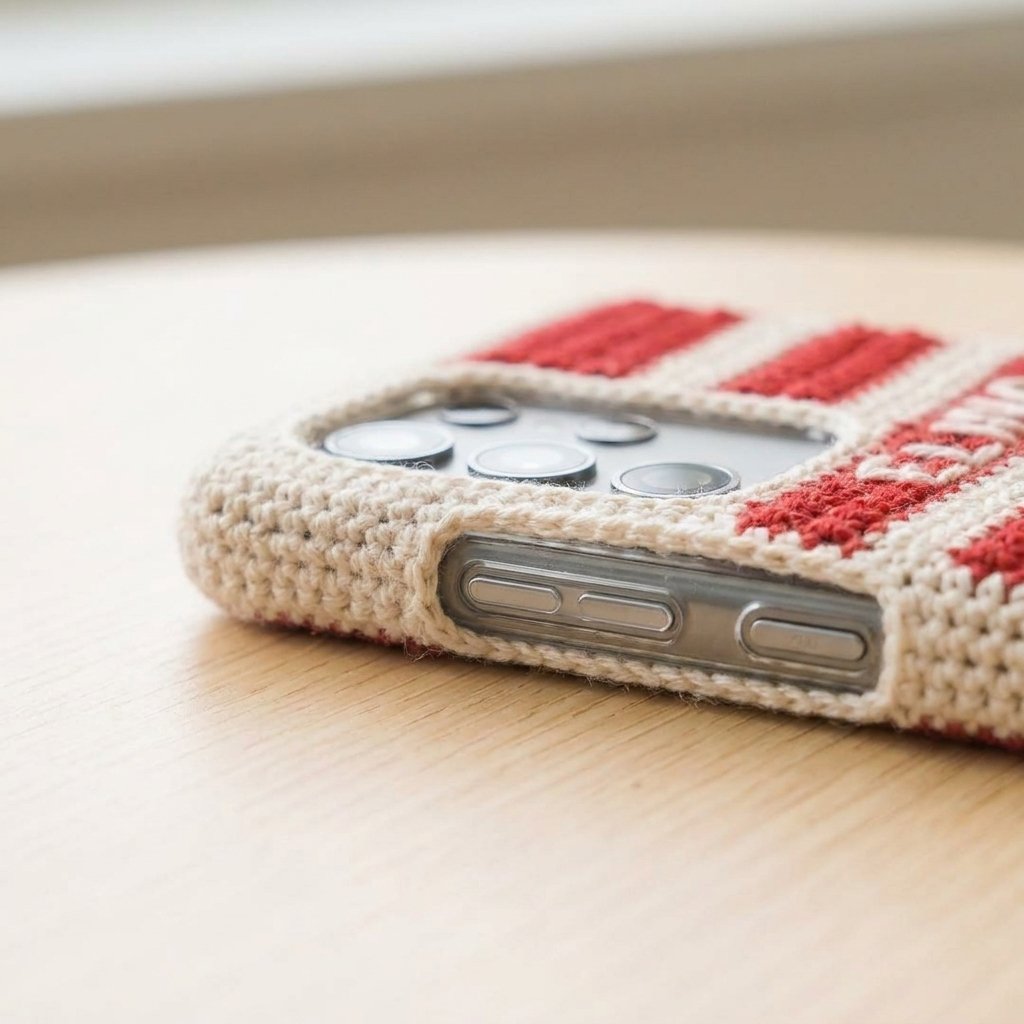
This crochet heart phone sleeve pattern combines cream and red stripes, a small heart applique, and optional name embroidery. It makes a thoughtful little gift for a friend, partner, or anyone who enjoys colorful handmade accessories.
The sleeve uses two simple rectangles sewn together along the sides and bottom. The top stays open so you can slide your phone in and out easily.
This is a removable pouch rather than a fitted phone shell. You take the phone out to use its screen and camera. Measure your phone with its usual case on before choosing the sleeve dimensions.

Table of Contents
Crochet Heart Phone Sleeve Pattern With Personalized Embroidery Instructions
Why You’ll Love This Crochet Heart Phone Sleeve Pattern With Personalized Embroidery
- Clear step-by-step sections make the project easier to follow.
- Materials, sizing, finishing, and customization notes are easy to find.
- The pattern includes practical tips for a neat handmade result.
Project Details
- Skill level: Beginner, with simple sewing and optional embroidery.
- Estimated time: Approximately 3–5 hours, plus personalization.
- Finished size: Approximately 3.75–4 inches wide and 6.75 inches tall (9.5–10 × 17 cm), measured externally after assembly.
- Crochet terminology: US terms.
- Construction: Two striped single crochet panels, a separate heart applique, and three sewn edges.
- Closure: Open top.
This original pattern has not been physically tested. Measurements and yarn quantities are estimates. Check the fit around your own phone before completing the seams.
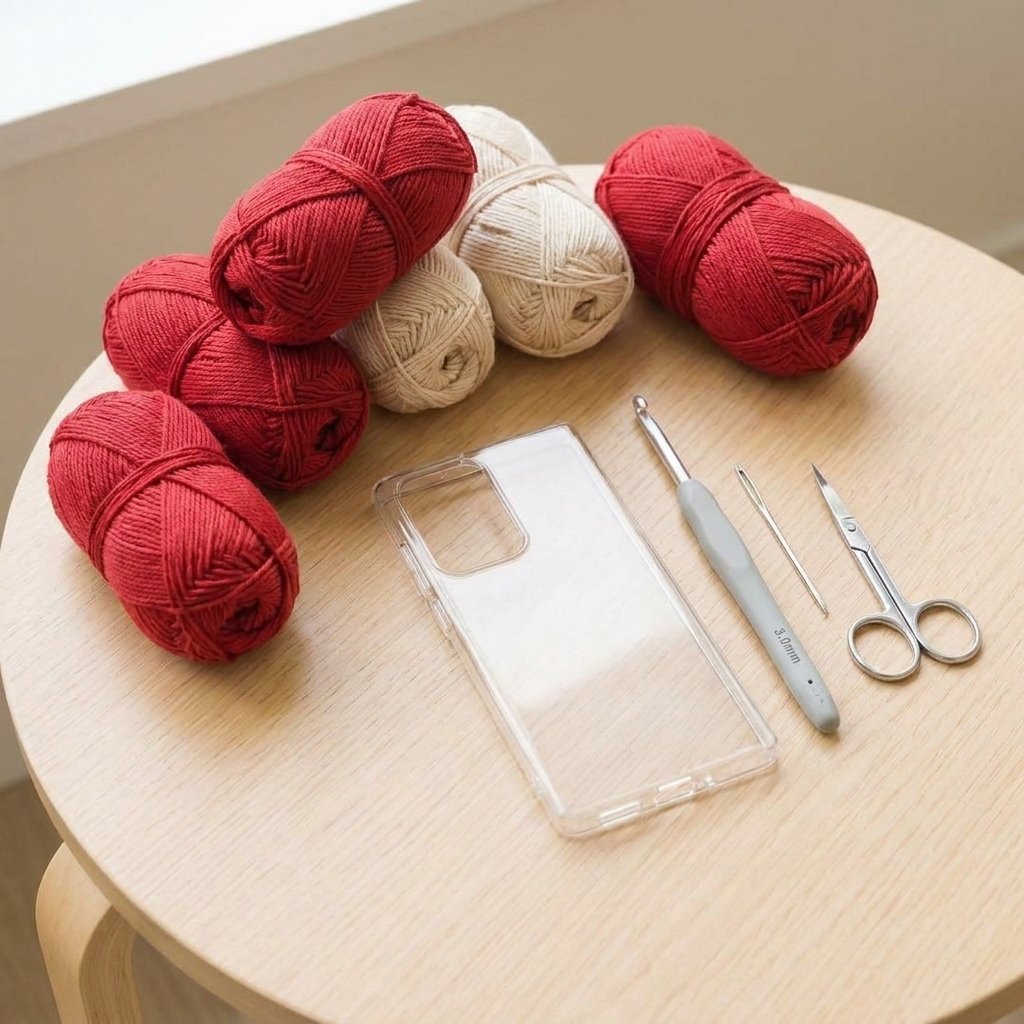
Materials
- Sport-weight cotton yarn: approximately 55–65 yards of cream.
- Sport-weight cotton yarn: approximately 45–55 yards of red.
- 3 mm crochet hook, or the size needed to obtain gauge.
- Yarn needle.
- Scissors.
- Measuring tape.
- Two removable stitch markers.
- Your phone in its usual protective case, for measuring.
The cream yarn is also used for the heart and optional lettering. No buttons, beads, adhesive, or hard phone-case blank is required.
Hook Size
Start with a 3 mm crochet hook.
Your fabric should be flexible but fairly close-textured. If your swatch is too small, try a slightly larger hook. If it is too large, try a smaller hook.
Yarn
Use sport-weight yarn, category 2, preferably smooth cotton. Choose two colors of the same thickness so the stripes remain even.
The sample color plan uses cream and cherry red. Cream with dusty pink, navy, or forest green also works well.
Allow approximately 100–120 yards total for the standard sleeve, heart, seams, and a short embroidered name. Larger phones and longer names require more yarn.
Gauge
24 single crochet stitches and 28 rows = 4 inches (10 cm), measured after washing and drying flat.
To make a swatch, chain 31. Single crochet in the second chain from the hook and across for 30 stitches. Continue for 34 rows, chaining 1 and turning between rows.
Measure the center of the swatch without stretching it. The standard instructions assume approximately 6 stitches and 7 rows per inch.
Measure Your Phone
Measure the width, height, and thickness of the phone with its everyday case attached. Include any raised camera area when checking thickness.
The standard pattern uses panels that are approximately 4 inches wide by 6.85 inches tall before sewing. It is intended as a starting point for a phone around 3 inches wide, 6.25 inches tall, and 0.35 inch thick.
Those measurements do not guarantee a fit. The yarn, seams, and actual case shape also affect the usable space.
Adjust the Panel Width
For each panel, use this starting calculation:
Panel width in inches = phone width + phone thickness + 0.25 inch of ease + 0.33 inch for the two side seams.
Multiply that measurement by your stitches per inch and round up to a whole stitch. Add one extra chain for the foundation chain.
For example, a phone that is 3 inches wide and 0.35 inch thick needs a panel approximately 3.93 inches wide. At 6 stitches per inch, round up to 24 stitches and begin with 25 chains.
Adjust the Panel Height
Use this starting calculation:
Panel height = phone height + half the phone thickness + 0.25 inch of ease + approximately 0.15 inch for the bottom seam.
Multiply by your rows per inch and round up. For the example phone, this gives approximately 48 rows.
Keep both panels identical, and test the fit before securing the seams permanently.
Abbreviations
- ch: chain.
- sc: single crochet.
- hdc: half double crochet.
- dc: double crochet.
- tr: treble crochet.
- sl st: slip stitch.
- st(s): stitch(es).
Before You Start
- Work the panels flat in rows.
- The turning chain does not count as a stitch.
- Work the first single crochet into the first stitch of the previous row.
- Make both panels with the same stripe sequence.
- Add the heart and embroidery before sewing the panels together.
- Cut yarn at color changes and weave in the ends; do not leave long strands inside the sleeve.
Changing Colors
On the last stitch of the row before a color change, insert the hook and pull up a loop with the old color. Yarn over with the new color and pull through both loops.
Chain 1 with the new color, turn, and continue. Leave tails long enough to weave in securely.
Crochet Heart Phone Sleeve Pattern: Step-by-Step Instructions
Part 1 — Front Panel
Begin with red yarn. Chain 25.
Row 1: Sc in the second chain from the hook and each remaining chain. 24 sts.
Rows 2–6: Ch 1, turn. Sc in every stitch. 24 sts in each row.
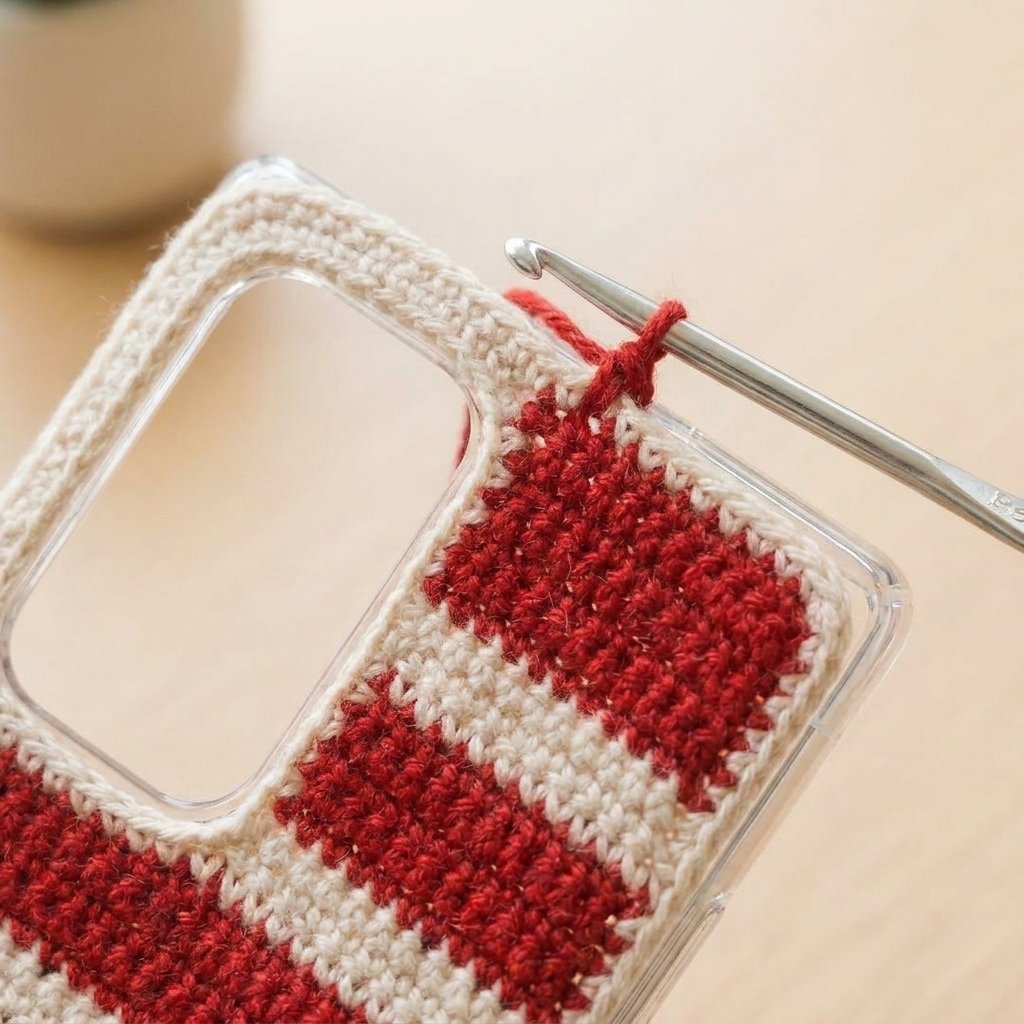
Continue working 24 single crochet stitches per row, changing colors according to the table.
| Rows | Color | Stitch count per row |
|---|---|---|
| 1–6 | Red | 24 |
| 7–10 | Cream | 24 |
| 11–16 | Red | 24 |
| 17–20 | Cream | 24 |
| 21–26 | Red | 24 |
| 27–30 | Cream | 24 |
| 31–36 | Red | 24 |
| 37–40 | Cream | 24 |
| 41–46 | Red | 24 |
| 47–48 | Cream | 24 |
Fasten off after Row 48. The starting edge is the bottom of the sleeve, and the final cream rows form the opening.
Weave the color-change ends into the back of their matching stripes. Keep the panel flat as you work.
Part 2 — Back Panel
Make a second panel exactly as the front, using the same stitch count, row count, and colors.
Lay the panels together to check that the stripe boundaries match. If one panel is noticeably larger, check your count and tension before continuing.
For a custom row count, follow the alternating six-row red and four-row cream sequence, then work the last two rows in cream. Use the same arrangement on both panels.

Part 3 — Small Cream Heart
Use cream yarn and the same hook. Make an adjustable magic ring.
Round 1: Ch 2, then work the following into the ring: 3 tr, 3 dc, ch 1, 1 tr, ch 1, 3 dc, 3 tr, ch 2, and sl st into the ring.
The center treble crochet forms the bottom point. The two groups of three treble crochets form the upper lobes.
Round 2: Work 2 sc into the first ch-2 space. Work 2 hdc in each of the next 3 tr. Sc in each of the next 3 dc. Sc in the next ch-1 space. Work (sc, ch 1, sc) in the center tr. Sc in the next ch-1 space. Sc in each of the next 3 dc. Work 2 hdc in each of the next 3 tr. Work 2 sc into the final ch-2 space, then sl st into the center cleft.
Round 2 contains 26 stitches plus the chain at the bottom point, excluding the joining slip stitch.
Pull the ring closed gently and fasten off with a long sewing tail. Secure the starting tail on the back. Shape the two lobes and bottom point with your fingers.
The heart should measure approximately 1.25–1.5 inches across, depending on tension.
Part 4 — Attach the Heart
Choose the front panel and lay it with the intended outside facing upward.
Center the heart across the panel, approximately over Rows 20–28. Check that it is upright, with the point facing the foundation edge.
Use the cream tail to sew around the heart with small stitches. Catch the backs of the heart stitches where possible so the seam stays discreet.
Secure the tail on the reverse and weave it in. Do not pull tightly enough to pucker the striped panel.
Part 5 — Optional Name Embroidery
Use cream yarn to add a short name or initials on the red stripe at Rows 31–36. Work the embroidery before assembly so the back remains accessible.
Simple uppercase letters are easiest to read at this size. Start with letters approximately four rows tall and leave one stitch of space between them.
Plan the lettering on squared paper or mark the first and last letter positions with temporary yarn stitches. Keep at least two panel stitches clear at each side for the seams.
For a five-letter name, allow roughly three stitches per letter and one stitch between letters. If the lettering does not fit comfortably, use initials rather than squeezing the letters together.
Backstitch each letter: bring the needle up at the start of a short segment, insert it at the end of that segment, then bring it up one segment farther along. Return to the end of the previous stitch and repeat.
Keep the yarn relaxed. After each letter, lay the panel flat and check that the fabric has not drawn inward.
A second short line can be added to the red stripe at Rows 41–46, but leave the top cream opening clear.
Part 6 — Fit Check and Assembly
Place the two panels with their outside faces together. Align the top edges and match the stripes.
Using cream yarn, temporarily baste the sides approximately one stitch in from each edge and the bottom approximately one row in from the foundation edge.
Turn the sleeve right side out and test it with your phone. It should slide in without forcing and come out without pulling hard on the fabric.
If it is too tight, remove the temporary seams and reassess the panel width or seam allowance. If it is much too loose, take a slightly deeper seam or remake the panels with fewer stitches.
Remove the phone. Turn the sleeve inside out again and replace the temporary stitches with small, secure backstitches along both sides and the bottom.
Follow the same seam line used for the successful fit check. Secure the ends and remove any remaining basting stitches.
Turn the sleeve right side out. The top stays open.
Tips for the Best Crochet Result
Keep your tension consistent throughout this crochet heart phone sleeve pattern with personalized embroidery. Small tension changes can affect the finished size, shaping, and how neatly the pieces line up during assembly.
Pause at the end of important sections to compare your stitch count with the pattern. Correcting a missed increase or decrease early is much easier than adjusting the finished piece later.
When you reach the finishing stage, take a little extra time with seams, shaping, and yarn ends. These small details can make the finished crochet project look cleaner and more polished.
Finishing
Check the inside for loose yarn tails and long embroidery strands that could catch as the phone slides in.
Weave in all ends and smooth the seams with your fingers. The bottom corners should feel soft rather than bulky.
If the sleeve needs shaping, wash it according to the yarn label and dry it flat. Do not stretch it around your phone while wet.
Let it dry completely, then repeat the fit check.
Finished Size
The standard panels measure approximately 4 inches wide by 6.85 inches tall (10.2 × 17.4 cm) before assembly.
The finished exterior is approximately 3.75–4 inches wide and 6.75 inches tall (9.5–10 × 17 cm). Usable interior space is smaller because of the seams and fabric thickness.
Always use your own phone for the final fit check. Compatibility is based on measurements, not a particular phone model name.
Tips and Customization
- Choose meaningful colors: Use the recipient’s favorite shades while keeping the yarn weights matched.
- Start with initials: Two or three letters are easier to position than a long name.
- Keep the inside smooth: Secure embroidery tails and avoid long floats across the back of letters.
- Make a matching pair: Reverse the colors for a coordinated gift set.
- Skip the embroidery: The striped fabric and cream heart work well on their own.
- Measure after washing: Cotton yarns can change slightly with laundering, so use the washed gauge for sizing.
Use and Care
This sleeve is a soft storage accessory. It is not a tested impact-protection case and does not make a phone waterproof.
Remove the phone from the sleeve for use and charging. Keep the sleeve clean and dry, and follow the yarn label when washing it.
Frequently Asked Questions
Is this crochet heart phone sleeve pattern beginner-friendly?
Yes. The main pieces use straight rows of single crochet. The heart introduces taller stitches, and the optional embroidery can be kept as simple as one initial.
Does this fit an iPhone?
It can fit an iPhone or another smartphone when sized to the actual device and its case. Measure first rather than relying on the brand or model family.
Is there a camera opening?
No. This is a removable sleeve, so the phone comes out for taking photos or using the screen.
Can I use thicker yarn?
Yes, but recalculate the stitch and row counts from a washed swatch. Thicker yarn also creates bulkier seams and a larger heart.
Can I add a long name?
Only if it fits without crowding the side seams. Initials or a short nickname are usually clearer on a narrow phone pouch.
Why do my stripes slope at the edges?
A missing first or last stitch can make a panel lean. Count 24 stitches after each row and mark the first and last stitches if needed.
Save This Personalized Crochet Gift Idea
Save this pattern to your crochet accessories or handmade gift board on Pinterest so you can find it when you are ready to make a personalized sleeve.
Project Checklist
- Confirm your yarn weight, hook size, and gauge before beginning.
- Read through the full Crochet Heart Phone Sleeve Pattern With Personalized Embroidery instructions once before you start.
- Check stitch counts at the end of each row or round before continuing.
- Review the finishing and sizing notes before weaving in the final ends.
Looking for Your Next Crochet Project?
Love this project? Explore Cute Stitch Studio’s premium crochet patterns for more cute, cozy, gift-worthy, and beginner-friendly handmade ideas.